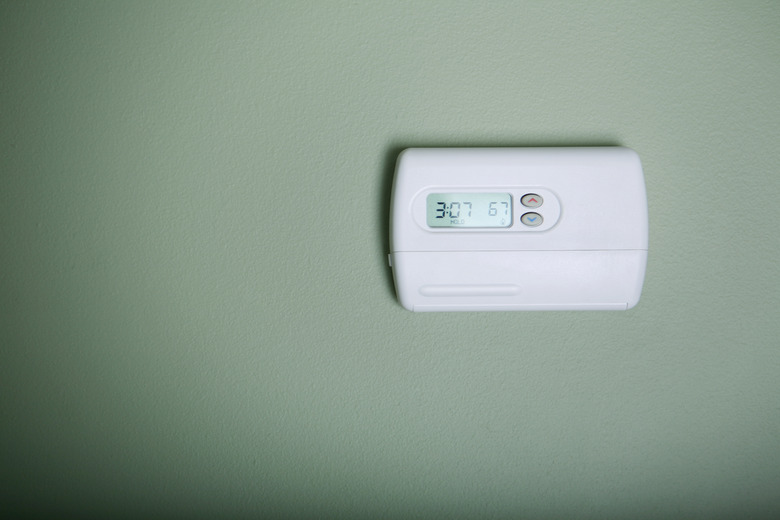
How To Remove A Honeywell Thermostat
Before you can install a new thermostat, you need to remove your old one. If you need to remove a Honeywell thermostat (whether it's an analog, programmable thermostat, digital thermostat, or smart thermostat), the process is relatively easy. A few minutes and a screwdriver are all you should need to get the thermostat off the wall. You'll need to work carefully, though, so you don't damage anything that you'll need for your new thermostat.
Basic Thermostat Wiring
Thermostat wiring usually consists of low-voltage wires that are powered by the furnace circuit. The wires correspond to different parts of your HVAC system, so they need to be connected correctly when you install your new thermostat.
Thermostat wiring is color-coded using industry standards. Here is a handy guide on thermostat wire colors and where each wire goes:
HVAC Thermostat Wire Industry Standards
|
Wire Color |
Where It Goes |
|
White |
Heating system |
|
Yellow |
Compressor |
|
Green |
Fan |
|
Orange |
Heat pump (if applicable) |
|
Red (C) |
24-hour VAC cooling system transformer |
|
Red (H) |
24-hour VAC heating sytem transformer |
|
Blue |
Common (or C wire) |
How to Remove a Honeywell Home Thermostat
1. Prepare for Thermostat Removal
Before you do any work with your Honeywell thermostat, shut off the circuit breaker for the entire HVAC system. Verify that it's turned off to prevent shocks when you reach the wires.
If you have an old thermostat, it might have a glass vial of mercury inside it. Handle these thermostats with care to avoid breaking the glass vial. Don't toss the thermostat in the trash because the mercury vial could break and contaminate the environment. Check with your local waste management company to find a location to dispose of the thermostat and to ensure you comply with state regulations.
The visible portion of the Honeywell thermostat needs to come off the wall to reveal the wiring and wall plate beneath. On most thermostat models, you can simply pull the thermostat straight away from the wall. Pull firmly, being careful not to rip the plate off the wall at the same time. Some thermostats might have a button or latch that you need to press to release the cover.
Removing this cover should reveal the wires and terminals. However, if you don't see the wires, look for a plate that might be screwed into place that you can remove with a screwdriver. Test the wires using a non-contact voltage tester to make sure the power is off.
Reconnecting the wires correctly for your new thermostat is necessary to get the system to work correctly. Take a photo of the wiring system before you disconnect anything to make the wiring of the installation easier. Thermostat wiring should be standard, but you never know what the previous homeowner may have done.
After taking a reference picture, place a small piece of masking tape on each wire and label it with the corresponding terminal where it connects. When you install the new thermostat, you'll now have an easy guide to help you reconnect the wires.
Carefully disconnect the wires so you can finish removing the thermostat. They're often held in place by a screw, so you'll need a screwdriver to remove them. Others use push-in terminals with a release button that you engage using a small screwdriver, ballpoint pen, or similar object. Be careful not to pull the labels off the wires.
Unscrew the wall plate that remains, as your new thermostat will come with its own base plate. Make any repairs to the wall that you wish, such as removing old anchors, patching holes, and touching up paint, especially if your new thermostat is a different size than your old honeywell thermostat.
