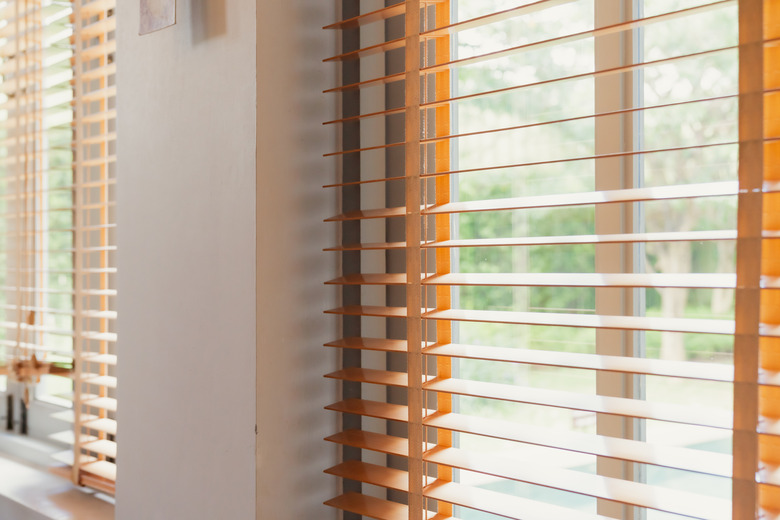
How To Attach A Blind To A Drywall Window Frame
Blinds offer an easy and inexpensive way to control light and gain a little privacy. They come in a wide variety of colors and styles to suit almost any decor. Most window blinds come with everything needed for standard installation on a wood frame window, but what about windows with frames made of sheetrock or drywall? In a few simple steps, even a beginner can hang blinds on sheetrock window frames.
Things Needed
Measure the Window
1. Measure the Window Opening
Measure the window opening before purchasing blinds. Outside mounting is not recommended on drywall frames. You will need the inside-to-inside horizontal measurement of your window's opening for the blinds. You will also need to measure the width of the glass.
2. Purchase the Blinds
Purchase blinds that are at least 1/4 inch narrower than the window opening and at least 1/2 inch wider than the glass. Most windows are standard sizes, and miniblinds are also available. If you have an odd size, speak with someone in the window treatment department of a home store about custom options.
3. Mark the Window Opening
Measure the width of the blind mechanism (the rectangular box at the top of the blind), subtract it from the width of your window's opening, and divide by two. Mark the top of the window opening at a point equal to this divided dimension from each corner. Subtract 1/4 inch and mark again. This second mark is the placement of the outside of your blind bracket.
Install the Blind
1. Check the Framing
Drive a finish nail into the sheetrock just on the inside of your second mark. If the nail hits solid wood, you have lumber framing underneath your sheetrock. If it pops through the sheetrock and feels loose, you do not. Remove the nail before proceeding.
2. Choose Blind Location
Decide how far out from the window you want the blind. Typically, they're hung slightly inside the window opening, an inch or two from the glass, to keep them from banging on the window when you open and close them. Mark the same distance back from the edge just inside both outside marks from step three in section one. This is your depth line.
3. Mark the Screw Holes
Remove the sliding plastic square stop from the front of the bracket and hold the bracket in place at the top of your window opening. The front edge should be on the depth line, the outside edge on the outside bracket mark. Mark the two screw holes with a pencil. For lumber framing, proceed to the next step. No frame? Follow instructions on the package to install plastic anchors before proceeding.
4. Attach the Brackets
Pre-drill the sheetrock if you have lumber framing with a 1/8-inch pilot bit. Hold the bracket in place with pilot holes or sheetrock anchors directly above the screw holes. Attach using 1-1/4-inch drywall screws to attach brackets to lumber framing. Use the supplied screws with plastic anchors. Install an additional support bracket at the center to support the window covering if recommended in blind instructions. To avoid twisting the brackets, do not overtighten the screws.
5. Install the Blind
Install the blind into the brackets and slide the square stops into place. Raise and lower the blind and make any necessary adjustments.
