A Homeowner's Guide To Pocket Doors
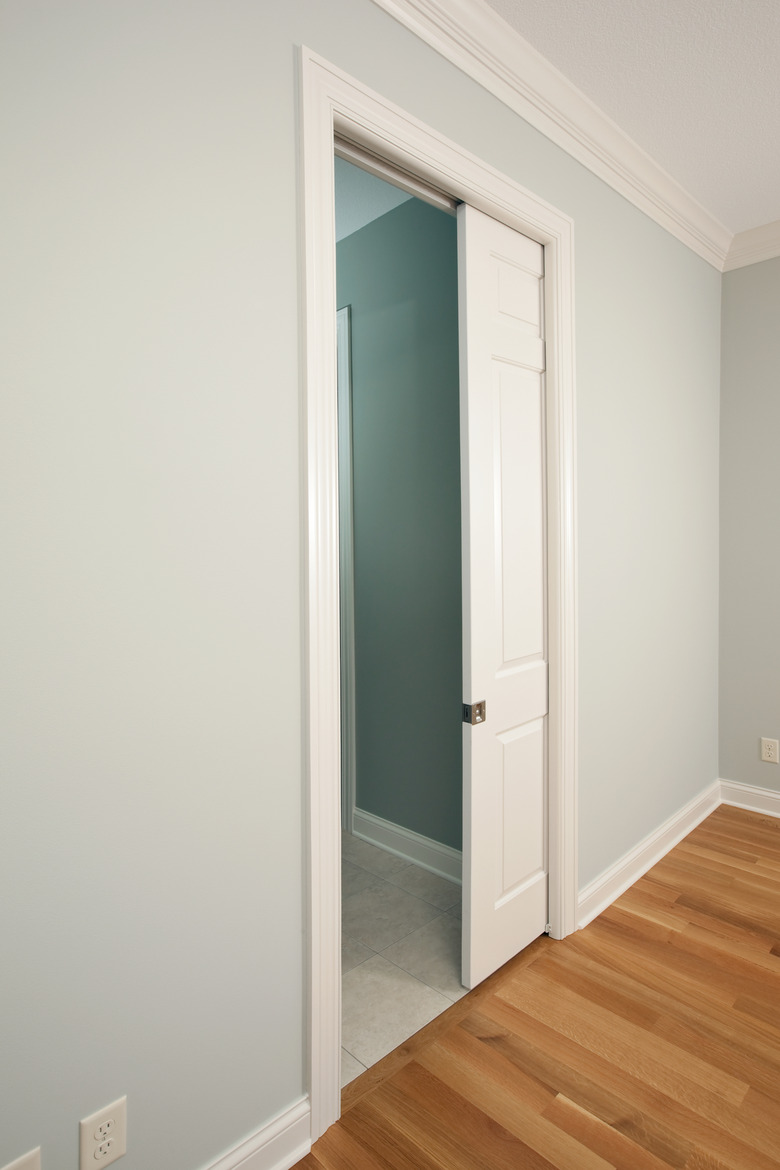
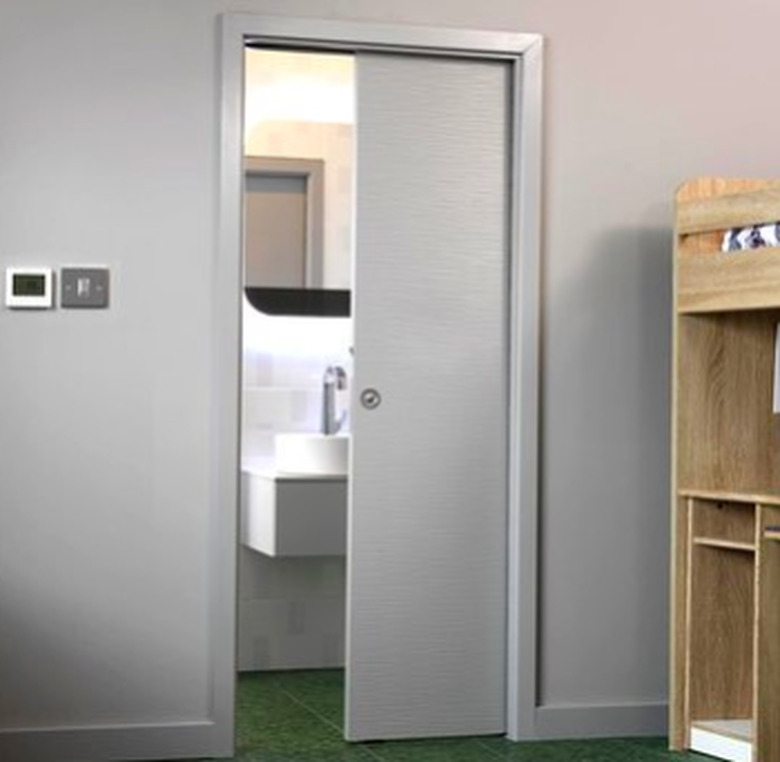
A pocket door is a style in which the door slides sideways into the wall instead of swinging on hinges. Installing a pocket door instead of a swinging one can save space in two ways. Because a pocket door slips into the wall and out of sight when open, you don't have to reserve a semi-circular space for the door to swing. And it also allows you to use the space next to the door for furniture such as a dresser or chair. People often install pocket doors in small bathrooms, bedrooms and even in cluttered living areas that need the extra floor space.
Not every wall is equally suitable for a pocket door, so it's important to do some research or consult with a contractor before making any decisions. The installation procedure is more complicated than the one for installing a conventional door. A wall that contains plumbing pipes, or a wall that is load-bearing, will require a fair amount of extra preparation, causing installation costs to rise significantly. When you finally decide to install a pocket door, it's best to avoid budget materials. Less expensive pocket door kits tend to malfunction, and repairs can be troublesome when you don't have quality hardware.
Pocket doors may have their drawbacks, but in the right situation, these are outweighed by the extra space they create.
A Typical Pocket Door Kit
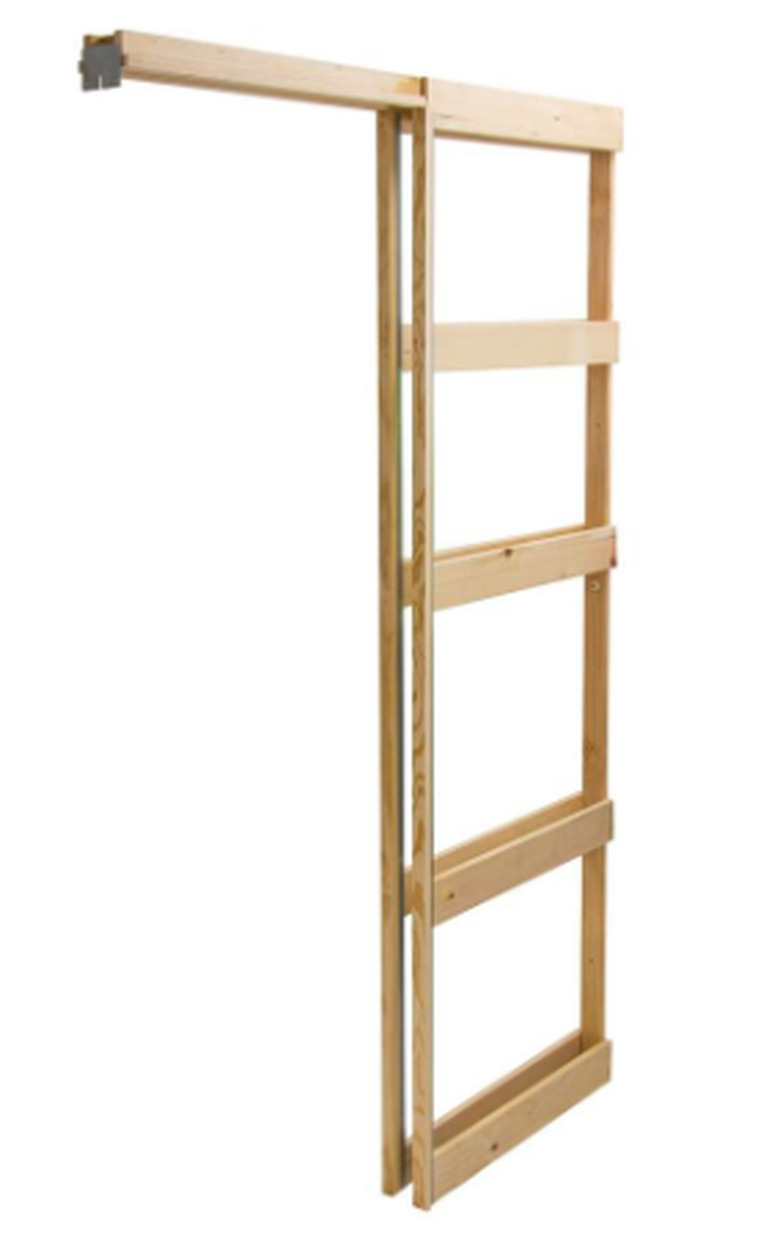
The actual door is only one of the items in a pocket door kit. Just as important is the frame, half of which goes inside the wall. The frame consists of a horizontal strip of wood that attaches to the door header and the pocket itself, which you install inside the wall. On the side of the pocket nearest to the door opening is a split stud, which replaces the solid stud that frames a normal door.
Hardware included with a typical kit consists of brackets to secure the split stud to the bottom plate of the wall, an overhead track, rollers that attach to the top of the door, and a latch set. The quality of the track and rollers is especially important, because rollers that stick or go out of alignment can make it impossible to open and close the door. Some kits also come with protective shielding for the pocket, which prevents anyone from driving a fastener through the wall and into the door.
Where Do Pocket Doors Work Best?
One of the prerequisites for a pocket door is enough wall space for the pocket. When measuring, mark the point on the wall where you want the door to meet the jamb when it's closed, then measure from that point to the corner of the wall. The wall may be suitable for a pocket door if the available space equals twice the width of the door itself plus about 3 or 4 inches wiggle room. For example, if you're planning to install a 24-inch door, you should have 51 or 52 inches of free wall space.
An interior wall free of plumbing pipes or electrical wires is ideal, but if there are a few wires, it isn't a big deal to move them. Think twice about moving plumbing pipes, though, as it will probably be expensive. Most interior walls are made with 2 x 4 studs, and most pocket doors will fit inside one. However, if you have a choice between a 2 x 4 wall and one constructed with 2 x 6 studs, go for the 2-by-6 wall. You'll be able to use a beefier frame, and the finished wall will be sturdier.
Load-bearing walls aren't ideal candidates for pocket doors. Depending on the load they carry, which should be determined by a licensed contractor or a building engineer, you may have to install a 2 x 8 or 2 x 10 header to support the weight. You may not have enough room between the top of the door frame and the ceiling to do this. No such problem exists if you choose a non-bearing interior wall for your pocket door.
Installation Procedure
To install a pocket door, you need access to the wall framing for the entire width of the door frame. This usually means removing the wall covering on both sides of the wall to expose the wall framing from floor to ceiling.
Remove all the studs currently in the door opening, then install full-length king studs that run from the top plate to bottom plate on either side of the frame, as well as a header that spans the entire width of the frame. Screw the pocket door frame to the studs and secure the split stud to the bottom plate with the brackets that come with the kit. You'll have to remove the part of the of the bottom plate that extends across the door opening (normally done with a reciprocating saw). After the door has been installed, you can decide what to do about the floor covering that extends through the door opening.
Once the frame is secure and you affix the door track to the header, you're ready to hang the door. It can be a little tricky to adjust the rollers to get the door to hang straight, so it's handy to have the instructions nearby. The process varies from model to model. Once you've hung the door and it's gliding smoothly, you can cover up the walls with new drywall or whatever wall covering is appropriate.


