Create An Indoor Cocktail Garden With These Herbs
Have you ever bought fresh herbs only to find them weeks later withered in the back of the fridge? Same. Herbs are hard to keep fresh for long. Rather than giving up on them entirely, here's a solution that reduces waste and adds a nice touch to the kitchen: Grow your own herbs with an easy windowsill garden.
In this tutorial we're focusing on how to grow an indoor herb garden that specifically caters to cocktail hour — because doesn't that sound lovely? Whenever you need some basil for a Gin Basil Smash, some mint for a Mojito, or you want to create gorgeous herb-infused cocktail ice cubes, simply reach for your indoor garden. Here's how to get started.
Pick Your Plants
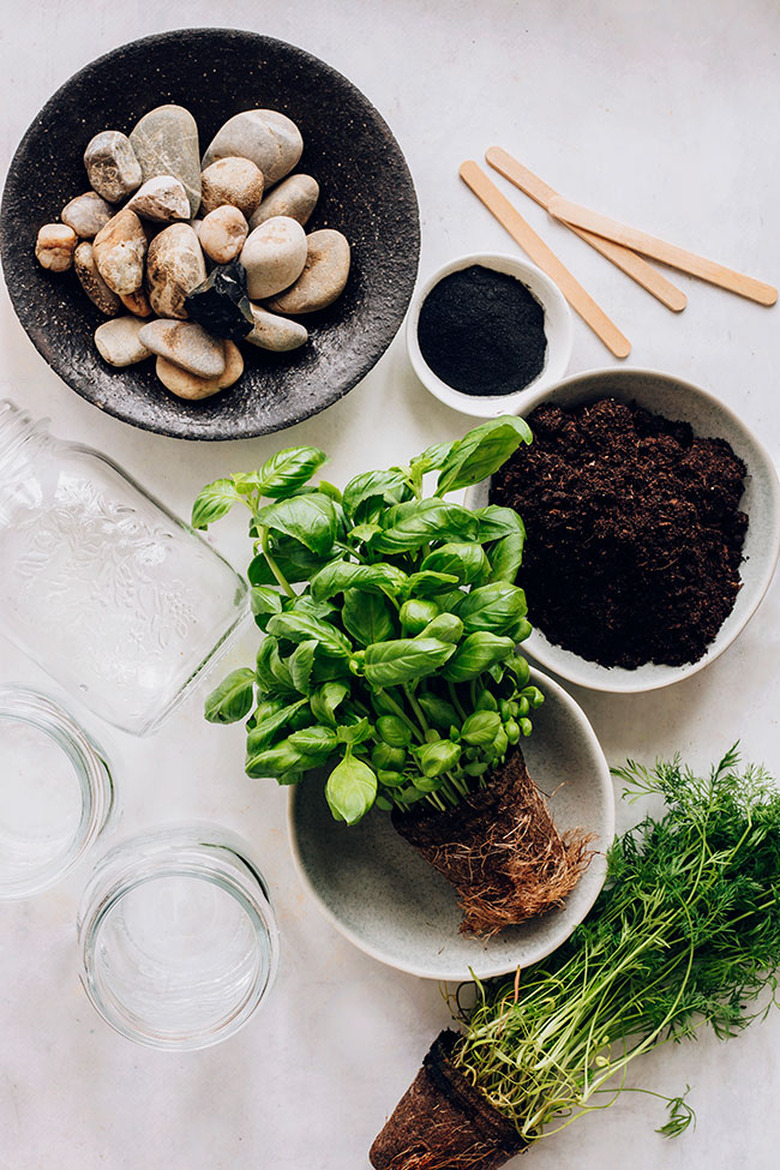
Start by gathering all your herbs and potting supplies. For cocktails, I'd recommend starting with basil, mint, and rosemary. All three are easy to care for and sure to get a lot of usage in drink recipes and cooking projects.
Mint: A blessedly easy to grow herb with a bright and refreshing taste. Keep mint separated in its own pot. Mint has an aggressive root system that can take over wherever it's planted and crowd out other plants.
To use, muddle mint and sugar in the bottom of a glass until the leaves are slightly bruised then add rum for a cooling mojito.
Basil: This fast-growing plant adds an earthy taste to sweeter concoctions and works well with rum and tequila-based drinks. To use, muddle into daiquiris or combine with stone fruit and add to sangria. Try growing Thai basil for a spicier kick.
Rosemary: Infuse the savory taste and woodsy aroma of rosemary in cocktails with vodka or gin. Happy indoors, rosemary combines well with citrus flavors. To use, try making a simple syrup with thin strips of lemon zest and two rosemary sprigs.
Herbs are generally easy to grow and don't mind being pot or container bound, so a cocktail garden can be a customized mixture of your favorites. Other herbs to consider:
Pick the Right Pots
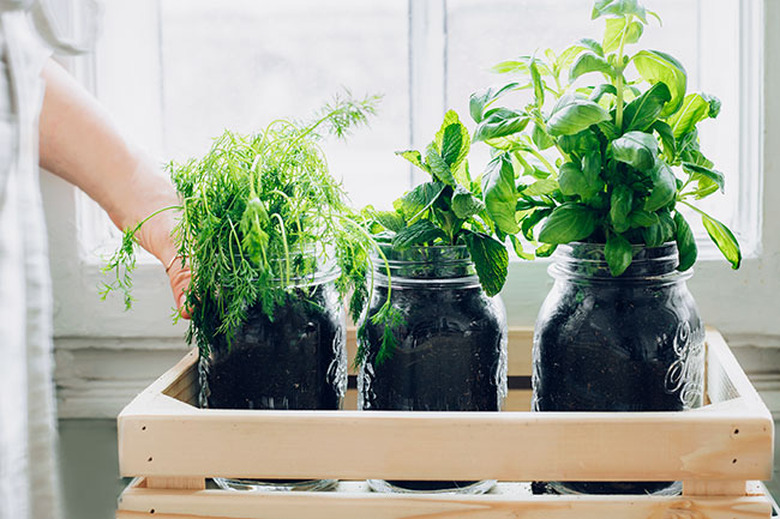
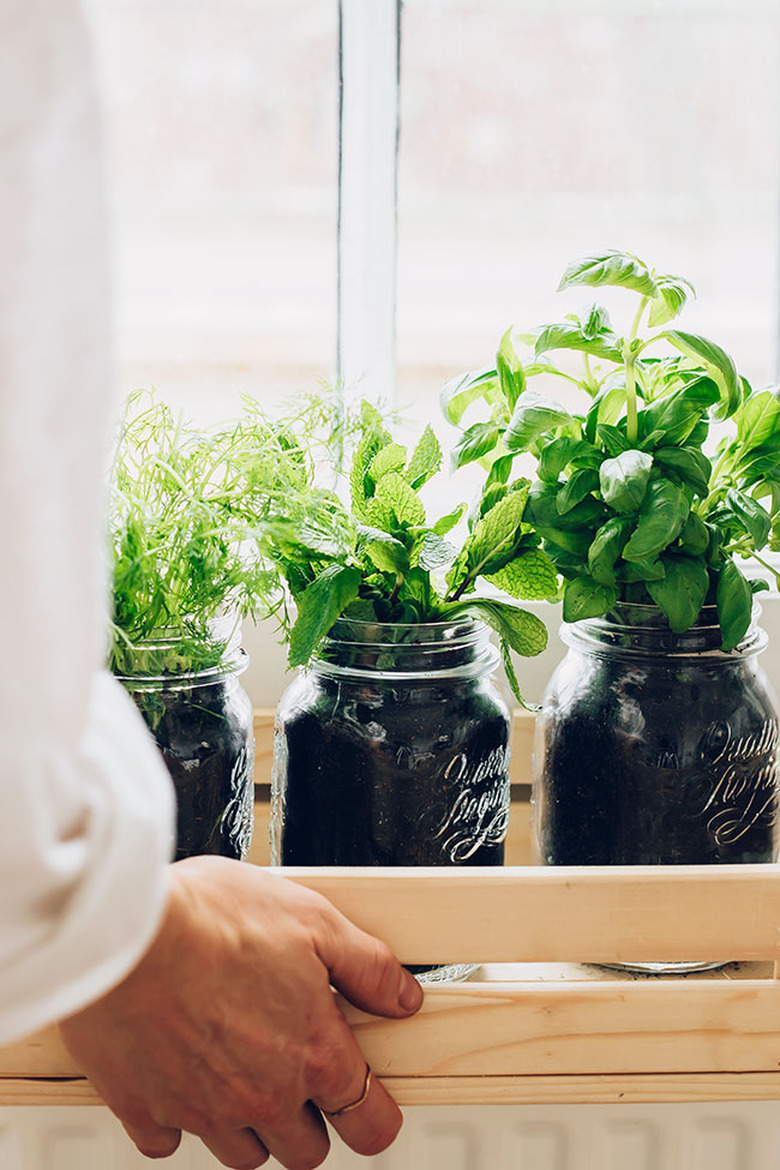
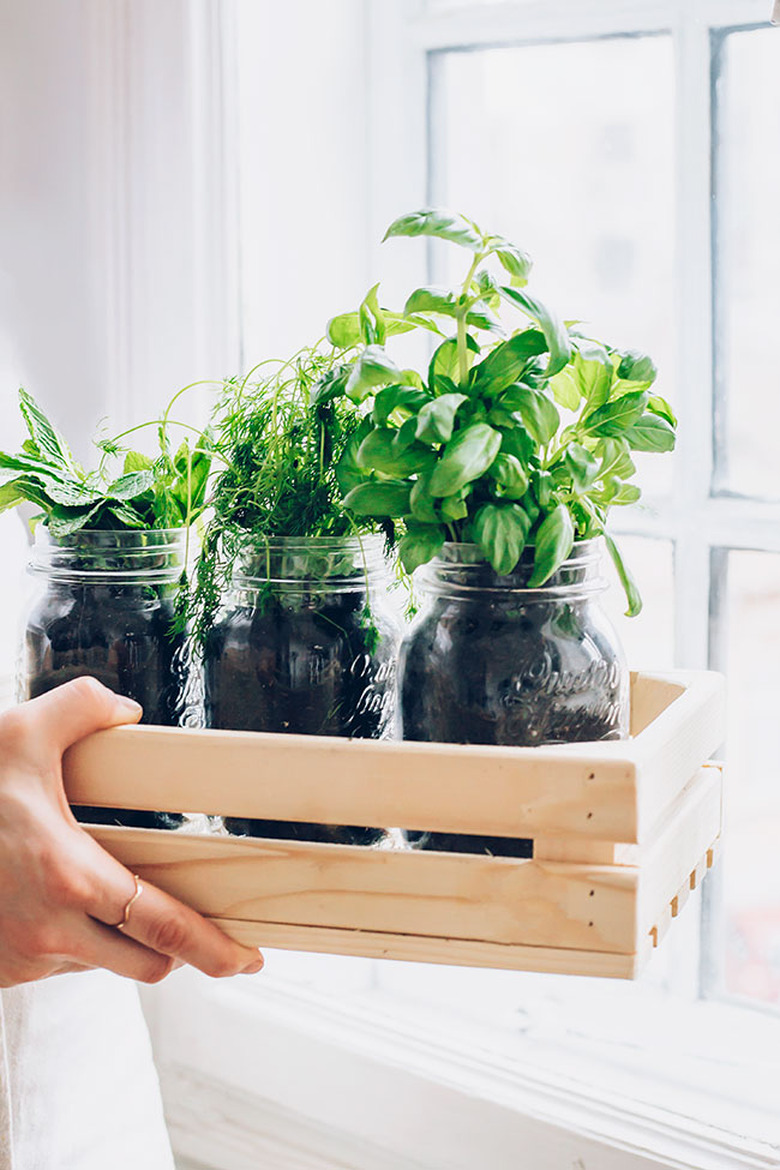
Mason jar gardens are always on trend, plus, since the jars are transparent, you can see exactly what's going with your plants. Small natural clay pots also work well and are inexpensive.
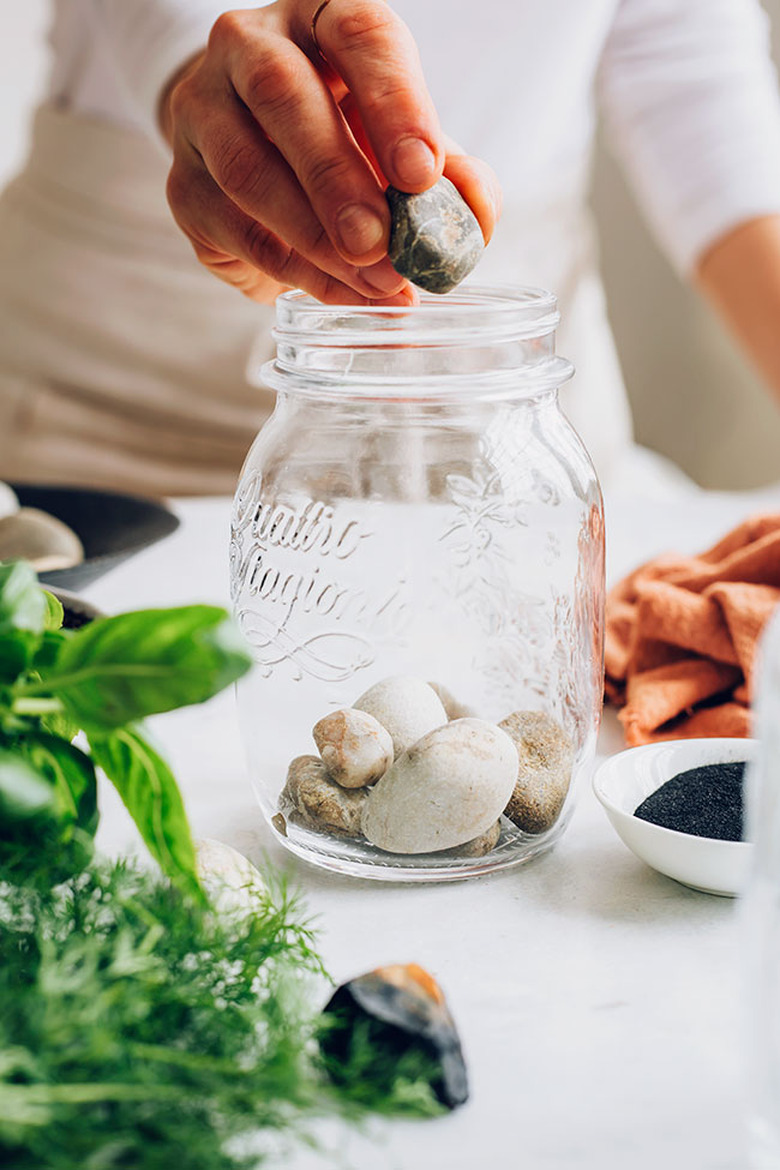
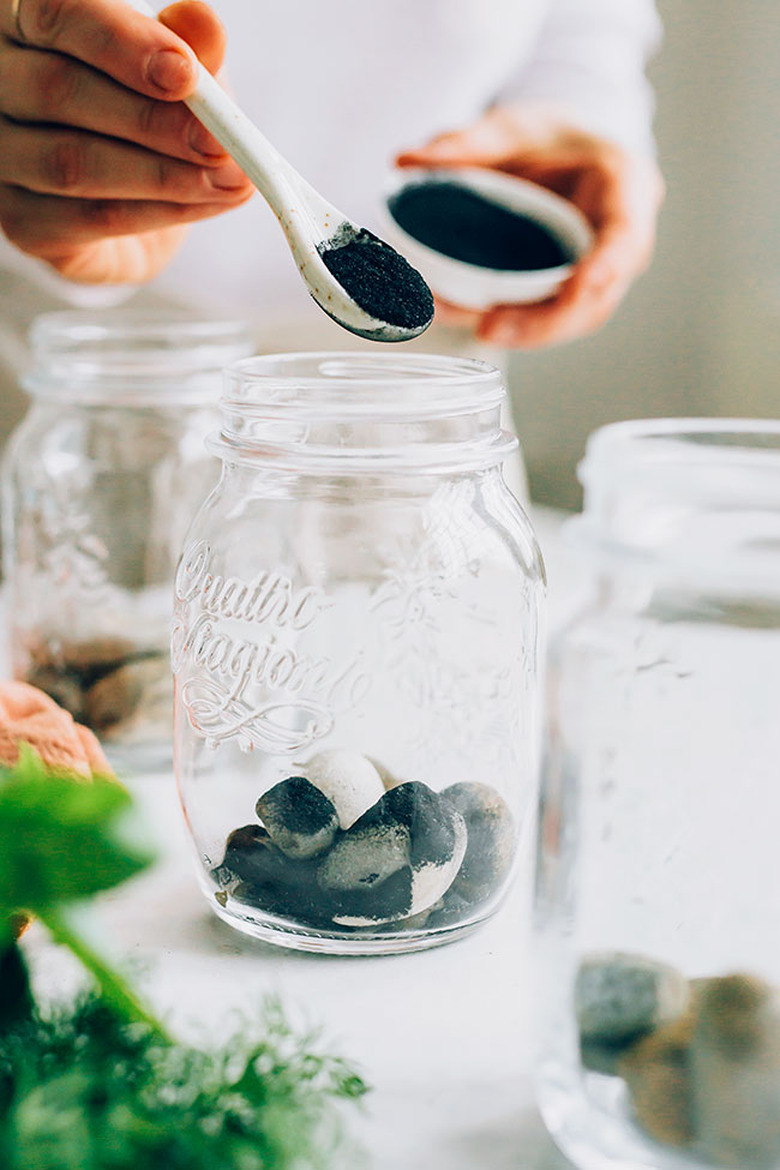
To solve the drainage problem of planters without holes, place a 1-inch layer of stones at the bottom of the container.
Set Up No-Worry Watering
Follow the specific plant's instructions, but in general, water the herbs only when the soil is dry two inches below the surface. Be careful not to overwater, and ensure that the pots have adequate drainage or the roots will rot.
One tip: Add a thin layer of activated charcoal on top of the stones. This little addition helps increase drainage and relieve overwatering anxiety.
Add Your Plants or Seeds
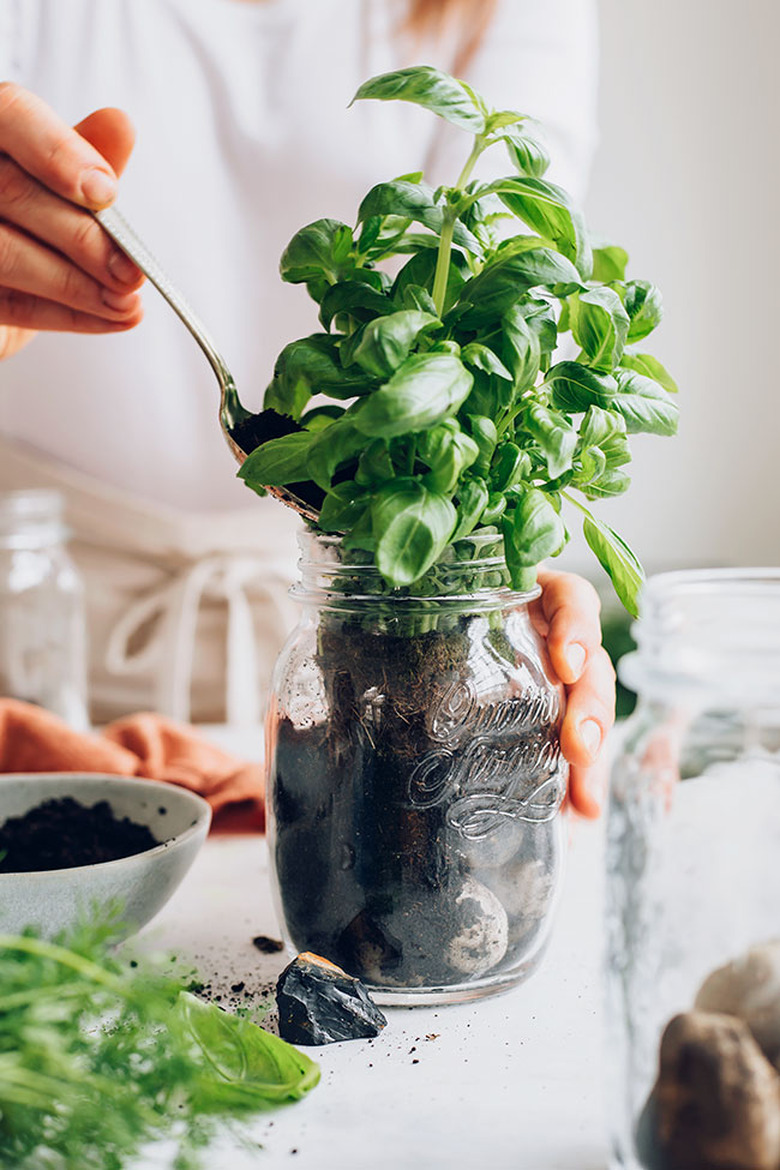
If you prefer immediate gratification, start out with seedlings (pre-grown plants). Fill the container halfway with potting mix, add the plants, and then fill the rest of the way with soil. If your plants come in replantable growing pots (like Jiffy Pots) feel free to use them with the plants when you transfer.
If using seeds, fill each container with potting mix up to ½ inch below the edge of the jar. Place three to four seeds towards the middle, and cover with a thin layer of soil. Water until the soil is damp.
Find the Right Temperature and Sun
Plants need a lot of light, so keep them in your sunniest spot. Windows with southern exposure are best. If you're limited in terms of light exposure, you can shine specialized LED grow-lights on them.
Just beware of cold drafts. Herbs love the heat! Your plants will be happy if there is plenty of warmth and sunlight.
Enjoy the Trimmings
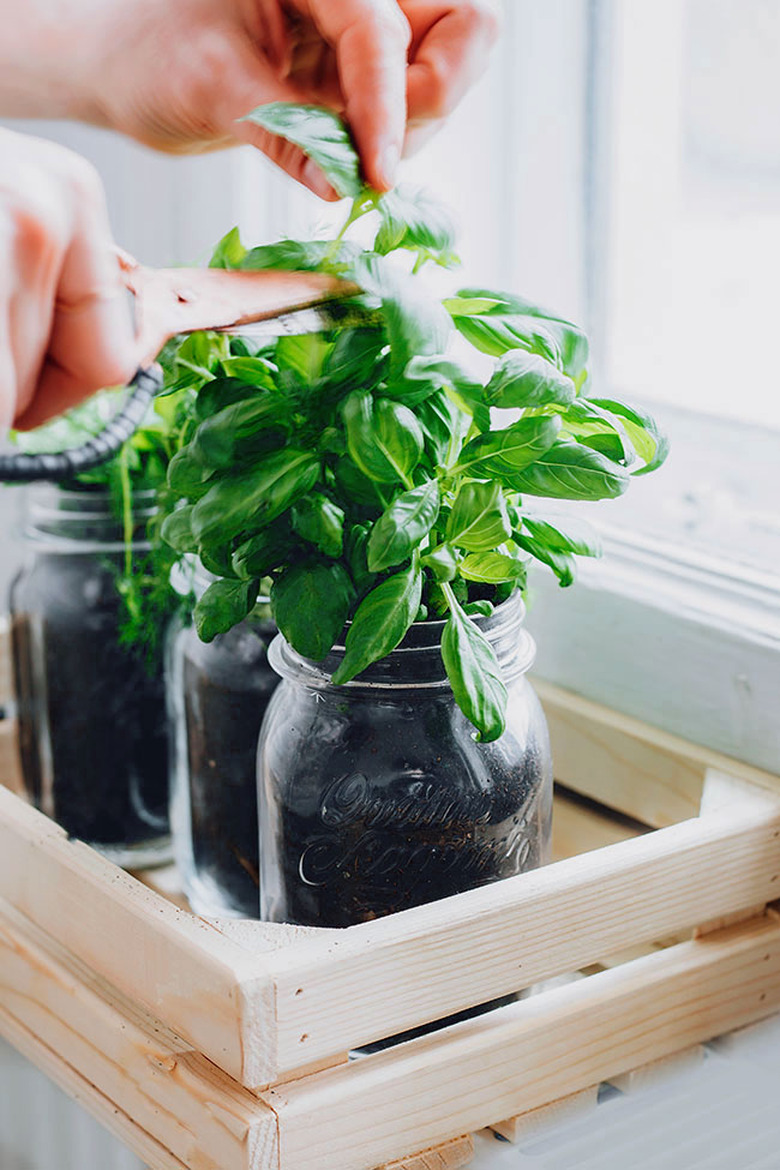
Your plants need regular trimming to stay healthy. You want to grow fuller, shorter plants rather than taller and sparser ones. Bonus: Those trimming are perfect for cocktails and cooking.
Avoid letting the herbs flower. It can create a bitter taste in the leaves, so pinch off any buds as they appear.
Finally, if you're growing herbs from seeds, pluck the thinnest ones when they reach one to two inches in height, so only the strongest plants remain.
