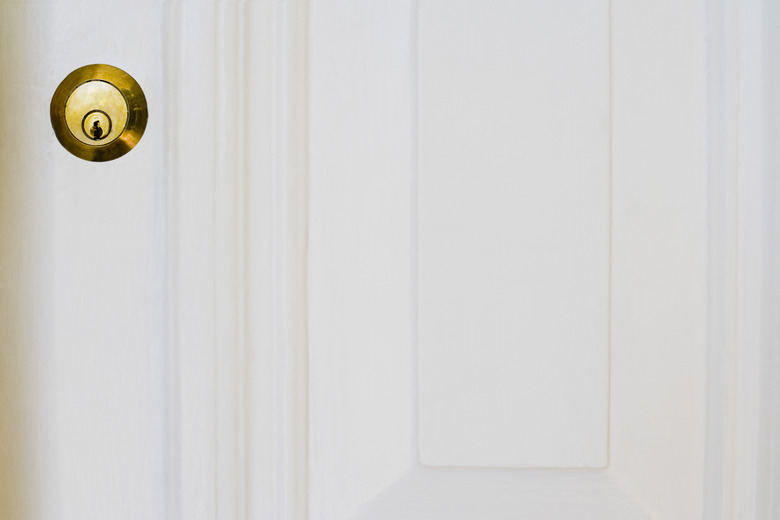
How To Install A Deadbolt Into A Hollow Core Door
Things Needed
-
Measuring tape
-
Pencil
-
Hole saw
-
Deadbolt lock with screws
-
Phillips screwdriver
Deadbolts can only be opened by rotating the lock cylinder, unlike spring locks, which only require pressure to unseat and retract the lock. This locking mechanism makes deadbolts especially secure as compared to other locks. When installing a deadbolt in a hollow core door, you will need to create room for all of the lock components on both sides of the door. Since the door is hollow, little force is required to make this room, unlike a non-hollow door.
Step 1
Decide where to install the deadbolt on the door. Place one of the deadbolt plates on the door to figure out exactly where it should be positioned. Trace the circumference of the plate with a pencil on both sides of the door. Remove the plate and place a dot in the center of the circle on both sides of the door.
Step 2
Measure from the edge of the door to the center of the circle on both sides to make sure the marks are the same distance away from the edge. Then measure from the top of the door to the center of the circle to ensure that the marks are the same number of inches down on both sides of the door.
Step 3
Hold the hole saw flat against the mark on one side of the door. Press the trigger and hold the saw firmly and steadily while it is sawing. Saw slowly to prevent the saw from jumping.
Step 4
Remove the excess wood from the hole saw.
Step 5
Repeat the process to drill a hole into the other side of the door, and remove the excess wood from the hole saw.
Step 6
Identify the pieces of the deadbolt. The deadbolt is composed of a tailpiece, which goes inside the door; a secure plate, which goes on the exterior of the door and holds the tailpiece and thumb turn plate in place; and the thumb turn plate, which contains the lock that you flip manually with your hand.
Step 7
Turn the tailpiece on the inside of the lock plate clockwise, then place the tailpiece and other mechanisms on the lock plate into the hole in the door.
Step 8
Position the secure plate over the hole on the other side of the door. Make sure the two screw holes in the plate run in a straight line at the top of the plate. The secure plate holds the mechanisms on the lock plate in place.
Step 9
Run the main bolts through the side screw holes in the secure plate with your fingers. Line the bolts up with the lock piece on the other side. These bolts will help hold the lock in place. When the bolts are lined up with the lock, tighten the bolts in place with a Phillips screwdriver.
Step 10
Place the thumb turn plate over the secure plate. Position the plate so its two screw holes line up with those in the secure plate, and the thumb turn is straight up and down when the door is locked. Then insert the screws into the thumb turn plate's screw holes and secure them with a Phillips screwdriver.
