How To Safely Remove Knob And Tube Electrical Wiring
Things Needed
-
Voltage Tester
-
Hammer
-
Screwdrivers
-
Linesman Pliers or Wire Cutters
-
Electrical Tape
Tip
Always test every line of wire for voltage before making a cut As you cut each length of wire, keep a trash bag handy to throw it out. It makes for an easier and faster clean-up Tape the exposed ends of the wires leading upstairs if you are not removing everything
Warning
Be sure to turn all of the supplying circuit breakers OFF before starting to remove the wiring Many of today's homeowners insurance agencies will not provide coverage for a home that still has knob and tube wiring in it
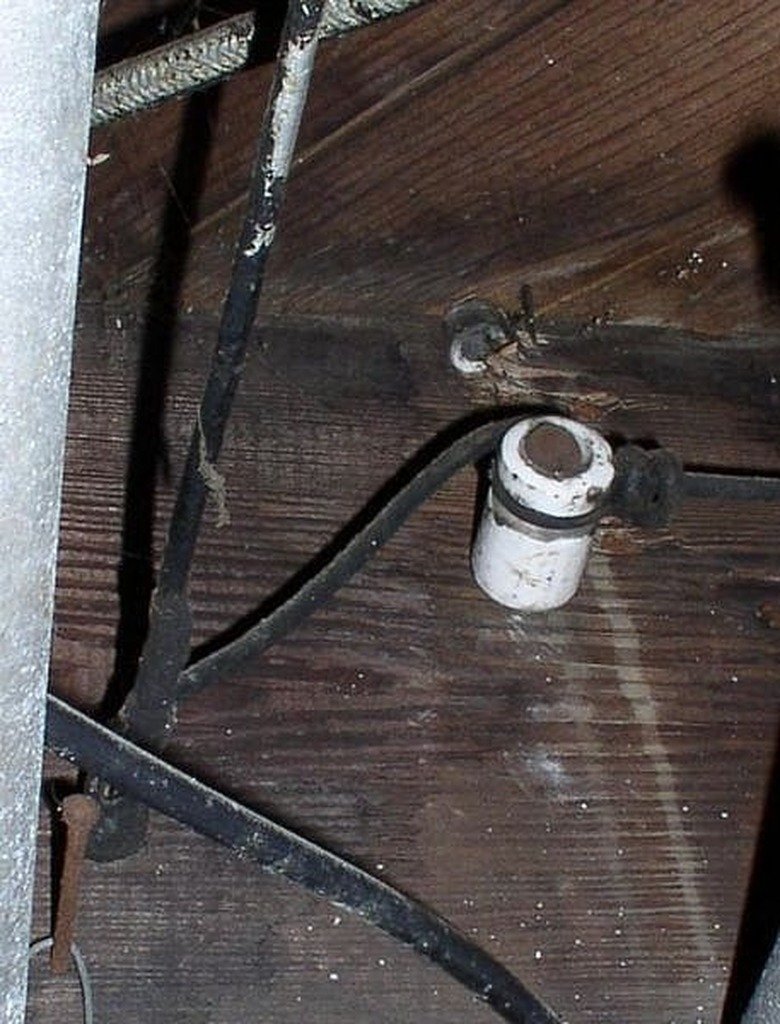
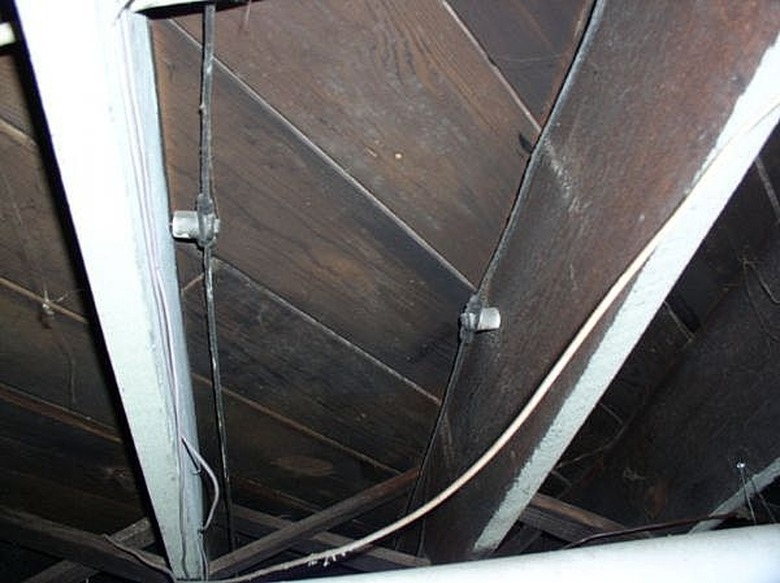
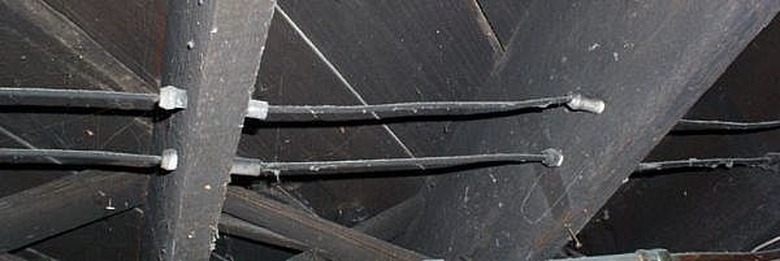
Knob and Tube wiring (K&T) is an older form of electrical distribution which was used in homes up until the 1930s. It was quite innovative for its day, as it incorporated an electrical delivery method which kept the hot and the neutral wires separated, sometimes as far way from each other as the width of the room. This separation helped to reduce short-circuits. The "knobs" were porcelain fixtures which were used to keep the wire suspended as it ran along the ceiling or up the interior of the walls. The "tubes" were the porcelain tubes which protected the wire as it was run through the joists or studs. Even if your home has K&T wiring which is still active, it is a good idea to remove it and upgrade your electric delivery to more "current" methods.
Step 1
When dealing with any electrical job, the first step is to always turn the circuit breakers OFF. If your knob and tube wiring is still connected to the breakers, use the screwdriver to disconnect the feed wires from the breakers and the neutral wires from the neutral bar. Once the wires are disconnected, pull them out of the panel box.
Step 2
Use the voltage tester to ensure that the wire is not supplying voltage. This is easiest managed by using a voltage tester that uses both audio and visual indicators. Simply press the button and hold the tester up to the wire. If the light doesn't stay solidly lit and the tester doesn't beep, then the line is dead.
Step 3
Starting closest to the electric panel, begin cutting out the old wiring with the linesman pliers or wire cutters. When you reach a knob, simply cut the wire on each side of it.
Step 4
At this point, you can choose to remove the knobs or tightly wrap them with electrical tape. To remove, use the hammer to pry them from the wooden boards or use the screwdriver to remove them. Be careful because the porcelain can shatter if stressed.
Step 5
When you reach a tube, just pull the cut end of the wire through it. Empty tubes can be left in the stud or beam if you choose, or you can remove them.
Step 6
If you are not doing a full electrical renovation, then your wire removal will probably entail everything from the electrical panel to where the wire goes through the floorboards leading above. If this is the case, be sure to NEVER connect a live wire to the old knob and tub wiring still within the walls. If your walls are open throughout the home, simply follow these wire removal instructions for the remainder of the home.


