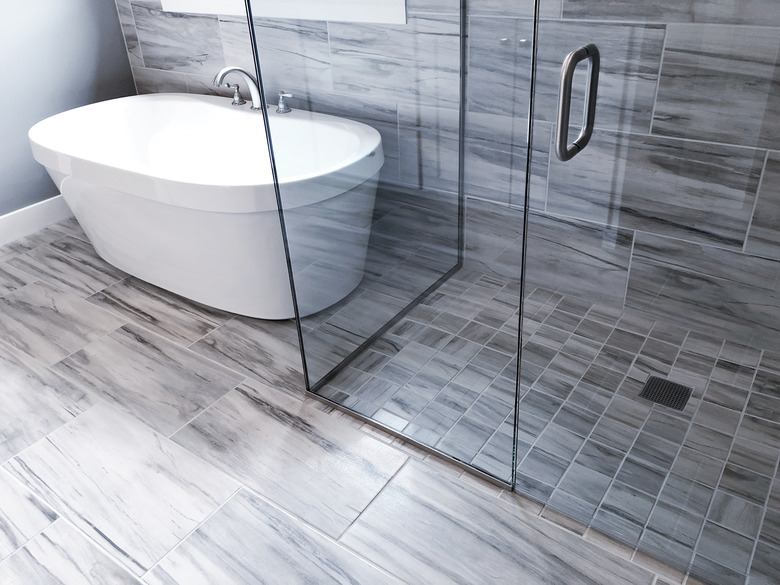
How To Tile A Shower Floor
We may receive a commission on purchases made from links.
The shower is one of the most important spaces in the house, providing a place to relax and refresh or energize and prepare for the day. Tiling a shower floor provides an opportunity to enhance the look and value of your house. However, if the tiling is done incorrectly, you could fall prey to costly mistakes that lead to water damage and the growth of mold and bacteria. As such, tiling your shower floor must be done exactly right if you choose to do it yourself.
Layers of a Shower Floor
Layers of a Shower Floor
A shower floor is composed of several layers. The bottom layer, called a sloped fill, is a mortar subfloor sloped toward a special two-piece clamping-type drain made specifically for mortar bed shower floors. The slope of this mortar subfloor should be at least 1/4 inch per foot.
The second layer, the pan, is a durable, waterproof, vinyl membrane that goes partially up the walls. Any water that gets past the tiles and grout will flow down this membrane to the drain. The third layer, on top of the pan, is expanded galvanized metal lath to reinforce the mortar, and, finally, a sloped mortar bed with the same gradient goes over the lath. The tile is installed on top of that.
Installing the Shower Floor
Installing the Shower Floor
To install the shower floor, first determine the sizing and positioning of all the elements. This includes the plumbing (e.g., location of the drain), the shower doors and your planned tile layout. If you already know what tiles you'll be using, you have an opportunity to size and lay out the shower to take advantage of the size and shape of the tiles. Keep in mind that shower floor tiles need to be a specific rating. If you want the floor and wall tiles to match, make sure the floor tiles are correctly rated and use them for the walls as well.
To begin, remove the top half of the shower drain and plug the drain with a rag so debris doesn't clog the piping. Mix the mortar according to the manufacturer instructions and pack it into the shower floor with a wood float, then screed the first layer of mortar.
Place one end of the straight edge along the wall and the other close to the drain and drag the edge at the desired 1/4-inch slope. Smooth the surface with a steel trowel and let the mortar set for at least 24 hours. Remove the rag that was plugging the drain.
Laying the Liner
Laying the Liner
Next, lay the liner. Run the liner at least 6 inches up the wall, preferably closer to 12 inches. Nail it to the studs with roofing nails at the top edge, but do not penetrate the liner anywhere else except for the site of the drain. You will need to fold the liner at the corners.
Feel for the drain flange bolts through the liner and carefully cut the liner to fit just outside the bolts. Run silicone caulk around the outer edge of the drain flange, then bolt down the top half of the drain assembly. Cover the top of the drain with masking or duct tape to continue to protect the plumbing. Now you can attach the cement board to the walls over the vinyl liner.
Next, cut and lay the galvanized expanded metal lath on top of the liner so it's not quite touching the cement board walls. Cover the lath with another layer of mortar, keeping the same slope.
Laying the Tile
Laying the Tile
Finally, it's time to lay the tile. Ideally, you should tile the shower walls first, and then the floor. Dry lay the tiles to make sure the layout is correct and precut any tiles that need to be altered to fit. Use a notched trowel to spread the thinset. Lay the tiles and wipe them with water and a clean sponge as you set them.
Home Depot recommends that you use tile spacers to make sure the spacing is even. Allow another 24 hours for the mortar to set and mix and fill in the grout with a grouting float. Wipe down the tiles with a damp sponge to remove excess grout. Check the grout instructions for how long to wait before removing the grout haze with cheesecloth.
