How To Calibrate A Thermostat
We may receive a commission on purchases made from links.
Your thermostat works as an integral part of your HVAC system, telling it when to turn on and off, so accuracy is crucial. If your older thermostat doesn't seem to work correctly, you might need to calibrate the thermostat. The process involves cleaning, leveling, and adjusting the thermostat to make it more accurate, which helps keep your home comfortable and can reduce energy use.
Why Is Thermostat Calibration Important?
Why Is Thermostat Calibration Important?
Proper calibration is necessary for your thermostat to read the room temperature accurately and subsequently control your HVAC system properly. If your thermostat isn't calibrated properly, it might cause your HVAC system to turn on and off frequently, run too long, or not run long enough. Dirt in the thermostat and bumping the unit are two possible reasons your thermostat might need to be calibrated.
Thermostats That Need Calibration
Thermostats That Need Calibration
Older mechanical-style and mercury-vial thermostats are usually the only types that need to be calibrated. Bumps and dust can interfere with these styles of thermostats. They also need to be level to function correctly. Newer programmable thermostats typically come already calibrated, and you won't have to do it again.
Checking Thermostat Calibration
Checking Thermostat Calibration
Before you tinker with your thermostat, make sure it needs to be calibrated by checking the accuracy. Using a regular indoor thermometer mounted near the thermostat, wait at least 15 minutes. Check the reading on both the thermometer and thermostat to compare the two. If the temperature difference is only 1 or 2 degrees Fahrenheit, you might not need to make any changes. Larger variations can be corrected with a little thermostat maintenance.
Consider how your HVAC system has been running as well. If it cycles on and off quickly, calibrating the thermostat can help. It can also help if your room seems too cold or too hot based on your thermostat settings.
Cleaning the Thermostat
Cleaning the Thermostat
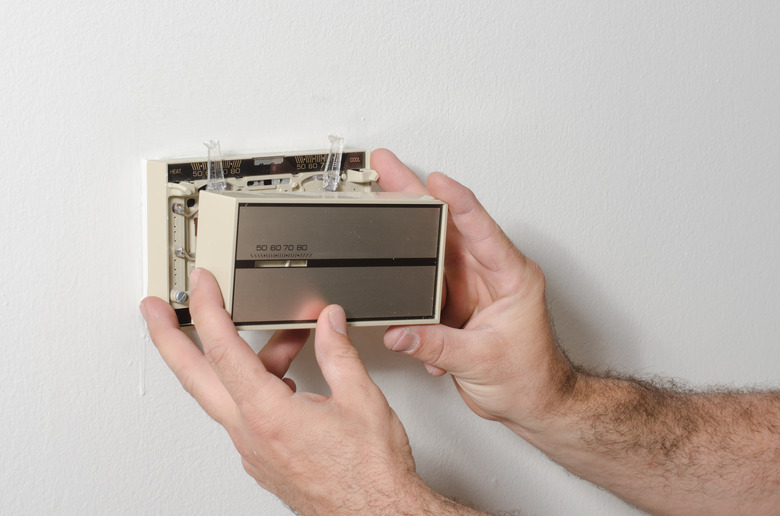
Occasionally cleaning your thermostat helps it work properly. If it gets dirty, the thermostat might not sense the room temperature correctly, which can make your HVAC system work erratically. Shut off the power to your thermostat before doing anything to it. Remove the thermostat cover to reveal the internal parts that need to be cleaned.
Use a soft cloth, soft paintbrush, or cotton swab to wipe down all of the internal parts gently. You can also use compressed air to dust off the internal parts. Use a dollar bill or piece of paper to clean between the contact points.
Leveling the Thermostat
Leveling the Thermostat
Your thermostat needs to be level to work properly. This is especially true if you have a mercury-vial thermostat, as the vial has to remain level to control the temperature properly. Using a small bubble level, verify that the thermostat is installed level. If not, remove the mount and reinstall it to ensure it's level.
Making Thermostat Adjustments
Making Thermostat Adjustments
Your mechanical thermostat has a heat anticipator adjustment lever that you can move to help calibrate the thermostat. Move it one mark at a time until you get the correct calibration. Move it closer to the "longer" setting if your HVAC system turns on and off frequently. Adjust the lever away from the "longer" setting if your home is either too hot or too cold. Some models have a calibration screw near the coil, which you can turn to adjust the thermostat.
Test the adjustments that you make using your indoor thermometer. Give it 15 minutes or more to get an accurate reading and compare the thermostat and thermometer. Make additional adjustments if needed, rechecking each time to verify that the changes were accurate.
