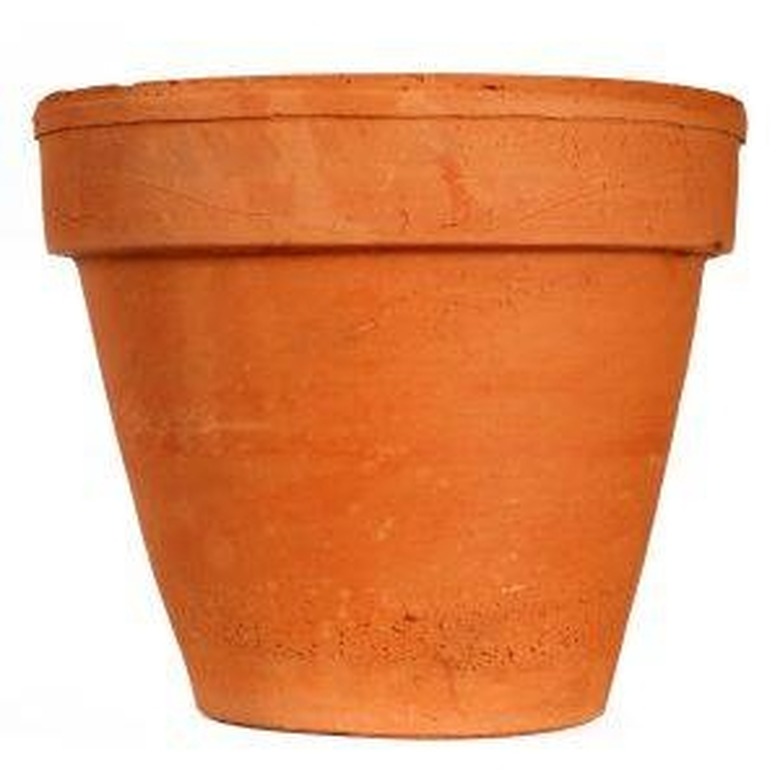
How To Paint Plastic Plant Pots
Things Needed
-
Steel Wool
-
Dish Soap
-
Sponge
-
Alcohol
-
Newspaper
-
Cinder Block
-
Spray Paint
Tip
If the pot is already completely clean, the first step can be bypassed.
Try painting a practice plant pot first to ensure the color and look are desirable.
Warning
Always paint in well-ventilated locations. Paint fumes can be noxious and should never be inhaled.
Plant pots usually come in pale greens and earthen browns and can be aesthetically unappealing. Grime and mold can also take hold on a plastic plant pot and make it even less attractive. Luckily, it's very easy to clean and paint plastic plant pots. Using only a few materials from around the house, you can give your plastic plant pots a new, revitalized look to complement your home or garden.
Step 1
Squirt several drops of dish soap onto the plant pot. Place the pot under a sink, and run a small amount of water over the soap. Gently rub the plant pot with steel wool until all dirt and grime is removed.
Step 2
Pour a generous amount of alcohol onto the sponge. Wipe the surface area of the plant pot to remove any oils or dirt that may remain. Allow the pot to dry for several minutes.
Step 3
Take the pot into a well-ventilated room with a temperature of 60 degrees to 85 degrees. Warmer temperatures encourage the paint to dry faster. Cover the immediate area with newspaper.
Step 4
Place the pot on top of a cinder block so the entire surface area can be painted in one session. Shake the can of spray paint for several minutes to completely mix the contents.
Step 5
Hold the can 8 to 12 inches away from the pot and begin spraying using fast, sweeping motions. Spray the inner rim of the pot, ensuring the paint goes deeper than the soil line. Allow to dry for 15 to 20 minutes, or until the paint is no longer sticky.
