How To Build & Install An Exterior Door Jamb
Things Needed
-
3 preformed exterior doorjamb boards, 2 8-foot and 1 6-foot
-
Tape measure
-
Pencil
-
Circular saw
-
Level
-
Square
-
Shims
-
Compressor
-
Finish nailer
-
Framing nailer
Tip
If you also plan to get a new door, the easiest thing to do is to purchase a prehung door. The door is already installed on a premade doorjamb.
Building a doorjamb is a relatively easy project. You can purchase precut boards for this project, or you can purchase trim boards and cut them to size yourself. Some preformed exterior doorjamb boards will already have weather stripping attached to them. Purchasing precut, ready-to-go doorjamb boards will save you time and effort.
Step 1
Measure the right side of the door frame with your tape measure. Measure from the floor or base of the frame to the top of the frame. Mark the measurement on one 8-foot doorjamb board. Use a circular saw to cut the appropriate length. Measure the left side of the door frame. Mark the measurement on the second 8-foot doorjamb board. Use the circular saw to cut the length.
Step 2
Place the two side doorjamb boards into the frame, one on each side of the frame. Use a helper to hold them in place. Measure across the top of the door frame between the two side jambs. Mark the distance on the 6-foot doorjamb board. Use the circular saw to cut the length. The wood part of the doorjamb consists of three sections, two sides and one top. This does not include the interior and exterior trim or the threshold.
Step 3
Attach the finish nailer to the compressor hose. When you nail the three doorjamb boards together, the weather stripping side or the open edge for weather stripping placement must be facing the interior part of the house. Place the short overhead board between the top of the two side jambs. Make sure that the ends of the side jambs do not extend past the ends of the center board. The nailed doorjamb should look like a big upside down square letter U. It is not necessary to miter cut 45-degree angles in the jamb pieces.
Step 4
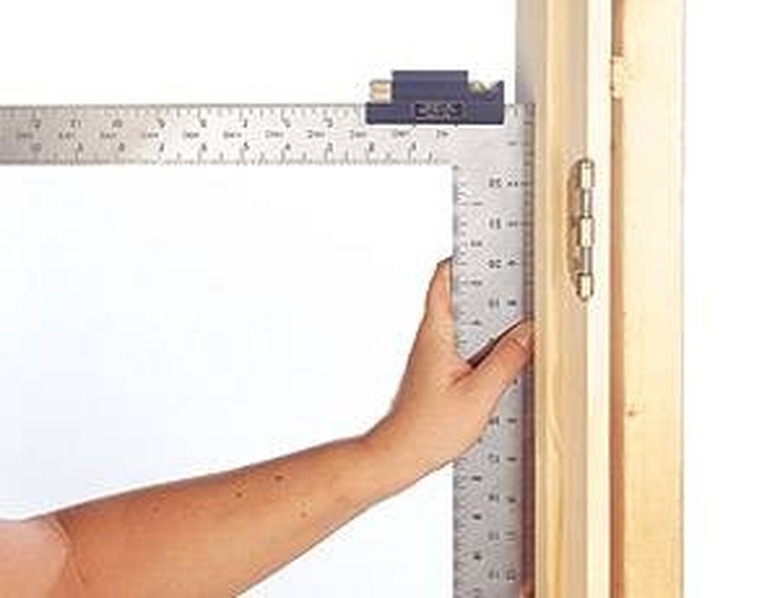
Use a square to make sure that when you nail the jamb parts, the corners are 90 degrees. Hold one side jamb and the top to the side and top of the square. Nail the two parts together. Do the same for the other side.
Step 5
Place the doorjamb into the door frame. Insert shims between the doorjamb and the door frame. Insert the shims at the top on both ends and along the sides at the top, middle and bottom. Overlap the shims by sliding one in from the outside and one in from the inside. Make sure that the shims are tight. Use more shims if two are not enough. Check to see if the door is level. Hold the level vertically to the sides and horizontally across the top. If the doorjamb is not level, adjust the shims until it is.
Step 6
Attach the framing nailer to the compressor hose. Use the nailer to secure the doorjamb to the door frame. Shoot the nails into the same locations that you placed the shims. Use your box knife to cut the excess portion of the shims even with the doorjamb.
Step 7
You will need to purchase and install a new threshold and trim for the interior and exterior sides of the doorjamb. When you are finished, you are ready to install the door. Use a 1-inch paddle drill bit to cut the holes for your door latch and deadbolt.


