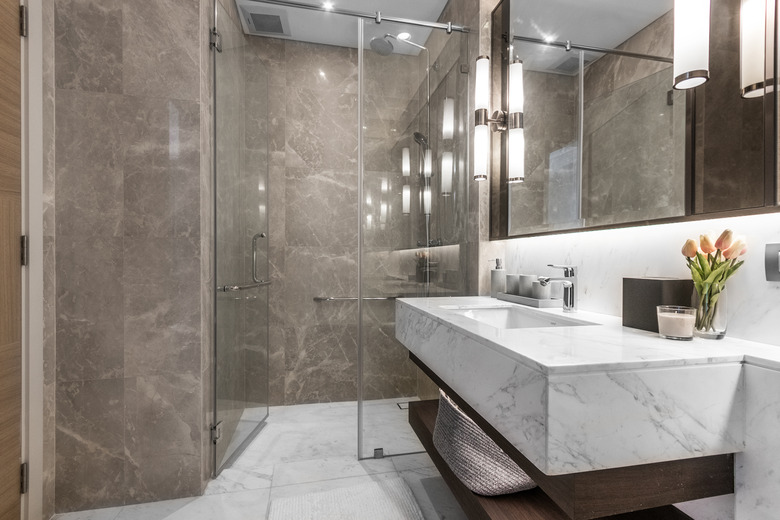
How To Make A Concrete Shower Pan
If you are planning a bathroom renovation, you may be considering redoing your shower. Whether your shower is tiled or a fiberglass prefabricated shower stall, you will need the proper waterproofing underneath the floor and behind the walls to ensure the longevity of the unit. Part of waterproofing the shower floor involves installation of a shower pan. If you are so inclined, you can make a concrete shower pan yourself.
Important Considerations Before Beginning
Important Considerations Before Beginning
To protect the subfloor beneath your shower and whatever rooms are beneath your bathroom, it's absolutely essential that your shower pan be installed properly. Any gaps in the concrete or flawed areas may lead to leaks. In many cases, these leaks aren't immediately apparent. Water seeps slowly through holes, gaps or cracks in the concrete and worsens them over time, leading to widespread and costly damages.
As such, if you are at all unsure what you are doing when pouring and installing the concrete shower pan, you should leave the task to a professional. If you decide to take it on yourself, it can be helpful to have another set of hands to ensure you are doing the project properly.
For your safety, wear protective goggles, gloves and a mask or respirator while pouring the concrete. Follow all package instructions as well. If you have an exhaust fan in your bathroom, turn it on while you are working. Leave all doors and windows open during the installation process to ensure adequate airflow too.
Pouring a Concrete Shower Pan
Pouring a Concrete Shower Pan
Before you can pour a concrete shower pan, you should frame the area with lumber. You might choose to use studs for the walls and 2 x 10-foot boards for the floor pieces. You'll also need to install the first part of the drain assembly (but not the cover). It's important to cover the top of the drain to protect it from getting mortar on it during the early stages of the pan installation process.
Next, you line the floor with tar paper, then with a metal lath. This metal lath will work to hold the floor mortar in place. Prepare the floor mortar, which will have a pliable consistency. You will need to create a slope from the edges of the shower to the drain using your mortar so that water runs downhill into the drain.
Next, you will need to lay a rubber mat or shower pan liner down over the area. You can find these at your local plumbing supply or home improvement store. Be sure this mat covers all edges of the shower pan, including right around the drain. Then, you can add the drain cap to the drain assembly and once again cover it to protect it from getting covered in concrete.
Pouring the Concrete
Pouring the Concrete
Follow the instructions on the mortar package and prepare enough concrete to cover the shower pan. Then, apply another layer to cover the entire base. Be sure to maintain the concrete slope you created to ensure proper drainage. Home Advisor recommends waiting at least 24 hours for the concrete to dry before moving on to the next step.
Once the concrete is fully dried, you can install your shower. If you took the time to install a concrete shower pan, chances are good you have opted for a tile shower. You'll need to be sure you properly waterproof your tiles with mortar and with grout later on to keep the entire shower watertight.
