How To Remove Scratches From Acrylic
Things Needed
-
Mild liquid detergent
-
Clean, soft rags
-
Mild abrasive polishing compound
-
Metal polish
-
Bucket of water
-
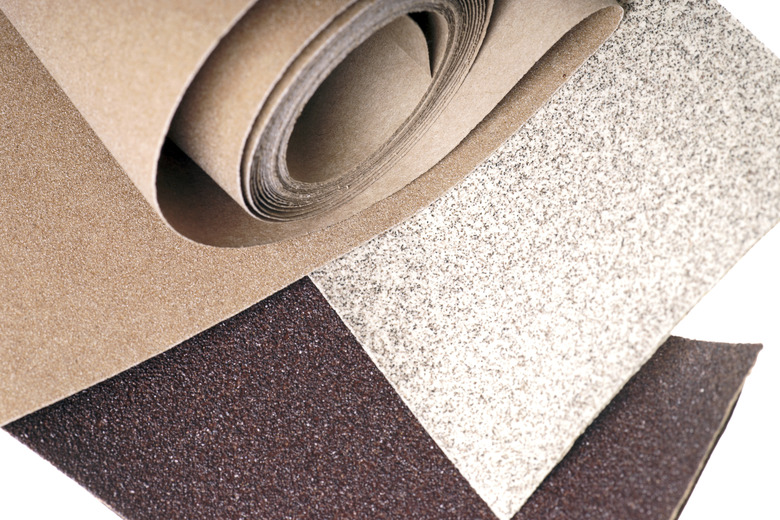
Wet/dry sandpaper (600, 800 and 1200 grit)
-
Heat gun
Tip
During the cleaning process, avoid abrasive cleansers and rough drying materials because they could create more scratches.
Mild abrasive polishing compound and metal polish are available at most home improvement stores.
A small, hand-held buffer can make the buffing process easier.
Acrylic plastic, a synthetic material sold under several brand names including Plexiglas, Perspex and Lucite, is used to make many household items including shower doors, skylights and even furniture. Key benefits to using this man-made material are that it's lighter and stronger than glass and safer to use around children. Still, acrylic plastic can become scratched with daily use. With a few supplies, you can remove most of the scratches yourself.
Step 1
Clean the surface around the scratched area to remove any grime, grease or dirt. Make a soapy mixture of warm water and mild liquid detergent and use a clean, soft rag to wash down the area. Rinse the acrylic with warm water and wipe it dry with a clean, soft rag.
Step 2
Skip to Step 8 if the scratches are on textured acrylic. Otherwise, run your fingertips across the surface to determine how severe the scratches are. If your fingernails catch as they move across the surface, the scratches are heavy — skip to Step 6. If you can barely feel the scratches, they are light surface scratches and can usually be rubbed and buffed out.
Step 3
Apply a small amount of mild abrasive polishing compound to the scratched area with a clean, soft rag. With constant pressure, move your hand in a circular motion until the scratches become hard to see. This may take several minutes and you may need to apply more compound. Continue the rubbing process until the scratches are no longer visible.
Step 4
Wipe off the compound with a clean, soft rag. If you can still see the scratches, submerge a sheet of 800-grit sandpaper in a bucket of water, remove it and then fold into a workable size. Rub the surface using a circular motion. Keep enough moisture on the paper to avoid overheating the acrylic. Once the scratches become hard to see, repeat the process with finer, 1200-grit sandpaper.
Step 5
Buff the acrylic with metal polish to bring back the shine. Apply the polish with a clean, soft rag and move your hand in a circular motion to buff the area to complete your repair of lightly scratched acrylic. Several applications of polish may be needed to fully restore the shine.
Step 6
Submerge a sheet of 600-grit sandpaper in a bucket of water to begin the process of handling heavy scratches. Remove the sandpaper and fold it into a workable size. With constant pressure, rub the surface using a circular motion. Keep enough moisture on the paper to avoid overheating the acrylic. Continue wet-sanding for two to three minutes.
Step 7
Repeat the process with 800-grit sandpaper followed by 1200-grit sandpaper. Wipe the surface dry with a clean, soft rag. Follow the instructions in Step 5 to buff the acrylic and restore the shine.
Step 8
Hold a heat gun three to four inches from the scratched area of textured acrylic and direct the heat toward the scratches using an easy back-and-forth sweeping movement. The heat softens the acrylic allowing it to flow and blend into the scratches, which causes the scratches to disappear. Avoid pointing the gun in one area too long as this can overheat the area and cause blistering or warping.
