How To Replace The Starter For A Fluorescent Light
Tip
If replacing the starter and the fluorescent tubes do not fix the non-working light, the ballast is likely the problem.
Warning
When working on a ladder with fluorescent tubes, use caution as it can be easy to accidentally bang the tube, causing it to break.
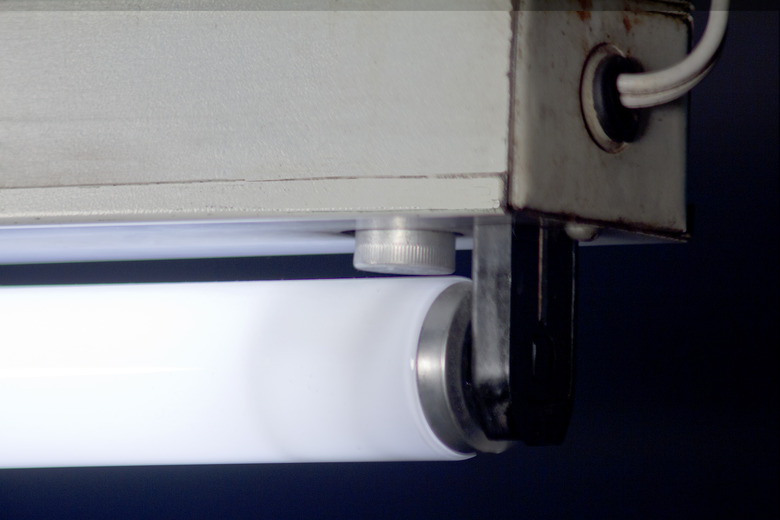
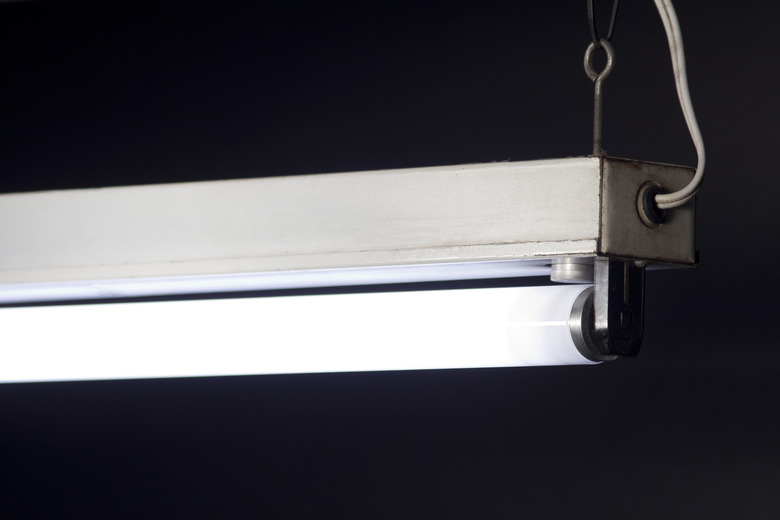
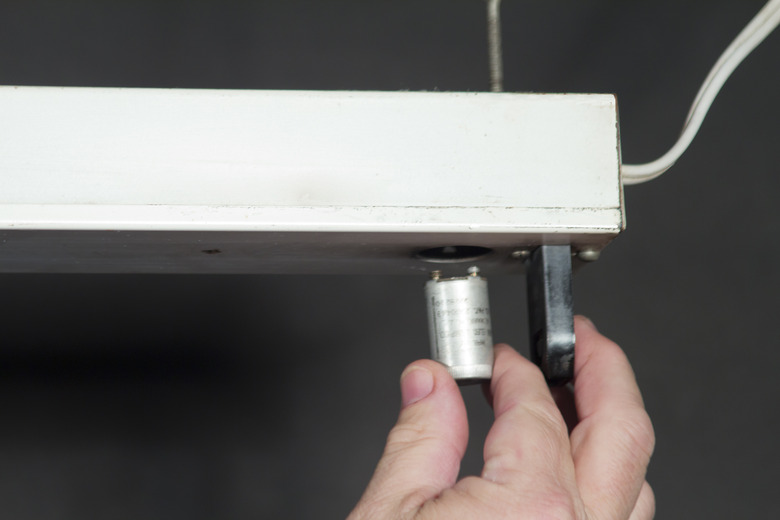
Fluorescent light fixtures sold in hardware stores as of 2010 are a little different than the ones sold a decade ago. Today's fluorescent fixtures feature electronic starting ballasts, while older versions used an independent starter to kick-start the light. In these older fixtures, a non-working light could often be repaired by simply replacing the starter instead of the ballast. You can easily tell if your fluorescent fixture has a starter as it will have a small silver (or white) cylinder directly behind the tube.
Step 1
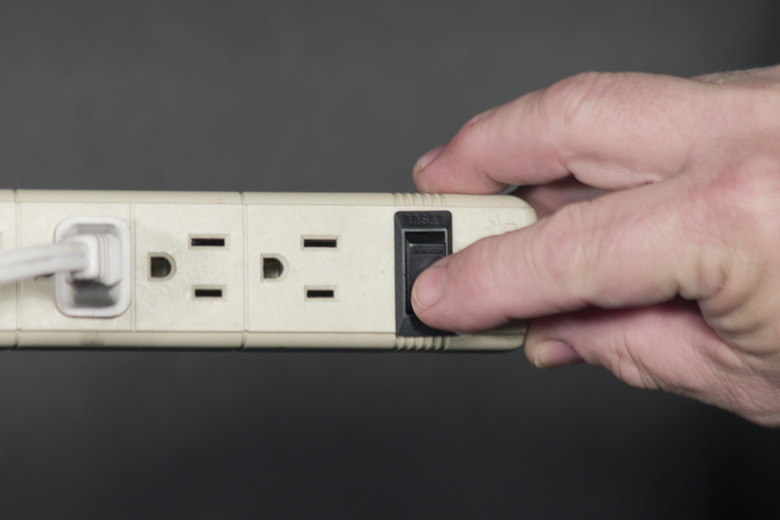
Turn off the power to the fluorescent light by turning off the circuit breaker or the light switch.
Step 2
Remove the fluorescent light's cover lens if it has one, using the screwdriver if necessary.
Step 3
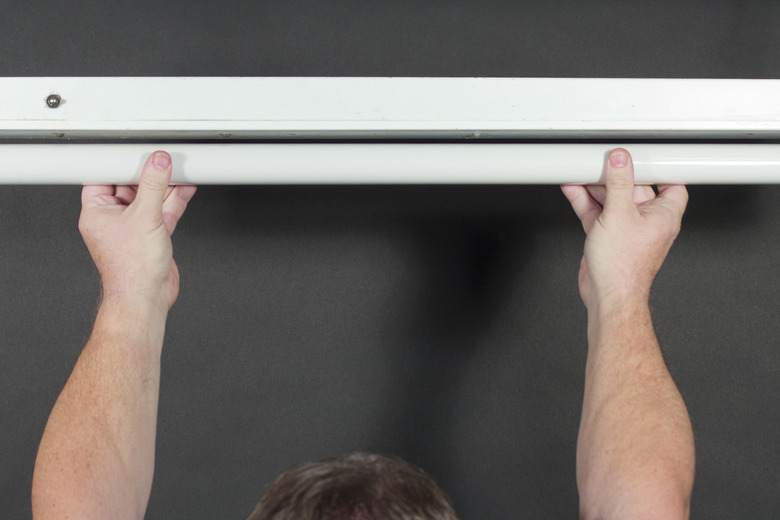
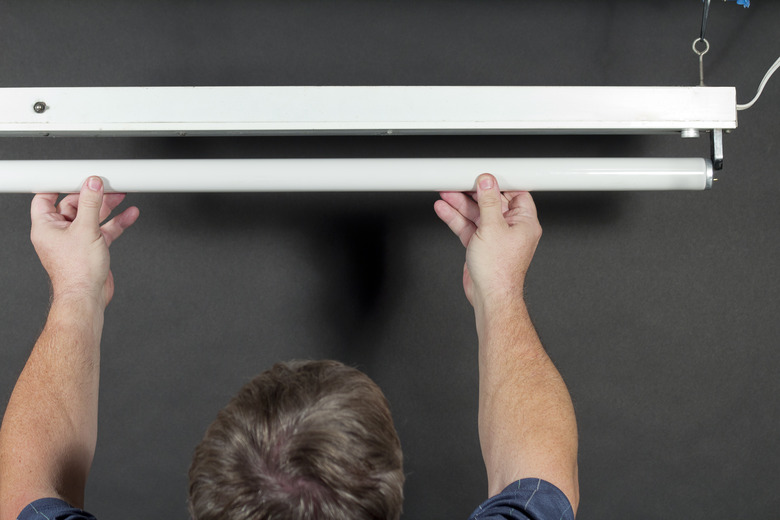
Remove the fluorescent tube by giving it a half-turn until its pins align with the slots in the sockets. When the pins are aligned, pull the tube straight down, releasing the tube from the sockets.
Step 4
Grasp the starter with your fingers and give it a 1/4 clockwise turn. Once it unseats, you can pull it straight out.
Step 5
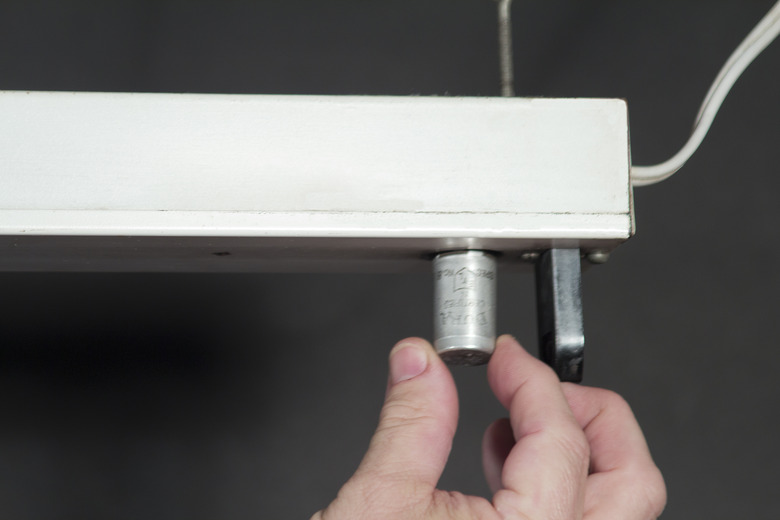
Plug in the new starter and give it a 1/4 counterclockwise turn. It will snap in place.
Step 6
Replace the fluorescent tube by sliding the pins straight up into the socket's slots and giving the tube 1/2 turn.
Step 7
Replace the fixture's cover lens if it has one and turn the power back on to the light.
