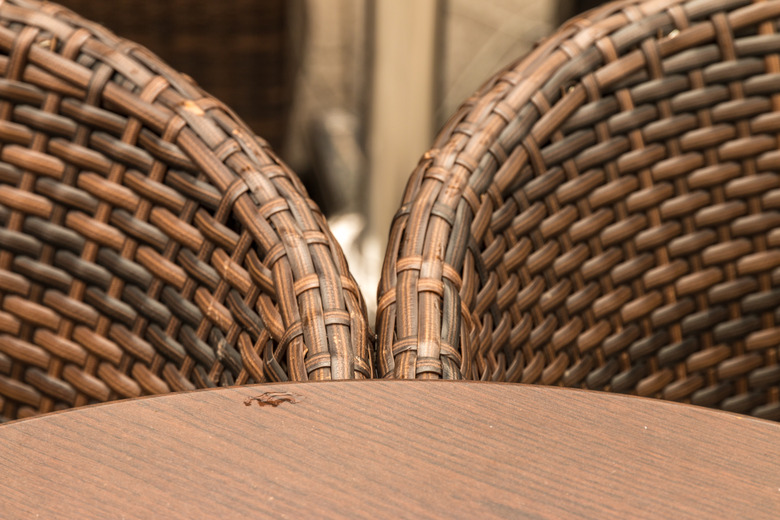
How To Fix Resin Wicker Chairs
Woven wicker and rattan furniture are perfect for the patio and rooms with large windows. The handcrafted look offers a casual, natural feel to the space, and a smartly positioned antique wicker sofa can make even the most urban apartment feel appropriately rustic and natural.
Unfortunately, the intricate appearance of wicker and rattan designs can make owners panic when the pieces begin to fray or take light damage. Resin and plastic wicker pieces, in particular, are frequently relegated to second-string patio seating, used to save shoveled-out parking spaces or discarded entirely, which is a shame! One of the greatest benefits of synthetic wicker is that it's easy to repair at home. All you'll need are a couple of basic tools and some items from the local craft store, and your wicker will be right back to looking wicked.
Plastic Wicker Versus Real Wicker
Plastic Wicker Versus Real Wicker
It's a common misconception that plastic and resin wicker is "fake" wicker, compared to wicker pieces made from natural fibers like bamboo, cane, reed, straw or even grass. Synthetic materials make for perfectly fine wicker material because the term "wicker" refers only to the style of weaving.
The greatest difference between synthetic and natural wicker pieces is that synthetic pieces are considerably more durable, at the cost of looking more modern than their natural counterparts, making them perfect for outdoor spaces and earning them the nickname "all-weather wicker." Synthetic wicker is also significantly easier to repair and maintain at a low cost.
Replacing Frayed Parts
Replacing Frayed Parts
If your resin wicker furniture is in need of repair, you can have everything done in an afternoon. You'll need a pair of needle-nose pliers, scissors or wire cutters and either epoxy (quick drying is ideal) or a glue gun, along with a pack of replacement resin wicker strips or strands, depending on the make of your furniture. These can be purchased online or from your local craft store, sometimes packaged in a wicker repair kit with manuals on maintaining your wicker along with glue and some other tools or pieces.
With all this in hand, clean and dust the furniture piece with a cloth, water and a mild cleanser, then locate the problem strands or strips. With your scissors or wire cutters, cut both ends of the frayed or damaged lengths. Pull them out with the needle-nose pliers and then measure out a slightly longer length of your replacement material.
Using the pliers again where necessary, weave the replacement material into the empty spaces and then secure the ends to the original wicker material surrounding it with glue or epoxy, trimming the length of replacement material if necessary. Use the pliers to push and bend the material so it looks uniform with the rest of the wicker weave.
Cleaning Things Up
Cleaning Things Up
Once you've got your replacements correctly placed and trimmed, tuck the ends of the new strands or strips under other parts of the wicker to conceal the repairs. Then, to finish cleaning it all up, take your wicker furniture outside (or place a tarp or newspaper under it if it's already out) and give it a touch-up with paint.
Depending on the severity of the damage and how much material you've had to replace, you can use a combination of spray paint and a hand brush to make the color look uniform. Alternatively, use this as an opportunity to give the piece a makeover with a whole new coat of paint. Just be sure to finish up with an exterior-enamel spray if the piece is meant to be used outside.
References
- Gardenerdy: Wicker Furniture Repair
- Hayes Garden World: How to Fix Wobbly Wicker Garden Chairs
- ATC Furniture: Fix Outdoor Resin Wicker Furniture
- ATC Furniture: How to Repair Resin Wicker Chairs using Glue Gun
- Better Homes & Gardens: Caring for Wicker Furniture
- ATC Furniture: 5 Steps to Repair Rattan Wicker Furniture
