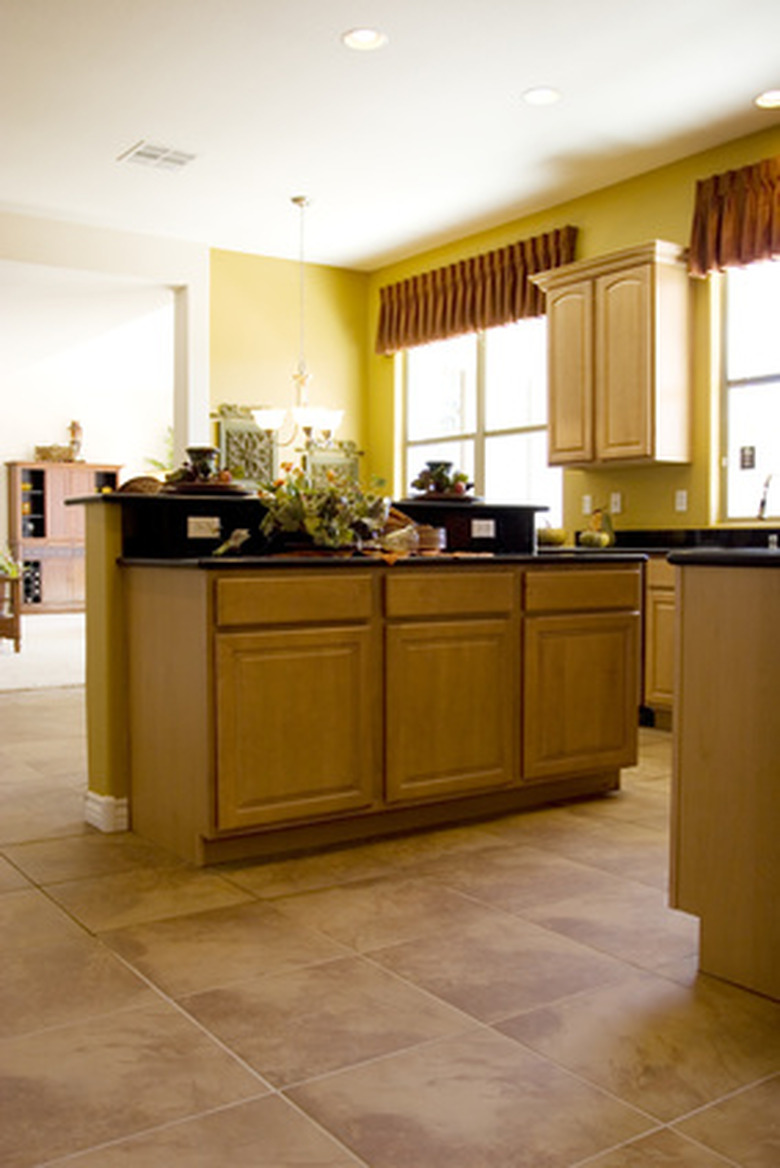
How To Join Laminate Countertops
Things Needed
-
Laminate countertops
-
Circular saw
-
Masking tape
-
Tape measure
-
Pencil
-
Electric sander or file
-
1/2 x 1/2 inch wood block
-
Screws
-
Power drill
-
Miter bolts
-
Carpenter's glue
Tip
Put a piece of masking tape over the cut before you start working with the saw in Step 1. This will help keep the laminate from chipping and possibly splitting.
Laminate is a durable and inexpensive way to update or install new countertops in your kitchen. These surfaces are resistant to scuffs, scratches, heat and most anything that happens in a busy kitchen. By installing laminate countertops yourself, you can also save some money. Joining laminate countertops isn't difficult, but you should take the time to make sure that your measurements are correct and that your countertop pieces fit together before beginning the final installation. Otherwise you could be faced with a crooked countertop.
Step 1
Measure and cut the laminate countertops to the desired size. When connecting two pieces along a run, such as in a galley kitchen, make the cuts straight across at a 90 degree angle. For joining in a corner, the pieces should be cut at a 45 degree angle. Sand down any rough edges with a sander or file.
Step 2
Ensure the pieces fit togther properly by sliding them into place. Do a dry run to ensure that the countertop is cut properly and will fit together as intended.
Step 3
Turn the two pieces of countertop over. Cut a 1/2 inch block of wood to size so that it fits along the edge of the cut you made in Step 1. Attach this along the edge of the cut to the underside of the countertop with screws. Ensure that you are using short enough screws so they don't go through the countertop on the other side. What you are doing here is creating an edge so you can attach the miter bots in Step 6.
Step 4
Turn the piece of countertop back over. Apply a bead of carpenter's glue along both sides of the joint.
Step 5
Slide the two pieces of countertop into position and push them tightly together. Wipe away any glue that seeps out of the countertop.
Step 6
Position yourself underneath the countertop. Attach the two pieces together by using the miter bolts and clamping them to the two blocks of wood you fastened to the undersides on Step 3. Do this a little bit at a time. Put on one miter bolt and tighten it. Then check the countertop fit from above. When satisfied, attach another bolt. Check the fit again. Attach 3 or 4 bolts in this fashion, according to the size of your countertop and the cut.
