How To Hang A Swing Chair From A Ceiling Joist
Vintage and retro-inspired reproduction hanging basket chairs are all the rage for their casual style and for the comfort they provide. Despite the fact that properly hanging these types of chairs takes careful calculation and coordination to ensure safety, the process takes only 30 minutes to complete if done right. The step-by-step tutorial is below, along with a list of the proper supplies and safe working load materials.
Things Needed
-
Hanging basket chair with metal ring attached
-
Stud-finder
-
Pencil
-
Electric drill
-
7/16-inch-by-3-inch eye hook
-
3/8-inch drill bit
-
2 3/8-inch heavy-duty link with safe working load of 2,200 LB
-
Long-handled steel pipe or screwdriver
-
5/16-inch galvanized chain (length determined by ceiling height)
1. Find and Mark the Stud
Use an electric stud-finder to find a stud in the location you wish to hang your chair. Slide the stud-finder in one direction until the sensor beeps or lights up, and then make a light mark on the ceiling with your pencil. Repeat the steps coming from the opposite direction to find the other side of the stud. Make a third pencil mark in the middle between the first two pencil lines to denote the center of the stud.
Warning
The majority of today's standard digital stud finders are also outfitted with the capability to locate electrical wires that may be running through studs. If you are concerned about the wiring behind the drywall in your ceiling, purchase and use one of these types of stud finders. That said, most contemporary wiring is either placed behind metal plates or run between the ceiling studs as opposed to through them. Consult a licensed electrician if you have further concerns.
2. Drill a Hole for the Eye Hook
Outfit an electric drill with a 3/8-inch bit, and drill directly into the middle mark made in Step One to denote the center point of the stud.
Warning
Note that your drill bit needs to be smaller than the width of the eye hook in order to safely support weight below. The safe weight load for your screw can be determined based on the length of the shank as well as the distance between threads on your eye hook screw. The safe working load of a 7/16-inch diameter by 1-3/8-inch shank length eye bolt (#24) is approximately 1,800 lbs. Consult a licensed contractor or a printed eye hook manual to find exact weight limits and more information as needed.
3. Screw the Eye Hook into the Hole
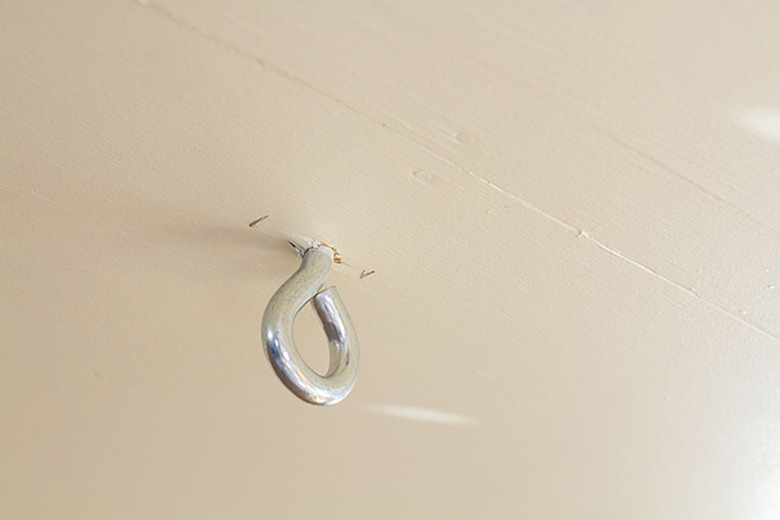
Start turning the eye hook into the drilled hole by hand. Once the teeth of the hook catch the stud, continue twisting the hook as deeply into the stud as you can by hand, and then finish by slipping a long-handled steel pipe or screwdriver into the eye of the hook to give it leverage. Finish twisting the entire hook into the stud, all the way up to the base of the eye.
4. Loop the First Metal Link Onto the Eye Hook
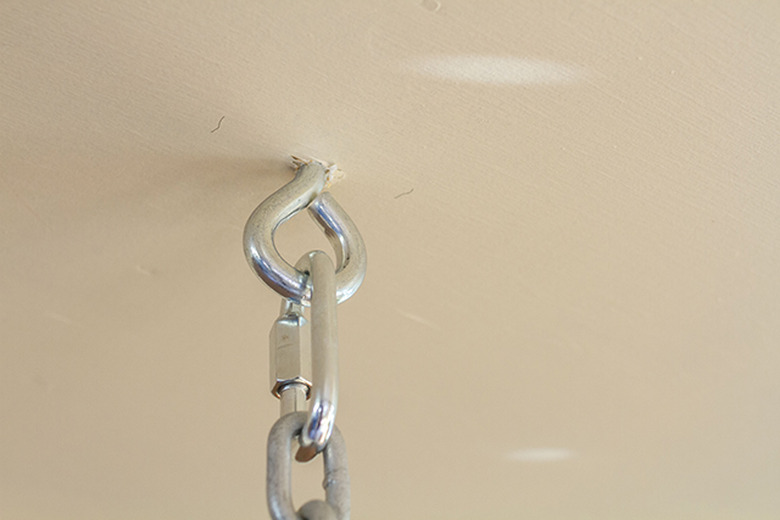
Unscrew the connection on the first heavy-duty link, and loop it onto the eye of the hook you just sank into the stud in Step Three. Loop the end of the galvanized chain onto the opened link, and then screw the connection shut.
5. Loop On the Second Metal Link
Unscrew the connection on the second heavy-duty link, and loop it onto the end of the galvanized chain. Screw the connection shut.
6. Attach the Basket Chair to the Chain
Lift the basket chair, and loop the metal ring through the open connection on the second heavy-duty link on the end of the chain. Gently release the chair and check the height. If needed, adjust the height of the chair by lifting it back off the chain and connecting it to a higher link in the chain. The excess chain can be cut off by a professional, or simply laid back behind the chair, as was done here.
Warning
Have a second person on hand to help with lifting and connecting. This will help avoid overextension and/or injury.


