How Do I Light The Pilot Light On A General Electric Gas Oven?
Things Needed
-
Screwdriver
-
Oven matches
Warning
If you smell gas, do not light any appliance, touch any electrical switches or use your phone. Immediately leave your home and call your gas supplier from your neighbor's home. Call the fire department if you cannot reach your gas supplier.
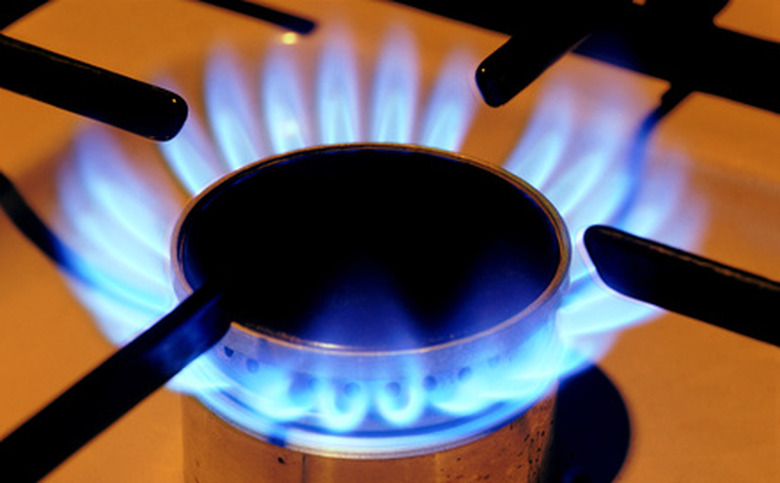
Call a technician for service if you have a yellow pilot flame–a normal flame for natural gas should be blue or blue tipped with yellow for liquefied petroleum (LP) gas.
You cannot light your oven pilot during a power failure if you have an electric ignition model. The safety valve will not allow gas to flow until you have regained power in your home.
It only takes a moment to light the pilot light on your General Electric (GE) gas oven, after you get to the pilot light. Your oven has a small gas valve next to the main gas line to your home. When you turn on this gas valve, a mixture of gas and air flows into a tube attached to a safety control valve, which will not let the gas into your oven unless an ignition source exists. An electric igniter or a pilot light flame that remains lit becomes the ignition source for the gas. When the gas ignites, the thermostat shuts off the gas flow after it senses the temperature you set.
Step 1
Turn your GE stovetop burners to the "On" position before you light the oven pilot. You can turn these burners off after you have the oven pilot light burning.
Step 2
Remove the heavy oven door, preferably with help, by opening the door a few inches until it reaches a stop position, which holds the door in the open position. Firmly grasp each side of the oven door, then lift the door straight up, off the hinges. To avoid injury, make certain you do not have your fingers anywhere between the hinges and door frame.
Step 3
Take out the oven shelves.
Step 4
Remove the bottom of your GE oven by removing the screws holding down the back of the oven bottom. You will notice finger slots on each side of the oven bottom–use these to take hold of the bottom, then lift the back of the bottom just above the range frame lip and pull the bottom out of your oven.
Step 5
Light the pilot using a long match while pushing in and holding the oven control knob. You will find the pilot at the back of your oven, attached to the oven burner's left side. Keep holding the oven control knob for a minute after you have a pilot flame, then release the knob. Relight the pilot if it does not stay lit, while pushing in the oven control knob.
Step 6
Turn the surface burners off once you have the oven pilot lit.
Step 7
Replace the oven bottom and attach it by tightening the screws with a screwdriver. Replace the oven shelves.
Step 8
Replace the oven door by first making certain you see the hinges in the stop position that keeps the door ajar. Place the slots on the bottom of the oven door directly over the hinges, with assistance. Slowly lower the oven door firmly over both hinges at once. Pull the hinges out if you notice them snapping back against the frame of the oven.
Step 9
Turn on your GE oven-temperature control knob to a temperature above 260 degrees Fahrenheit to test the ignition of your oven burner. You should see your oven burner ignite and a flame burning after about 30 to 90 seconds. You will notice your oven burner cycling off and on to keep the temperature you set.
