How To Raise The Garage Floor To House Level For Additional Living Space
Things Needed
-
Wire brush
-
Cold chisel
-
Hammer
-
Broom
-
Concrete degreaser
-
pH-neutral cleanser
-
Mop
-
Joint compound
-
putty knife
-
Mortar
-
Bucket
-
Electric drill
-
Paddle drill bit
-
Trowel
-
Prybar
-
Wooden plank
-
Nails
-
Caulk
-
Epoxy adhesive
-
Brush
-
Floor leveling compound
-
Bucket
-
Squeegee
Warning
Check on local zoning laws and building codes to ensure the conversion is allowable, and what other changes you must make to bring it up to code as a living space. Once the floors are level, you'll need to insulate the new garage floor before applying flooring materials to equal your interior energy efficiency.
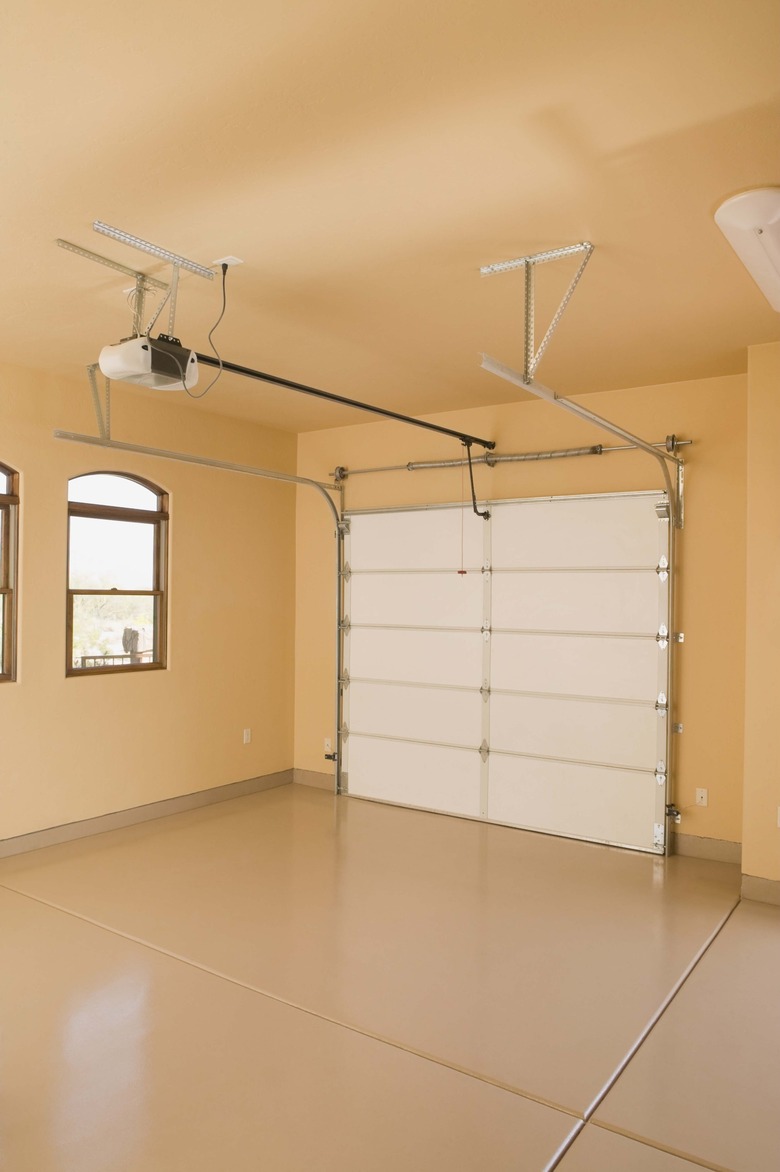
Adding living space to an existing house can be an expensive project, often requiring on a smaller scale the same construction techniques as those used within the house itself. A less expensive alternative is to convert an attached garage instead. Unfortunately, your garage floor may not be level with the floor of your household, creating a possible tripping hazard. You can correct this issue by raising the garage floor to meet your house. By using a permanent concrete overlay consisting of self-leveling compound, you can create a solid concrete surface that's inches above the original garage floor, ready for covering however you wish.
Step 1
Clear the garage floor of everything and then clean the floor thoroughly. Clean out any cracks with a wire brush and remove loose concrete chips by chipping away the loose concrete with a cold chisel and hammer. Sweep the floor using a stiff-bristled broom to remove all loose dirt and debris. Use a concrete degreaser to remove any oil spills. Wash the floor with a pH-neutral cleaner and then rinse the surface with clean water. Wait for the concrete to dry before continuing.
Step 2
Repair the garage floor using joint repair compound and mortar. Fill any cracks in the floor with joint repair compound. Press the compound firmly into the cracks with a putty knife and then scrape the surface of the patch with the knife edge to level the surface of the crack. Fill dips or spalled concrete areas — where chunks of concrete separate from the surface — with mortar. Brush the sides and base of the damaged area with epoxy adhesive. Use a trowel to apply the mortar to the damaged area, making sure to level the patch with the surrounding concrete. Allow the patches to dry overnight to begin setting.
Step 3
Remove all baseboards or trim surrounding the garage floor. Pry the boards away from the walls using a prybar and then place the boards aside for reuse after adjusting the floor level.
Step 4
Open the garage door and attach a board at the edge of the floor where the door usually rests. Secure the board in place by nailing it to the garage walls. Use a board that's as high as the newly intended floor level. Place a bead of silicone caulk at the base of the board in the garage interior to prevent the self-leveler from seeping beneath the board.
Step 5
Cover the garage floor with a thin layer of epoxy adhesive. Brush the adhesive over the floor to act as a bonding agent for the new floor material and the existing garage floor. Allow the adhesive to dry until it loses the wet look while remaining sticky to the touch.
Step 6
Mix a batch of self-leveling compound in a large bucket using an electric drill with paddle bit. Follow the manufacturer's instructions when mixing the leveler material, but use cold water to slow down the curing process slightly to extend the time you have to work the material.
Step 7
Pour the compound over garage floor, using a squeegee to spread the material. Spread a layer that's up to two inches thick, and then wait four hours for the compound to set. It will level itself as it settles, creating an even finish.
Step 8
Continue to pour the compound in 2-inch layers until you reach the level of the house floor. Allow the same four-hour setting time between each 2-inch level, but allow 48 hours setting time after spreading the final layer for complete curing of the leveling compound. Most compounds can support up to three 2-inch layers as long as they have aggregate included, while others are limited only by the support of your subfloor. Check with the manufacturer on the thickness achievable by the specific material in use.
Step 9
Remove the board blocking the garage entrance and lower the garage door. Replace the baseboards if desired by nailing them back into place.
