How To Use An Ohmmeter To Measure Ground Resistance
Things Needed
-
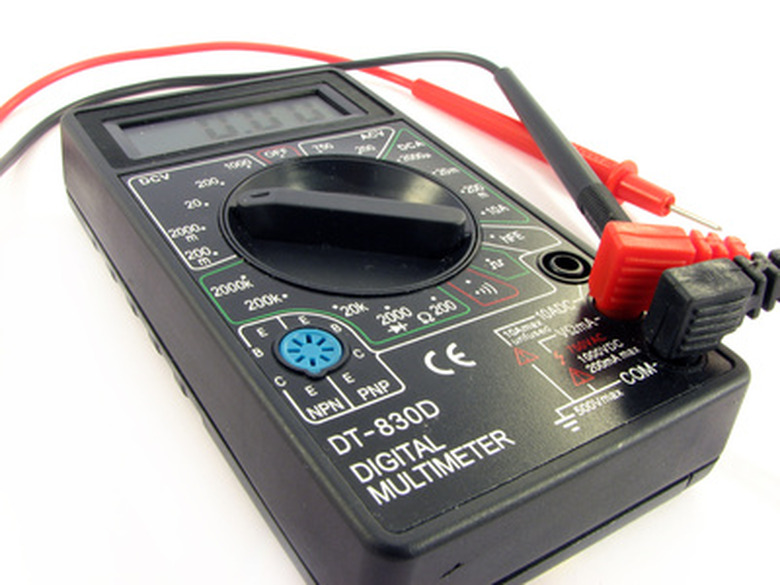
Digital Multi-Meter (DMM)
-
Length of 12 gauge wire (sufficient to reach from your test site to the ground)
-
Metal stake
Tip
Change the sensitivity on your multi-meter to get a more accurate reading.
Warning
Do not test a live circuit. Do not handle live wires. Turn off electricity before testing.
An Ohm (often symbolized by the Greek letter Omega) is a unit of resistance in electrical systems. Zero Ohms indicates no resistance to the passage of electrons from one point to another. Since electricity seeks to move along the path of least resistance to the ground, measuring the Ohms of your grounding system will give you a sense of its overall safety. For example, the National Electric Code requires no greater than 25 Ohms of resistance in a ground system.
Step 1
Connect your length of wire to a metal stake in the ground. Run the wire to your test location. Make sure that you have stripped back the insulation from both ends of the wire to allow for a good connection.
Step 2
Turn off the electricity at the testing location. You can either switch off the breaker for the circuit your're testing or you can switch off the main breaker for the house. Do not test a live circuit.
Step 3
Set your digital multi-meter to measure Ohms (likely shown by the Greek letter Omega). If you have multiple Ohm settings set it to less than 100 Ohms.
Step 4
Touch one lead to your test wire and the other lead to your test location — for example an outlet's third, ground plug (which is the small, round hole at the bottom of the outlet). Resistance should be less than 25 Ohms if the system is connected properly.
