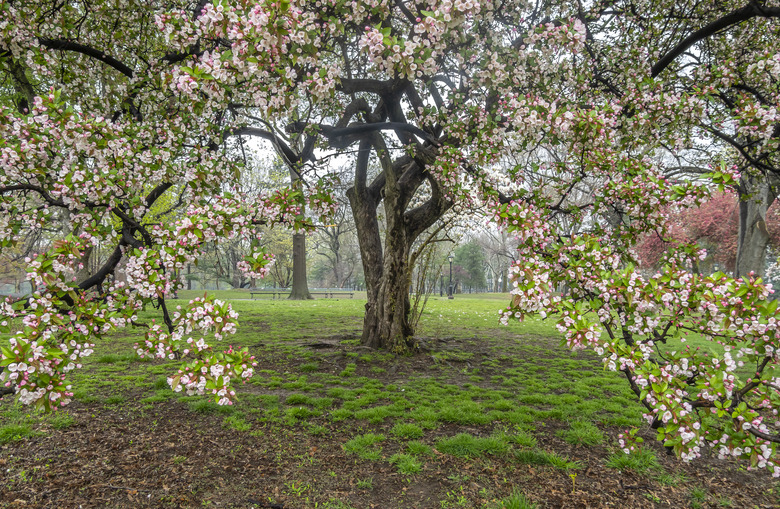
How To Clone Cherry Trees
We may receive a commission on purchases made from links.
Cherry trees (Prunus spp.) look stunning when in bloom and provide gardeners with a tasty snack when they fruit. Unfortunately, they only live about 30 to 40 years, which means your favorite landscape tree could be reaching the end of its life. If you want to preserve it, the best way to do so is to clone the plant. Just make sure you're not propagating a patented cherry tree, because this is an illegal practice.
Cuttings Versus Seeds
Cuttings Versus Seeds
If you wish to clone your cherry tree, it's imperative that you grow your new tree from a stem cutting and not from the seed. Found in the fruit's pit, cherry tree seeds are a genetic combination of material from two parent plants. The result is a seed that produces a unique tree.
This concept is easy to understand when you think of cherry trees like people. You are a combination of your parent's genetics, but you're not a clone of either of them. Instead, you are a unique genetic creation. So unique, in fact, that you don't even look the same as your siblings despite having the same parents.
The same is true for cherry trees. With the help of bees, male cherry tree flowers pollinate female tree flowers, and together they create the seed for a new, unique tree. If you want to make sure you get a tree identical to the one you already have, you'll need to clone it rather than breed it. You can achieve this by cutting a stem off your cherry tree.
It's also important to note that most commercial cherry trees are grafted. This means that the top part of the tree (the scion) is grafted onto the bottom part of the tree (the rootstock). The result is a tree that produces the best characteristics of each of these plant parts, including plant vigor, tree size, productivity, and fruit quality. If you clone your tree by rooting a stem cutting without grafting it onto a different rootstock, the resulting tree may not be as hardy or as productive as your original plant.
Things Needed
How to Clone a Cherry Tree
1. Prepare a Pot
It's important that you plant your stem cutting as quickly as possible so that it doesn't dry out. Preparing a pot before you cut helps make for a faster, smoother transition from the parent tree to your cutting's new home.
- Find a pot that is 6 inches deep and has adequate drainage holes.
- Fill the pot with peat moss. You may need to break up larger chunks of peat moss with your hands to get a uniform consistency.
2. Take a Cutting
You'll need to decide whether you wish to take a hardwood cutting or a softwood cutting. Hardwood cuttings come from older parts of the tree and are firmer. Softwood cuttings are new growth that is still green and quite flexible. Softwood cuttings root more quickly and easily, but they also wilt much faster and need a little more attention. You'll need to watch them more closely and water them more often.
Cherry tree cuttings can be somewhat stubborn about rooting. To ensure success, consider taking multiple cuttings. This way you'll have a backup if one or two of your cuttings fail.
-
Choose a healthy stem or branch and cut it cleanly from the tree using a pair of pruning shears. Make sure the stem you choose is about 8 to 10 inches long and has about 4 leaf nodes. If you can, choose a branch that is less than 5 years old.
-
Remove any leaves on the bottom 3 or 4 inches of your cutting.
-
Scrape away some of the bark on the bottom of the cutting to expose the inner white area of the stem. This is called the cambium. Your tree's new roots will break through this cambium as they form.
3. Dip and Plant Your Cutting
Your next step is to plant your cutting, but it's absolutely imperative that you apply rooting compound to the cutting first. Cherry cuttings often resist growing roots and need all the encouragement you can give them. Some plants will root readily from cuttings, but cherries need a little bit of encouragement.
-
Dip the shaved end of your cutting into rooting hormone powder.
-
Tap off the excess powder and press the cherry stem in your prepared pot. Insert the cutting at least 3 inches deep.
-
Water the cutting gently but deeply until water comes out of the drainage holes.
4. Monitor Your Tree's Progress
It usually takes about a year before a new cutting is ready to plant in the landscape. In the meantime, you'll need to nurture it, making sure it gets plenty of water and sunlight.
- Place the cutting in an area where the temperature stays at least 65 degrees Fahrenheit.
- Give your cutting access to sunlight. Cuttings prefer lots of bright but indirect light.
- Water your plant as needed to keep the soil evenly moist. You don't want it to dry out, but make sure it isn't soggy, either. Too much moisture can cause rot. If the air in your home is dry, you could need to water as much as twice a day.
- Transfer your cutting to a container full of potting soil when its new roots are about an inch long.
- Plant your new tree outside late in the fall or early in the spring. If you feel the tree is still too small to hold its own outdoors, keep it inside for another year.
