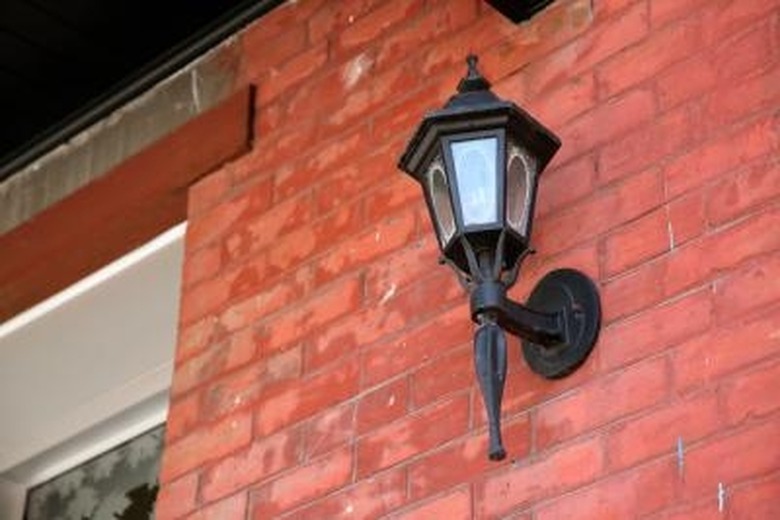
How To Remove A Porch Light Cover To Change The Light Bulb
Things Needed
-
Ladder
-
Flashlight
-
Screwdriver
Tip
Look for the light fixture specifications inside your porch light to find the highest safe wattage for that fixture. Never use a higher wattage light bulb than the fixture specifies.
Turn the power off at the circuit breaker before you start working on your porch light to ensure your safety. Changing a light bulb is not generally dangerous, but if you are not familiar with your fixture, you may accidentally expose yourself to electricity. There are over 400 electrocutions in the U.S. each year, according to the U.S. Consumer Product Safety Commission, so protect yourself until you are familiar with your fixture. How to remove your porch light cover depends on your fixture's style, but the basic principles are the same for most lights.
Step 1
Stand on a ladder that places you at a comfortable height to inspect your porch light housing.
Step 2
Test the top and bottom finials (decorative knobs or points) on lantern-style porch lights by turning them counter-clockwise. These are often bolts that hold the light cover on. If one of the finials turns, continue unscrewing it until you are able to remove the cover and change the bulb.
Step 3
Shine a flashlight beam around the edges of the porch light cover if the finials don't turn or if you have a non-lantern style light. Look for screw or bolt heads around where the clear or frosted part of the light cover meets the fixture's framing.
Step 4
Turn any screws counter-clockwise with a screwdriver, or turn bolt heads counter-clockwise using your fingers. Most fixtures have between one and three screws that hold the cover in place.
Step 5
Support the light cover with your free hand while you remove the screws or bolts, then pull it free once they are removed. Remove it carefully so you do not hit and break the light bulb with the cover.
