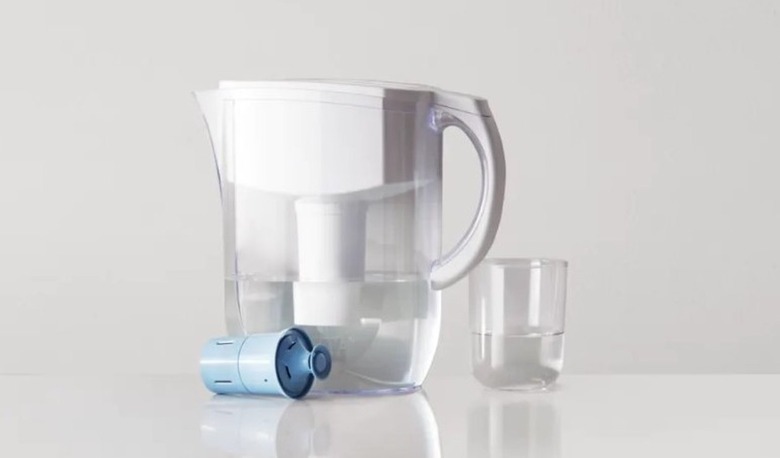
How To Replace A Brita Filter
We may receive a commission on purchases made from links.
Brita filters are made to reduce contaminants and the taste of chlorine in water. These filters also have activated carbon to help reduce minerals in the water. There are different types of Brita filters to use based on whether you have a Brita pitcher or faucet filtration system.
Replacing the filter regularly is important to ensure that you have the best-tasting water with the least contamination. New filters are available on Brita's website as well as from online retailers and grocery stores. Here's what you need to know about replacing a Brita filter.
What Do Brita Filters Remove From Tap Water?
What Do Brita Filters Remove From Tap Water?
Brita filters remove different contaminants from tap water, and the types of filters vary based on the system. Standard Brita filters pass water through a mesh screen to capture black specks, and the activated carbon helps minimize mercury and chlorine for better-tasting water. Longlast filters have the ability to remove additional contaminants from the water, such as asbestos, lead, and cadmium.
How to Replace a Brita Filter in a Water Pitcher
1. Take Out the Old Filter
Open the lid of the Brita pitcher and take out the used filter located in the water reservoir.
2. Rinse the New Filter
Remove the replacement filter from the package and rinse the filter in cold water for 15 seconds.
3. Insert the Filter
Find the filter's groove, line it up with the notch in the water reservoir, and press the filter securely in place.
4. Set a Reminder for Filter Replacement
Place the lid back on the pitcher. If you have a Brita filter with an electronic filter indicator, hold down the button to activate it and reset the replacement reminder. If you have the model that comes with a sticker, choose the date to change the filter, usually every two months for a standard filter.
Tip
Brita recommends not using the first three pitchers of water for drinking, although you can use it to water plants.
How to Replace a Brita Filter in a Faucet Filtration System
1. Remove the Old Filter Cartridge
Turn the water off, press the release button on the back of the filter cup, and pull up on the old filter cartridge to remove it.
2. Install the New Filter Cartridge
Hold the filter system with one hand while finding the insert groove on the filter cartridge and aligning it with the filter replacement indicator at the front of the filter cup. Gently insert the filter cartridge into the filter cup until it clicks into place.
Tip
Installing a new filter cartridge resets the electronic filter replacement indicator. When you switch to the filtered Brita water setting on your system, the indicator light flashes green to indicate that the filter is working. After around four months or 100 gallons of water, the indicator light should flash red when you switch on the filter system, which signals that it's time to replace the filter.
3. Run Water to Flush the System
Once installed, run cold water for five minutes to flush out the system and activate the filter. Get ready to enjoy delicious-tasting water from your faucet filtration system.
