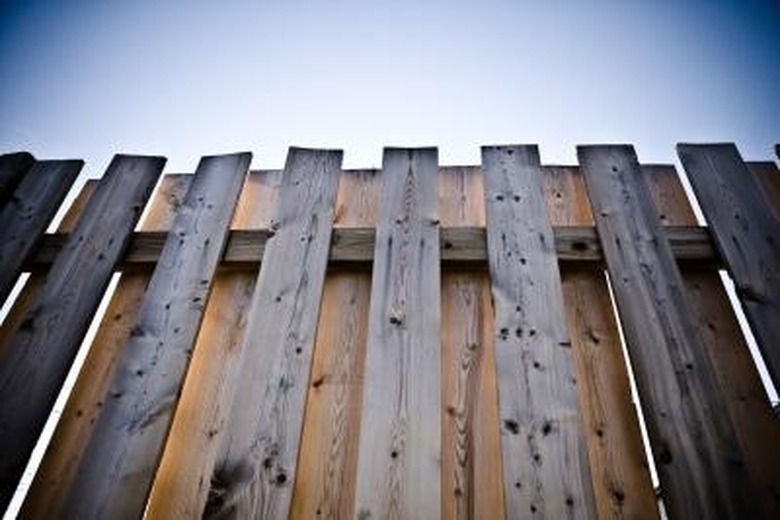
How To Sand A Fence
Things Needed
-
Hand-held random orbital sander
-
Hand-held vibrating sander (optional)
-
Foam sanding block
-
Sandpaper
-
Hand scraper
Tip
Scrape off large bits of loose paint before sanding.
For a smooth finish, switch to a fine-grit sanding disk or sandpaper, and sand once more before applying stain or paint.
Warning
Don't use a power sander on warped fence boards; it can create cuts and ruts in the wood. Hand-sand warped boards or replace them with new flat boards.
Take frequent breaks when using power sanders to reduce wrist fatigue.
As Robert Frost wrote, "good fences make good neighbors," but some fences require maintenance to keep their good looks. Wooden fences are aesthetically pleasing when stained or painted but, over time, the wood can weather, stain can fade and paint can peel. Before painting, you'll need to sand off loose paint. If you're re-staining the wood, you can sand the fence to smooth the wood grain. It's a time-consuming task, but you can speed it up by using a power sander.
Painted Fences
Step 1
Use a hand-held orbital sander on flat fence boards. An orbital sander has a disk that spins at a high rate of speed while the base of the disk moves in an orbital pattern.
Step 2
Fit a medium-grit sanding disk to the pad of the orbital sander and hold the sander tightly as you turn it on.
Step 3
Place the sanding pad lightly on the flat surface of the painted fence board and move it up and down to sand off the old paint and smooth the wood grain.
Step 4
Sand the edges of the fence boards with a sanding block or folded sandpaper.
Stained, Bare Wood or New Wood Fences
Step 1
Use an orbital sander or a vibrating sander on a stained, bare wood or new wood fence. Bare wood fences, such as cedar or redwood, may need only light sanding every few years, followed by an application of sealer to stay looking good.
Step 2
Turn on the power sander before positioning the sanding pad very lightly on the surface of the wood and move it along the planking in the direction of the wood grain. Cedar and redwood are soft woods, so use a very light touch to prevent gouges in the wood.
Step 3
Sand the area between boards and the tops of the pickets by hand with a foam sanding block or folded sandpaper.
