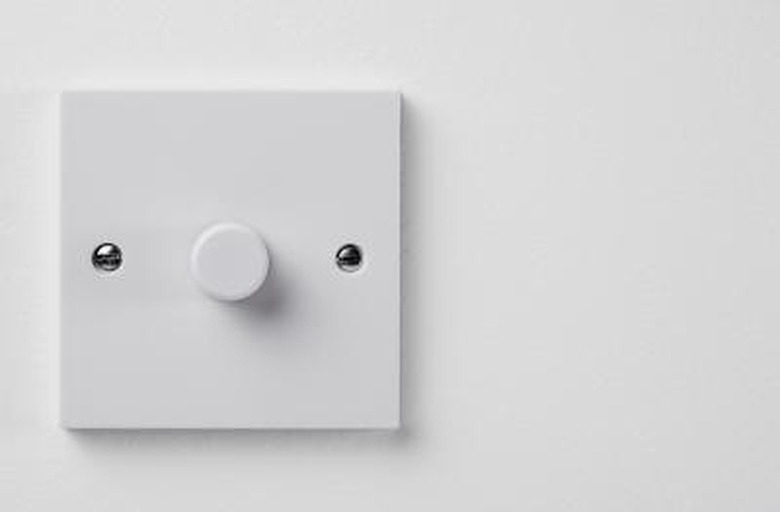
How Do I Bypass A Dimmer Switch?
Things Needed
-
Flat-head screwdriver
-
Mulitmeter
-
Wirenuts
-
Electrical tape
Dimmer switches control fixtures such as a lights and ceiling fans. As you adjust the dimmer switch, either by turning a knob or siding a bar, the amount of electrical current that reaches the fixture increases or decreases, respectively, controlling the brightness of the light or the speed of the fan. To bypass a dimmer switch, you will need to remove the switch from the wall and reconnect the electrical wires in the original circuit configuration.
Step 1
Turn the power to the dimmer switch off at the main service panel.
Step 2
Remove the screws from the dimmer switch cover plate with a screwdriver, and pull the cover plate from the wall. If the plate sticks, gently pry it off the wall with the screwdriver.
Step 3
Remove the screws from top and bottom of the dimmer switch with the screwdriver, and pull the switch free from the electrical receptacle. Use the multimeter to confirm that the power is off. Turn on the dimmer switch, and set the multimeter to the 120-volt setting. Touch one of the meter's probes to the black (hot) wire and the other probe to the white (neutral) wire. The meter should display a zero reading.
Step 4
Disconnect the two black wires and the two white wires from both sides of the dimmer switch with the screwdriver. Remove the bare (ground) wire from the bottom of the switch with the screwdriver.
Step 5
Insert the tips of the two black wires into a wirenut, and twist the nut with your fingers until it is tight. Secure the wirenut to the wires by wrapping with electrical tape. Repeat with the two white wires. Connect the bare grounding wire, which was disconnected from the dimmer switch, to the bare grounding wire of the main circuit cable in the electrical receptacle (switch box) with a wirenut. Cover it with electrical tape. Inset the taped wires into the electrical receptacle box and reattach the cover plate.
References
- "Wiring 1-2-3"; Steve Corey; 2005
