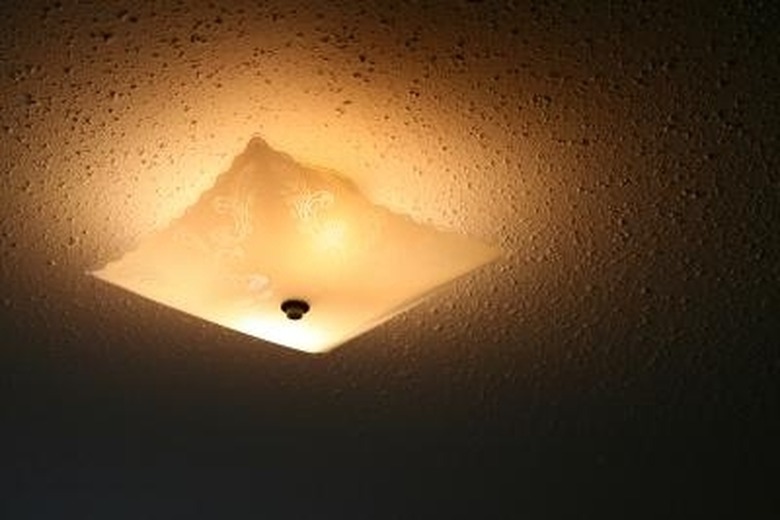
How To Use A Hopper Gun For A Popcorn Ceiling
Things Needed
-
Plastic sheeting
-
Painter's tape
-
Texture mix
-
Water
-
Bucket
-
Drill paddle bit
-
Air compressor
-
Air hose
-
Hopper gun
-
Card board
-
Ladder
Warning
Wear a hooded paint suit and face mask when applying popcorn texture.
A hopper gun sprays popcorn-style drywall texture on ceilings. Popcorn texture hides the ceiling's drywall joints, screw holes and any slight imperfections in the drywall's surface. Popcorn gives the ceiling a uniform, uninterrupted surface. Adjusting the nozzle on a hopper gun changes the look of the texture. This feature lets a texture installer blend a new ceiling patch into the old ceiling's popcorn texture, or the installer can use the hopper gun to spray a popcorn ceiling and then change the nozzle for a different drywall texture on the walls without changing the texture material.
Step 1
Cover the walls and floor with plastic sheeting. Use painter's tape to hold the top of the plastic against the top of the wall. Painter's tape looks like masking tape, but it will not leave glue residue on the wall after removing it like masking tape will.
Step 2
Combine a bag of texture mix and water in a bucket. Use the texture manufacturer's recommended texture-to-water ratio.
Step 3
Stir the texture mix and water with a drill equipped with a paddle bit. Agitate the mixture for five minutes.
Step 4
Turn on an air compressor. Set its pressure regulator to 40 psi. Usually a knob under the pressure gauge adjusts the regulator.
Step 5
Connect one end of an air hose to the compressor and the other end of the hose to the hopper gun.
Step 6
Fill the hopper halfway with the texture mix.
Step 7
Test the hopper's spray pattern on a piece of cardboard. Follow the hopper's instructions to adjust, or change, the hopper nozzle as necessary.
Step 8
Hold the hopper gun 18 inches from the ceiling. Use a ladder when working on high ceilings.
Step 9
Spray a light coat of popcorn texture onto the ceiling in circular motions. Start in one corner and work across the room.
Step 10
Wait 15 minutes, then give the ceiling a second coat. Continue to add coats of popcorn every 15 minutes until the ceiling has the desired texture.
Step 11
Wait one hour after applying the last coat of popcorn texture. Remove the plastic sheeting from the walls and set it in the center of the room. Fold the edges of the floor's plastic sheeting over the pile of plastic, then discard the plastic sheeting.
