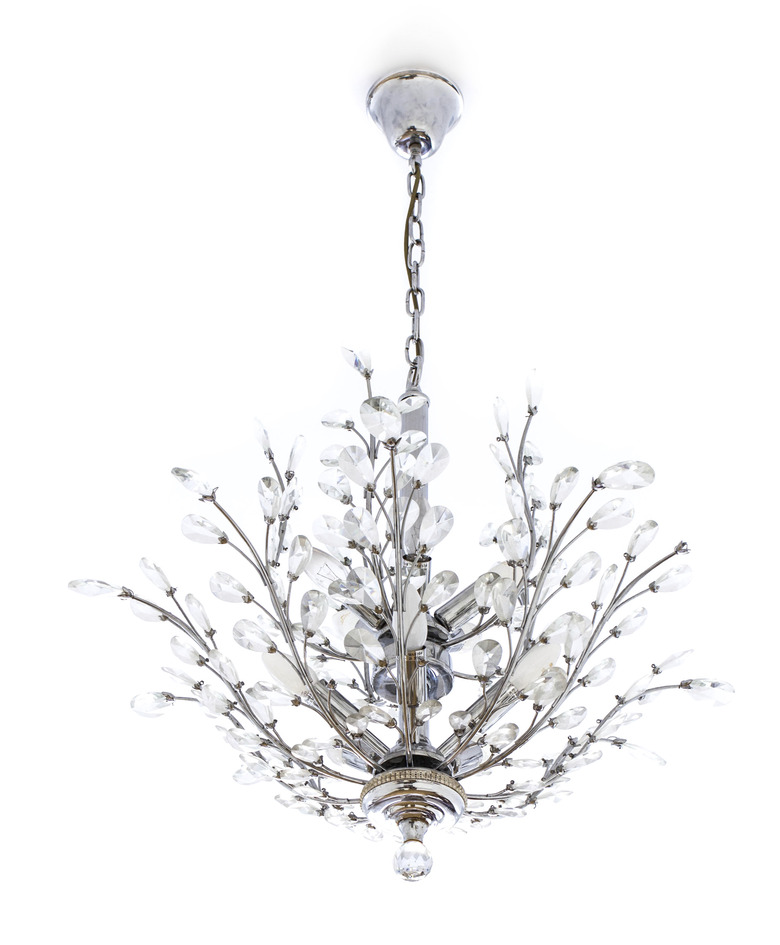
How To Shorten The Chain On A Chandelier
Things Needed
-
Tape measure
-
Wire cutters
-
Pliers
It may seem like your destiny: Every chandelier or light fixture you've ever purchased must be shortened so that someone doesn't bang into it head-first. Chandeliers typically come packaged with more chain and wire than you need — because it's more convenient to shorten a chain rather than to lengthen it.
Step 1
Ensure that you have turned the power off at your home's electrical panel before starting work on the chandelier. Measure, from the ceiling down, where you wish the chandelier to hang. Then measure the fixture cord and chain on the chandelier and calculate how many links in the chain you should remove.
Step 2
Locate the split or joint on the chain link that you will remove; the joint is typically in the middle along one side of the link. Grip half of the link with a pair of pliers and use a second pair of pliers or an adjustable wrench to twist the other half, separating the link at the joint. Remove the unwanted portion of chain.
Step 3
Cut the chandelier cord about 12 to 24 inches longer than the shortened chain to ensure that you have enough to weave through the links in the chain. Many people prefer to weave the wire through every second link in the chain, but this is a matter of preference.
Step 4
Complete the wiring connections to the fixture and the circuit cable in the electrical box, following the manufacturer's directions. At this point, too, you will appreciate the benefit of having a little extra wire.
Step 5
Secure the chandelier canopy to the electrical box in the ceiling and connect the chandelier chain to the hanging loop on the canopy. From now on you won't risk hitting your head.
Tip
Install a fan brace to support your chandelier. This brace, which fits over the hole in the ceiling and spans across the ceiling, usually can suspend fixtures that weigh as much as 150 pounds.
