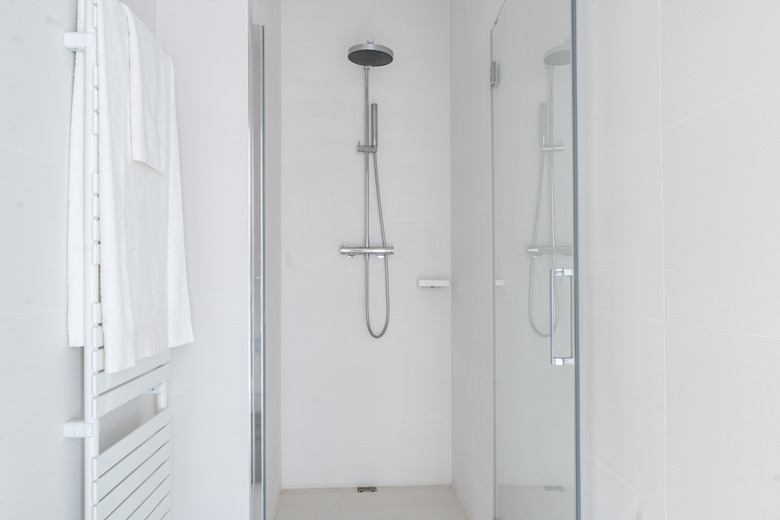
How To Install A One-Piece Shower Unit
We may receive a commission on purchases made from links.
A one-piece acrylic or fiberglass shower stall is easy to keep clean, and it will last as long as your bathroom does, with minimal maintenance. It's a common home-builder choice because it's easy to install, as long as some basic prerequisites are met.
These prerequisites include a properly framed alcove — with straight walls and a level base — and up-to-code water supply and drain plumbing. Because the shower stall doesn't include an access panel for the plumbing, you should install a panel in the wall behind the shower so you can repair the valve when necessary.
How to Install a One-Piece Shower Unit
1. Prepare the Subfloor
Prepare the subfloor by checking level with a 4-foot level and using floor leveling compound to fill in depressions and correct slopes. Before you level the floor, make sure to cut a 4-inch hole for the drain. Wear eye protection and use a hole saw or reciprocating saw.
2. Install the Water Supply Plumbing
Install the water supply plumbing, including the shower valve and the drop-ell for the showerhead. The valve should be from 36 to 48 inches above the floor, keeping in mind whether children or adults will primarily use the shower. If your shower stall has a precut hole, install the valve to conform with the placement of the hole. If you have to cut a hole, do it with a hole saw of the size recommended by the shower valve manufacturer.
3. Screw in the Drain Assembly
Screw the drain assembly into the hole in the bottom of the shower before setting the stall in the framing. This is easiest to do if you lay the stall on its side so you can reach both sides of the base. Insert the drain from the top side and tighten the locking nut from the underside, using adjustable pliers. Be sure to properly install all gaskets that came with the drain according to the instructions provided.
4. Position and Level the Stall
Lift the stall into the alcove with the help of a coworker and guide the drain tailpiece through the hole in the subfloor. Set a level on the lip of the base and adjust the stall to center the bubble. Place the level on a perpendicular lip and adjust if necessary. If you have to adjust by more than about a half-inch to center the bubble, remove the stall and shim or fill the low areas of the floor, using wood shims or leveling compound.
5. Attach the Stall Flanges
Attach the stall flanges to the framing members behind them, using 1 1/4-inch galvanized screws, once the base is level.
6. Install Waterproof Wall Covering
Screw a waterproof wall covering, such as half-inch fiber cement board, to the framing above the walls of the stall. The covering should completely overlap the stall flanges. Cover the vertical flanges on either side of the stall opening with trim or wall covering, depending on the design of the walls and bathroom.
7. Caulk the Gap
Caulk the gap between the wall covering or trim and the stall with silicone caulk.
Using Green Drywall
Using Green Drywall
Green drywall, which is the type you should use in the bathroom, is water-resistant, but it isn't waterproof, notes Mr. Handyman. If you're drywalling the bathroom and you want to ensure a waterproof covering between the stall and the framing, put the drywall over a layer of fiber cement board in the areas around the stall.
