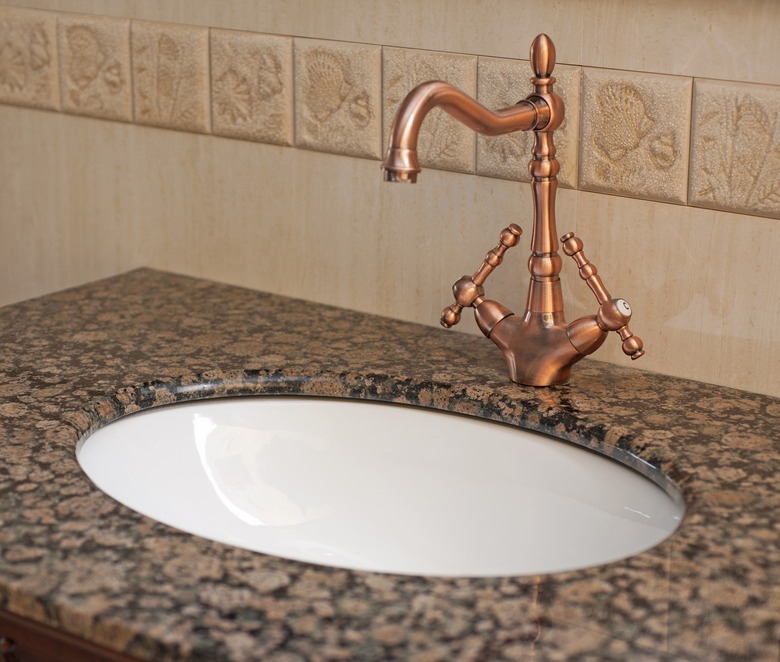
How To Refinish Bathroom Faucets
Things Needed
-
Adjustable pliers
-
Screwdriver
-
White vinegar
-
Bowl
-
Baking soda
-
220-grit sandpaper
-
Newspaper
-
Respirator
-
Metal primer
-
Automotive enamel
-
Clear acrylic lacquer
Those old chrome faucets in your bathroom may have become tarnished and cloudy from years of hard water moisture, and if so, they are probably making your bathroom look older than it is. You can refinish the faucets for a lot less than it would take to replace them, because the materials you need amount to two cans of paint along with some sandpaper, steel wool and vinegar. You can't use the faucets while the paint is drying anyway, so since the refinishing job is easier if you remove them, it's best to start by doing that.
Step 1
Turn off the water valves under the sink. Unscrew the water supply hoses from the faucets, using adjustable pliers. Unscrew the nuts holding the handles and spout to the sink deck, and remove them. In some cases, these may all be connected to a base plate and come off as a unit.
Step 2
Disassemble the handles from the faucet valves with a screwdriver and, if you can, remove the decorative collars. The idea is to reduce the faucet to its component parts so you can clean and paint each part separately.
Step 3
Fill a bowl with white vinegar and immerse all the fixture parts overnight. This effortlessly removes lime scale that can interfere with paint adhesion so you don't need to scrub. Neutralize the vinegar by then dunking each part in a solution consisting of 1/2 cup of baking soda per quart of water, and then rinse it with clear water and dry it off.
Step 4
Sand the finish of each part you intend to spray, using 220-grit sandpaper. This etches the chrome finish to ensure better paint adhesion. Fold the sandpaper in thirds so you can work the edges into crevices and tight spaces.
Step 5
Arrange all the parts upright on a sheet of old newspaper in a well-ventilated workshop, and put on a respirator. Spray each part with automotive metal primer. Let the primer dry for an hour, and then turn each piece over and spray the other side. Wait another hour before proceeding.
Step 6
Leave all the parts upside down and spray each one with automotive enamel. Polished bronze, gun-metal black and metallic silver are some of the colors you might choose. After spraying, allow the paint to cure for at least four hours before you turn the pieces upright and spray the other sides.
Step 7
Turn each piece upside down again, and spray it with clear acrylic lacquer. Let the lacquer dry for four hours, and then turn the pieces upright and spray the other sides. Let the lacquer cure for two days. Then reassemble the faucets and turn on the water.
Tip
If you already like the color of the faucets, you don't have to paint them. After cleaning with vinegar and sanding, simply spray them with two or three coats of clear lacquer.
The total cost of refinishing your faucets should be less than $30, whereas a new faucet is likely to cost $100 to $200, or more.
Warning
Primer, paint and lacquer are all flammable. Be sure there are no open flames — such as that from a gas heater — in the room where you're spraying.
