How To Remove Musty Smells From Furniture Drawers
Things Needed
-
Oil soap
-
White distilled vinegar
-
Spray bottle (optional)
-
Lint-free cloths
-
Baking soda
-
Soft-bristle brush
-
Vacuum with attachments
-
Small dishes
-
Small charcoal bricks
-
Screwdriver
-
Sandpaper, 180-grit
-
Lemon oil
Excess moisture results in a musty scent in furniture and the offensive odor tends to concentrate in the drawers, which see little air movement or light. Thoroughly cleaning the drawers usually solves the issue, although very old furniture or items stored in a damp area for a long length of time may require sanding. For the best results, clean the entire piece of furniture, not just the drawers, and maintain a wood-friendly 55-percent humidity level in the room.
Thorough Cleaning
Step 1
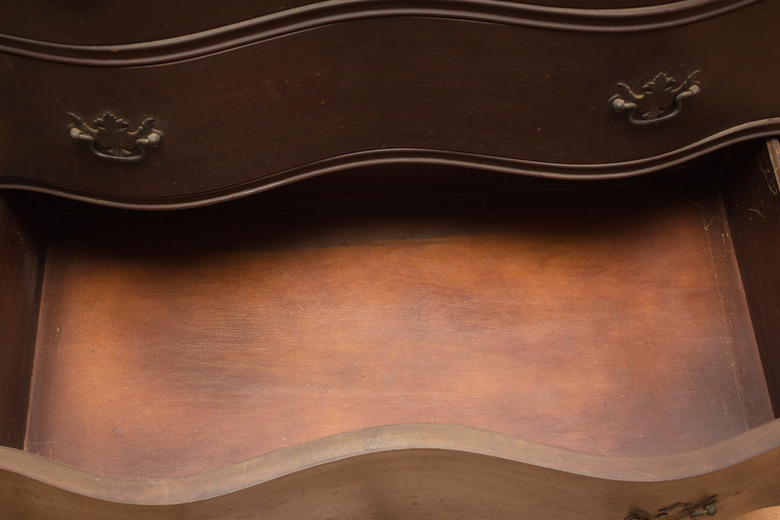
Empty the drawers and set aside the contents. Pull out the drawers and place them on a table outside in a sunny area. Wait for two to three hours, allowing the sun to dry the wood. Do not leave the drawers outside for an excessive amount of time; prolonged exposure to direct sunlight can warp and fade the wood.
Step 2
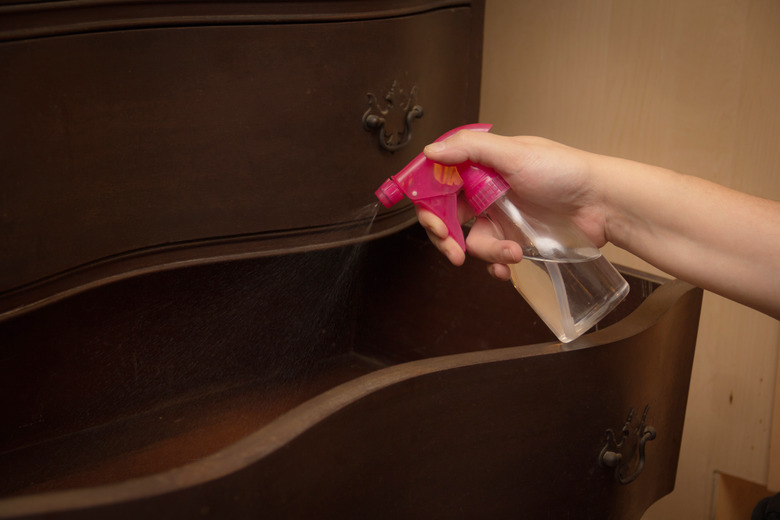
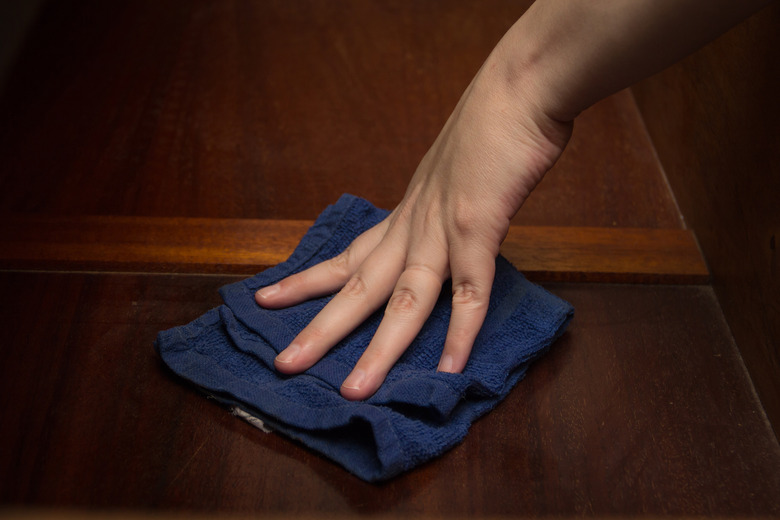
Move the drawers to a well-ventilated work area. Spritz the inside of the drawers evenly with oil soap or undiluted white vinegar. Gently scrub the wood with a damp, lint-free cloth. Rinse the cloth frequently but do not use it when it's completely saturated. You want to clean the wood without drenching it in moisture. Repeat this process until the cloth comes up clean when you wipe the inside of the drawer.
Step 3
Sprinkle the damp drawers evenly with baking soda along the bottom and the sides. Let this sit for 24 hours. Brush the dry baking soda out with a soft-bristle brush and thoroughly vacuum the drawers.
Step 4
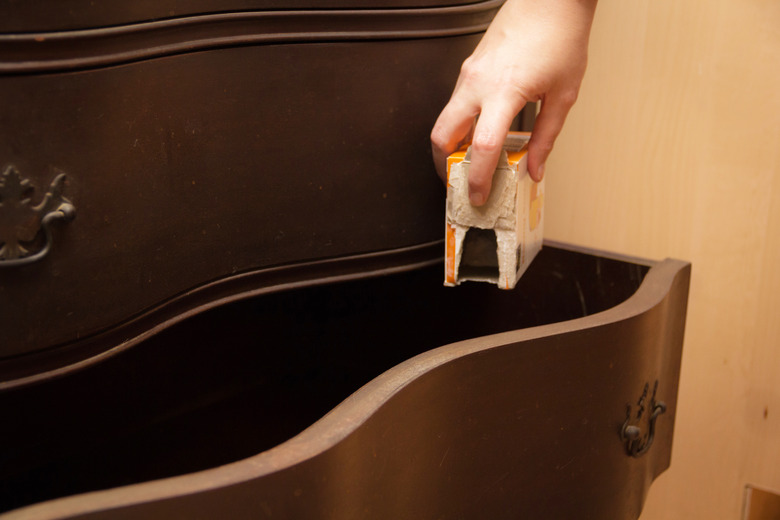
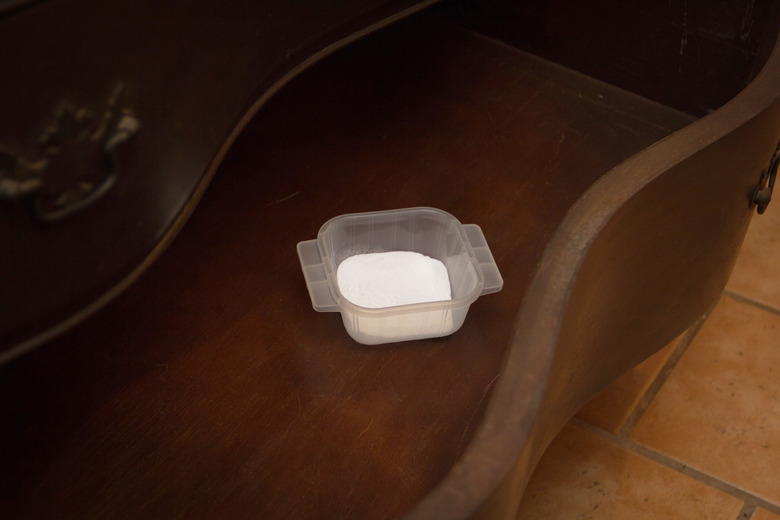
Gather one small dish per drawer and fill the dish with baking soda or charcoal. Place the drawers back on the tracks, set the uncovered dish in the drawers and close them. Replace the baking soda or charcoal every two to three days until the musty scent dissipates.
Simple Refinishing
Step 1
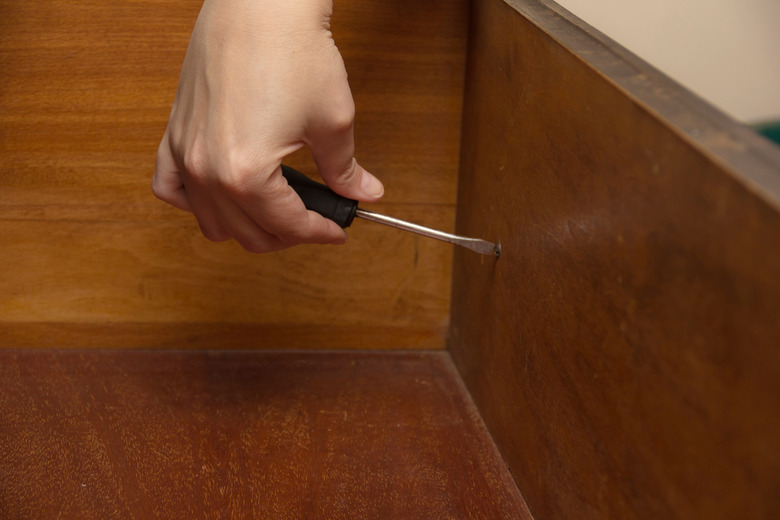
Remove the knobs or pulls and move the empty, clean drawers to a well-ventilated workspace.
Step 2
Sand the inside of the drawers with 180-grit sandpaper or sanding block. Wipe them down with a damp cloth to remove any trace of dust and let them dry thoroughly. Wait three days to allow the wood to "breathe."
Step 3
Wet a lint-free cloth with lemon oil. Buff the oil into the wood thoroughly, wetting the rag as needed. Let the oil sit for one hour, then buff the interior of the drawers with a clean cloth to remove any excess. Reinstall the pulls or knobs.
Tip
Clean any items, especially clothing, before placing them inside of the drawers again.
Old drawers may hold the musty scent in the glue used during construction. If you're comfortable doing so, carefully take the drawers apart, scrape off the old glue, sand and oil the wood, then rebuild the drawers with fresh wood glue. There's a chance this will split the wood, especially if there are any nails or screws in place, so proceed with caution.
Sanding may remove the protective finish on the interior of the wood drawers. If desired, apply two to three coats of polyurethane or spray lacquer.
