How To Grow A Giant Pumpkin
Things Needed
-
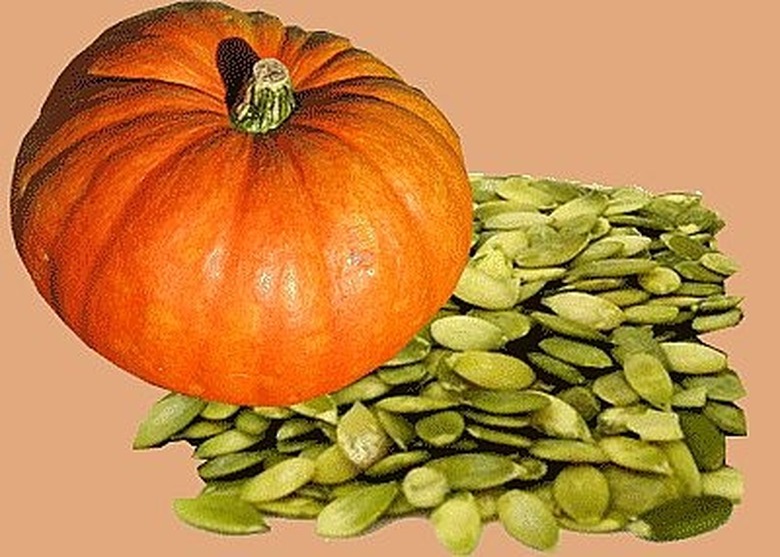
Giant Pumpkin Seeds
-
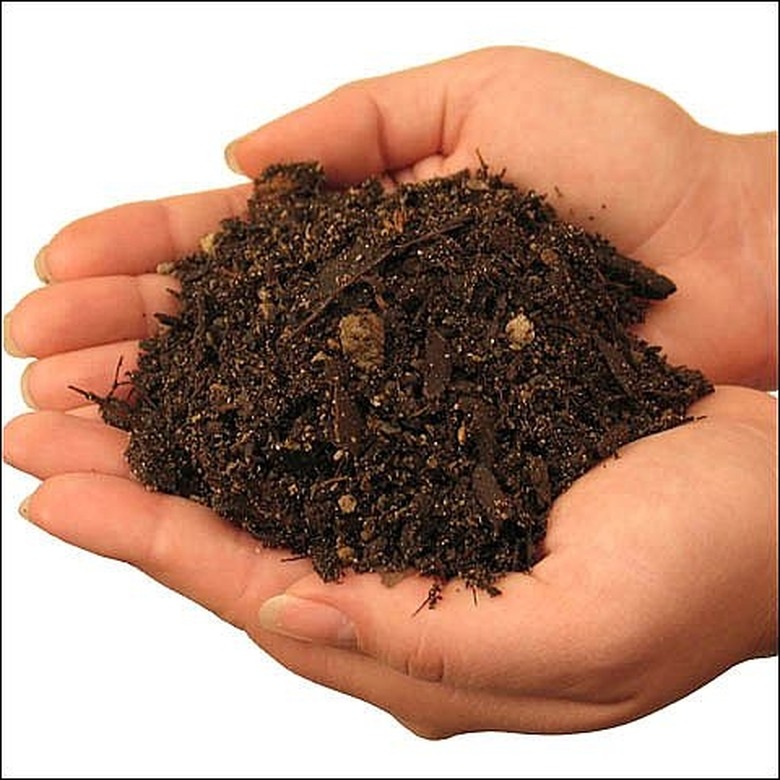
Quality Soil
-
Peat Pots
-
Fertilizer
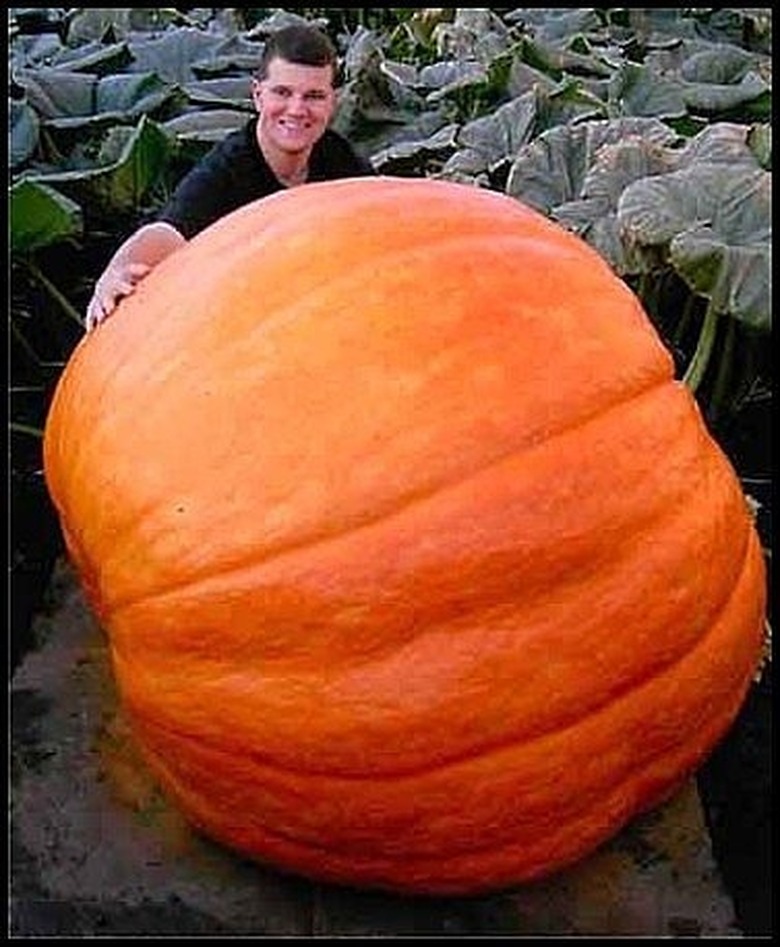
We have all seen pictures of award-winning giant pumpkins that can tip the scales at more than 1000 pounds.
How do they grow such giant pumpkins?
Whether you are entering a pumpkin growing competition or simply want to amaze your friends and neighbors on Halloween with your gigantic Jack-O-Lantern, growing giant pumpkins can be a fun and rewarding hobby.
Step 1
Prepare the soil:
Growing giant pumpkins requires top-quality soil. Most growers start preparing the soil in the fall by mulching with leaves, compost and manure. Check the PH levels using a PH tester that can be bought at any garden centre. Optimal soil PH for growing giant pumpkins is between 6.5 and 6.8, but it should be no higher than 7.0. Adjust the PH accordingly by adding lime to raise it, or sulfur to lower it.
In the spring, turn the soil and test the PH again to make sure it is within acceptable levels and add a small amount of granular style timed-release balanced fertilizer. Choose a fertilizer that puts emphasis on phosphorus; such as 15-30-15 or 10-52-10 in order to ease transplant shock in seedlings. You will need a minimum of 400 square feet per pumpkin plant, so you will need to prepare your space according to how many plants you intend to grow.
Step 2
Start the seeds:
Giant pumpkins do not grow from just any pumpkin seeds. There are many varieties of pumpkin seeds, and you will have to choose one that is specifically bred for producing giant pumpkins. You can start by looking into the Atlantic giant pumpkin seeds. Start seeds indoors in peat pots early in May. There is no point in starting them too soon because pumpkin seeds germinate very quickly and the plants will need to be planted before they get too big.
Planting them early before the weather is warm enough will shock them and even kill them because pumpkin seedlings rely on warm soil as well as warm weather for growth.
Step 3
Transplant:
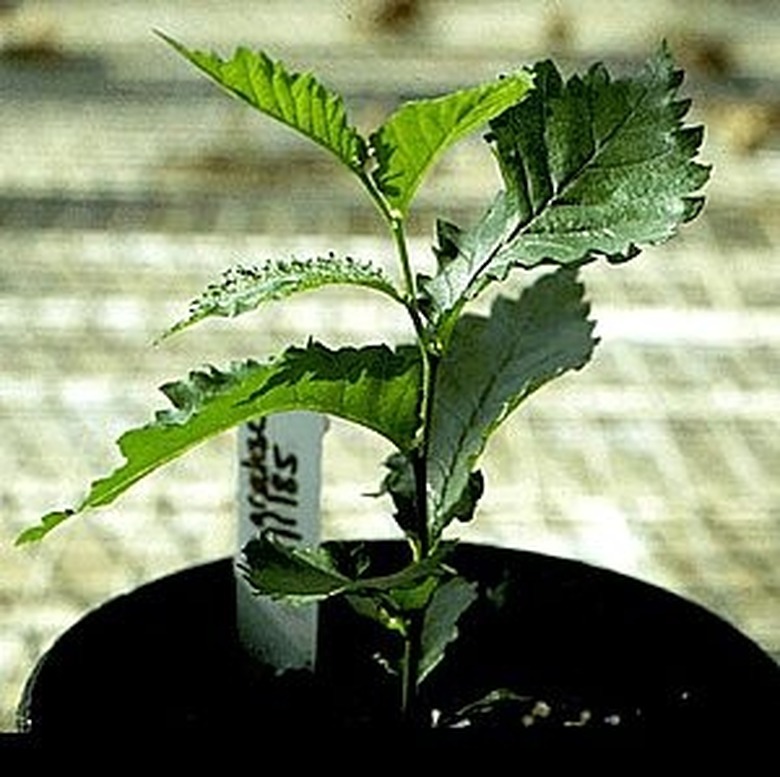
Transplant your seedlings once they are well established with true leaves and strong roots. You can tell when the seedling has strong roots when you see the roots coming out of the bottom of the pot. Because pumpkin seedlings will grow very quickly, they should be ready for transplanting 7-10 days after germination.
Do not transplant too early; transplanting seedlings too soon can result in the loss of many plants because they are not strong enough to withstand the shock of transplanting. Garden pests such as slugs also love to eat tender young shoots, so leaving your seedlings in their pots until they are well established gives the stems a chance to harden off so that the slugs cannot easily mow them down.
Step 4
Protect young plants:
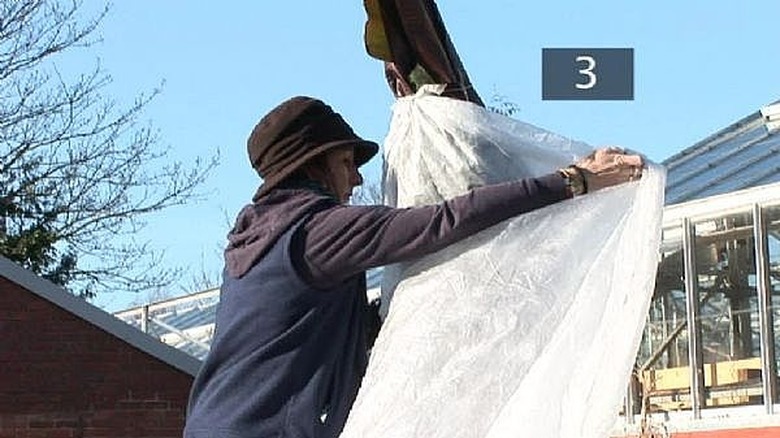
You will probably be planting your seedlings toward the end of May, so the weather can still be unsettled, depending on your location. To protect your young plants from stormy weather and cold nights, it is a good idea to put a clear plastic tent over them until they are established. A simple way to tent seedlings is by building a tripod, tepee-style using sticks or small bamboo stakes that can be found at any garden center.
Wrap a strip of clear plastic around the tepee and secure with a stapler, leaving a vent at the top for air circulation. You can also cover the plants with cold frames made from glass windows, but be careful to remove them on hot days to avoid cooking the plants.
Step 5
Pollinate:
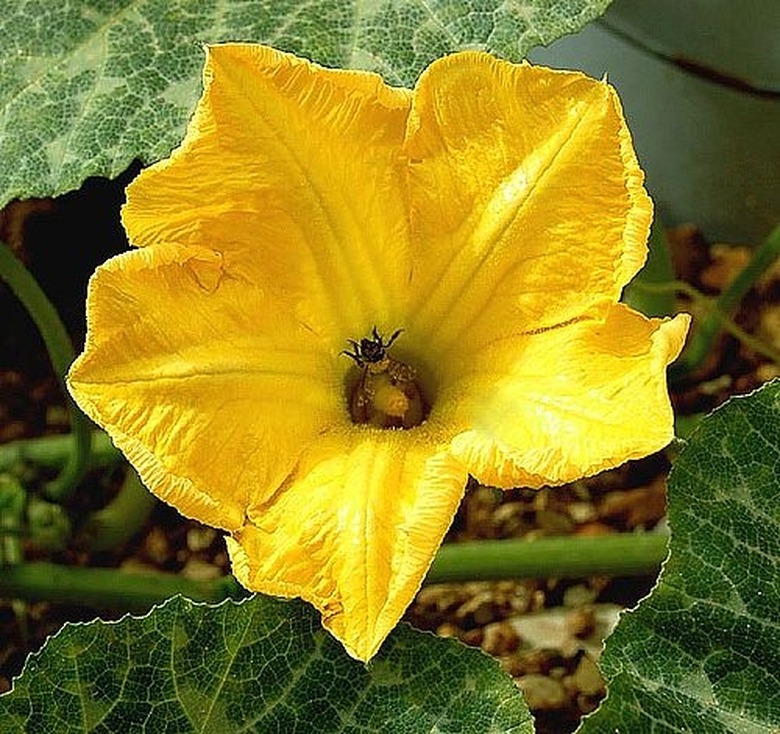
Once blossoms appear, pollinate them by hand to ensure that the plants will form fruit. Upon examining the blossoms, you will notice that there are two different types of blossoms, male and female. The female blossom has a small pumpkin at its base, and no pollen on the inside. Male blossoms have a pollen-covered stamen in the middle. Pick a male blossom and remove the petals of the blossom, exposing the stamen, then use the stamen the way you would use a paintbrush, and dab pollen into each of the female flowers. Once pollinated, the pumpkins will begin to grow.
Step 6
Prune:
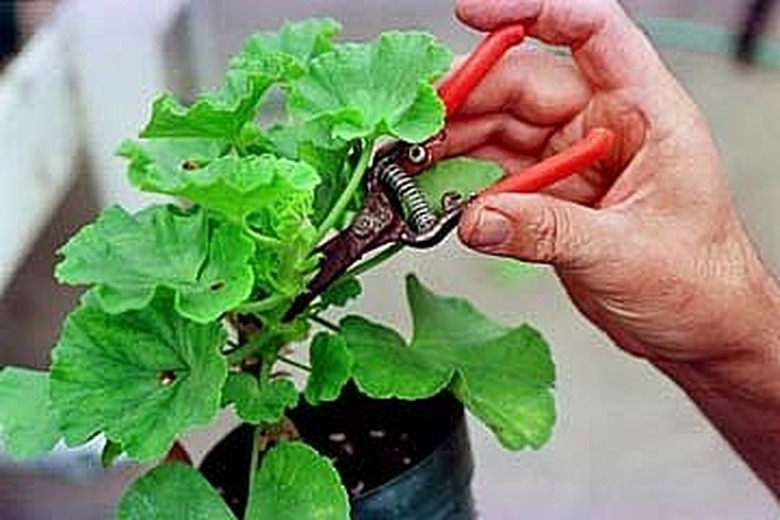
Keep the vines under control by pruning them, beginning early in the season. Each main vine should be pruned 10 to 12 feet beyond a set fruit. If a pumpkin is growing from a main vine 10 feet or less from the root of the plant, the vine should be trimmed at 20-24 feet in length. Shoots that grow off of the main vines should be trimmed at eight feet of length. Cut ends should be buried in the ground to prevent water loss.
Step 7
Select a favorite:
The best way to grow truly gigantic pumpkins is to eliminate the competition. Examine the pumpkins on each vine and select the one that has the most potential. Tall, round pumpkins tend to grow the biggest. By the end of July, you should have chosen your champion. Remove all other pumpkins from the vines so that the plants can concentrate all of its energy into growing giant pumpkins.
Step 8
Fertilize carefully:
In the early stages of growth, bi-weekly moderate doses of a balanced fertilizer such as 20-20-20 will accelerate growth of well-established seedlings and vines. After July, you should switch to a fertilizer that puts emphasis on potassium, such as 15-11-29. Do not over-fertilize! Over-fertilization can cause pumpkins to separate from the vines and literally explode.
Step 9
Support vines:
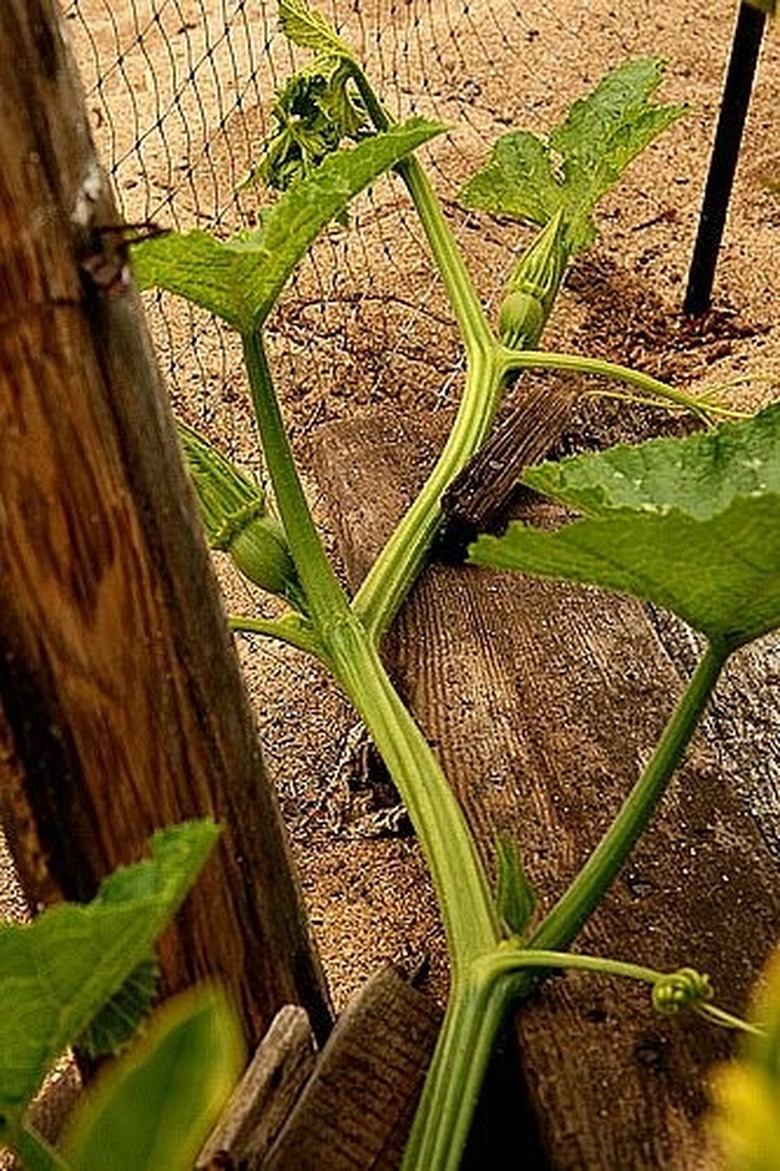
As giant pumpkins grow larger, they tend to lift the vines from the ground, placing them under stress. You can help ease the stress by gently lifting the vines and supporting them by placing blocks of wood or Styrofoam underneath them. Do not move vines in the morning, because they are stiffer when they are cool, and will break more easily.
Step 10
Whether you grow them for competition or just for fun, growing giant pumpkins can be an exciting and educational process for the whole family to enjoy together. By following these steps, you can quickly become an expert at growing giant pumpkins.
