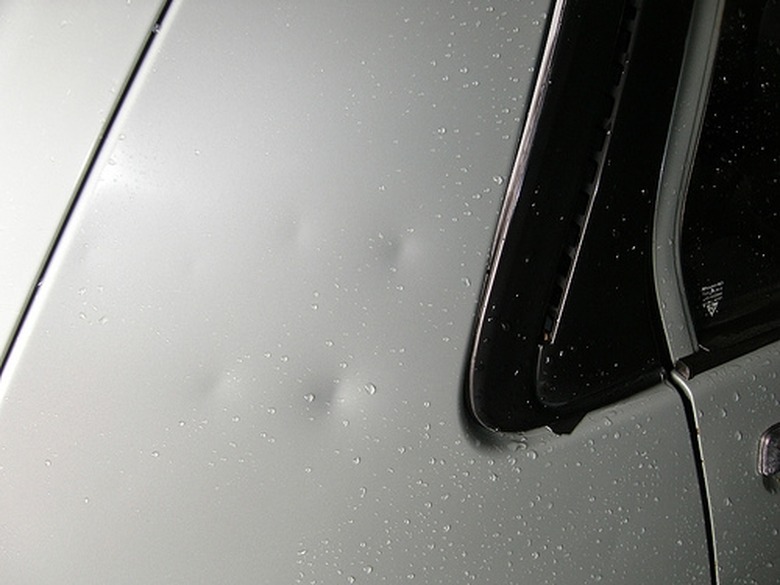
How To Use Dry Ice To Remove Hail Damage Dents
Things Needed
-
Dry ice
-
Styrofoam cooler
-
Work glove
-
Soft clean cloth
Has your vehicle ever been dimpled like a golf ball after a hail storm? Before filing an insurance claim, consider using a home remedy to remove the dents: dry ice. Dry ice is solidified carbon dioxide that is often used to quickly cool food and other items. Dry ice is preferred over regular ice to remove dents because it's lower temperature–acccording to Dryiceinfo.com, dry ice's temperature is -109.3°F or -78.5°C–and can more quickly reach the temperature difference needed to pop out the dents.
Step 1
Visit a local grocery store or hardware store to purchase dry ice. It is relatively inexpensive and is sold in large blocks. If you have many dents, it may be worth purchasing several pounds of dry ice. Bring your own cooler–Styrofoam works best–to transport the dry ice from the store to your home.
Step 2
While wearing a heavy duty work glove, hold a piece of dry ice to the middle of the dent for two minutes. Make sure the ice makes direct content with the middle of the dent. Using dry ice on the affected area will cause the area to cool quickly and the metal to contract. The temperature difference caused by applying the dry ice and then removing it should cause the car surface to pop back out. Remove the ice and within a minute or two the dent should begin to pop out.
Step 3
Wipe the car surface clean with the cloth.
Step 4
Repeat if necessary.
Tip
On some deep dents, it may be necessary to increase the temperature difference after the ice is applied. For deeper dents, immediately removing the ice, use a hair dryer to blow hot air on the dent for about 10 seconds.
If the hail dent has a crack in the paint surface, it may be advisable to contact a local body shop.
Warning
Always wear gloves when handling dry ice. Never touch dry ice to your skin. Keep dry ice away from the eyes and do not eat dry ice. Keep dry ice away from children.
