How To Stain Caulk
Things Needed
-
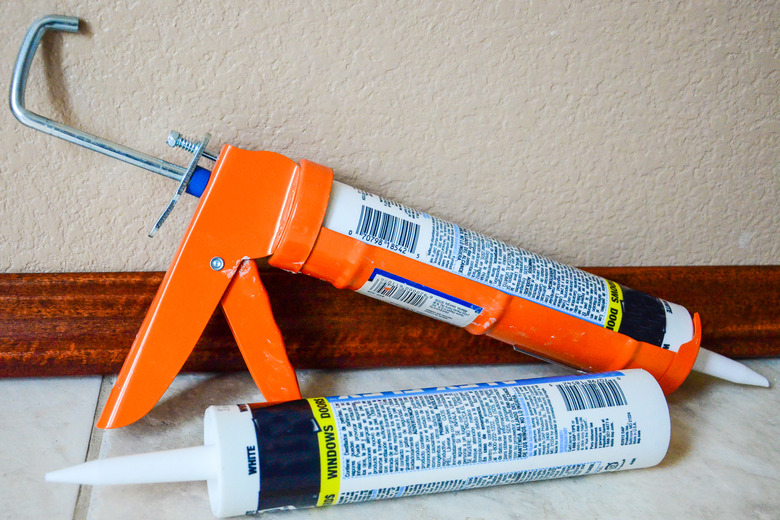
Stainable caulk
-
Artist's paint brush
-
Straightedge
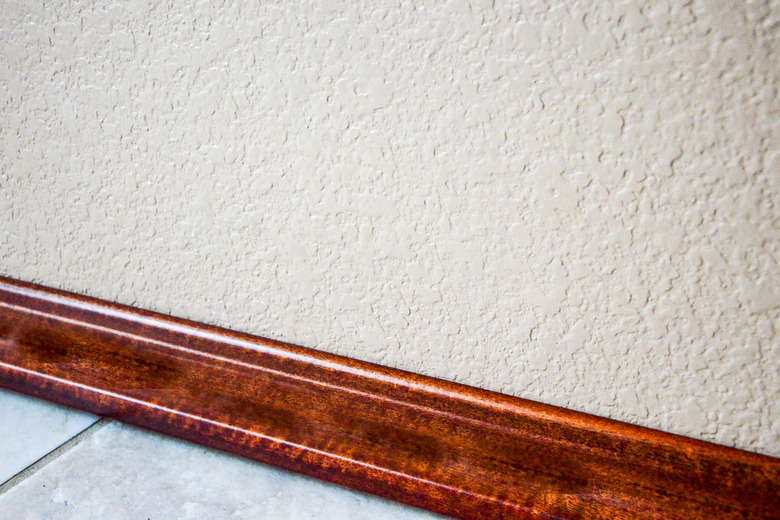
Interior molding adds flare and class to your home. Molding installation almost always calls for caulking to close gaps between the molding and the wall, ceiling and floor or cracks where pieces of molding connect to each other. If your molding is painted white, caulking with white caulk is all that's necessary for a perfect finish; if your molding is stained, white caulking would cheapen the finish and diminish the value of the work. The best option in the case of stained wood molding is to stain the caulk to match the wood.
Step 1
Select a stainable caulk. Stainable and paintable caulks are designed specifically to hold paint or stain. Using a regular caulk will not provide a good finish.
Step 2
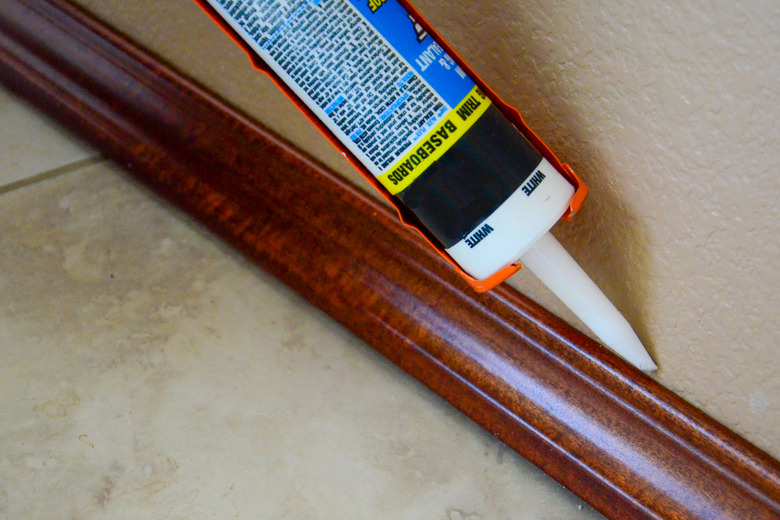
Caulk the trim with the stainable caulk. Run a wet finger down the caulk to smooth it into place. Allow the caulk to dry completely.
Step 3
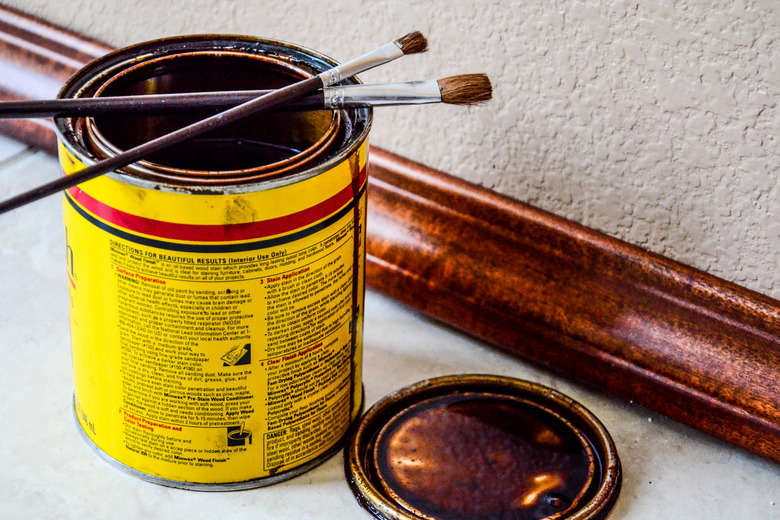
Paint the stain used on the molding onto the caulk with an artist's paint brush. Use a straightedge to prevent stain from getting on the wall or other adjoining surfaces. You will probably have to paint two coats of the stain before the finish is dark enough to match the wood. Allow each coat of stain to dry completely to assess the true color achieved.
Tip
Wear plastic gloves when working with stain to protect your fingers and hands. Only use stain in a well-ventilated area. If the area you need to stain is not well-ventilated, wear a mask while painting the stain.
References
- "Finishes & Finishing Techniques;" The Taunton Press; 1999


