How To Caulk Outdoor Lights
Things Needed
-
Silicone caulk
-
Damp cloth
-
Old blanket or drop cloth
-
Step ladder (optional)
-
Paper towels
-
Utility knife or heavy scissors
-
Bowl of water
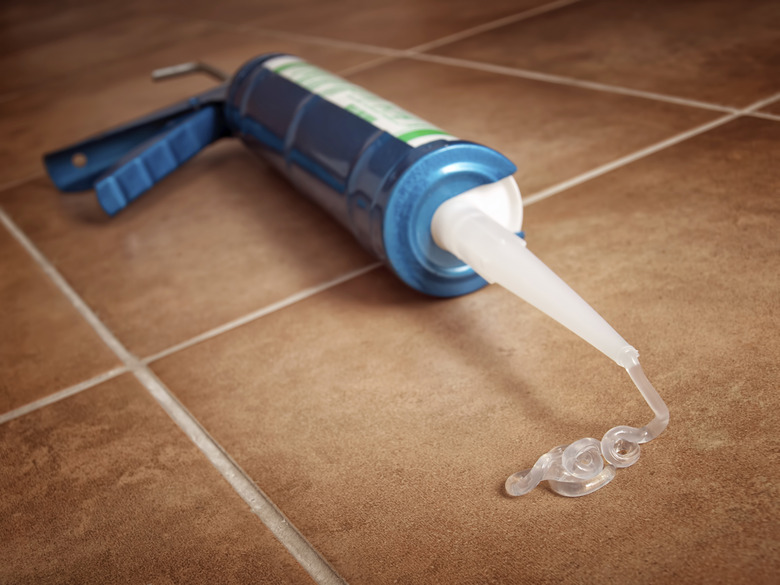
If you've ever used a frosting tube to write greetings on a birthday cake, then you're going to be a natural at caulking. Even if you're new to caulking, you're likely to enjoy it because it's a straightforward job that promises benefits you can clearly see. The primary benefit you'll achieve from caulking your outdoor lights is keeping water from jeopardizing the components. You'll also keep dirt and bugs from entering the light, too. Choose a silicone caulk for this job; it's water-resistant and won't crumble, crack or shrink.
Step 1
Clean the area around the light with a damp cloth. Like paint, caulk is most effective when it's applied to a clean surface.
Step 2
Set up your work area around the outdoor light. Spread an old blanket or drop cloth to catch accidental caulk spills. Grab a step ladder, if you have to, so you can see your work area clearly and don't have to strain to reach it. Keep some paper towels nearby to remove caulk blobs. Use a utility knife to steer wayward caulk back into place. And fill a bowl with water so you can dip your finger in it and smooth the caulk.
Step 3
Cut open the top of the caulk tube with the utility knife or heavy scissors. Cut the opening at a 45-degree angle.
Step 4
Eyeball where you wish to apply the caulk: the slight gap where the light makes contact with the backplate or mounting board. Begin applying the caulk at the top of the outdoor light and work your way down. Apply the caulk in one even stream. If you veer off-course, scoot the caulk back into place with the utility knife.
Step 5
Caulk down the other side of the light fixture, from top to bottom, squeezing the caulk tube as you work. Caulk along the top of the light fixture and along the bottom, leaving a small space along the bottom to allow any moisture in the light fixture to drain out.
Step 6
Dip your finger in the bowl of water and smooth out the caulk. Press down on the caulk lightly as you work your way around the light. This step will help ensure the caulk fills the gap between the light and the backplate or mounting board and ensure a finished look.
Step 7
Clean up any spilled caulk. Follow the directions on the caulk tube and give the caulking around your light fixture sufficient time to cure.
Tip
Practice squeezing out the caulk on paper, an old piece of wood or poster board before rimming the light with it to achieve the proper squeezing action and pace.
