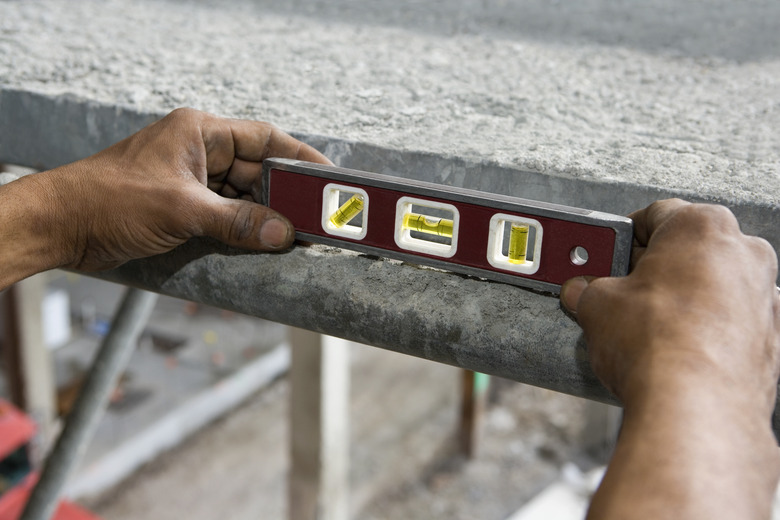
How To Read A Bubble Level
If you're planning any home improvement projects, even something as simple as hanging a picture, having a bubble level on hand helps you do the job right. A spirit level is a very simple tool that helps you check to make sure your project is level and plumb. Learning how to use and read the level tool is actually really simple once you understand how it works.
What Is a Bubble Level?
What Is a Bubble Level?
A bubble level, also called a spirit level, is a long, narrow tool with several liquid-filled vials along the length. Each vial has a bubble inside, and that bubble is what tells you whether or not something is level or plumb. The liquid is usually tinted to a yellowish-green color to make it easier to see the bubble and get an accurate reading.
Most levels have multiple vials for measuring different things. Tubes in the middle typically help you check for level surfaces, while vials on the ends help you check to see if your vertical surface is plumb. Some models have angled vials in case you're finding level at a 45-degree angle. You can find these levels in different lengths, from pocket-size levels for small projects to much longer ones for larger objects.
You can also find different types of bubble levels. Line levels are lightweight and feature hooks that can hang from a string line. A post level consists of a 90-degree angle and has three vials in it to check fence posts for plumb and level at the same time. If you're working in a tight space, a torpedo level is a compact model that works well.
Uses for a Bubble Level
Uses for a Bubble Level
A carpenter's level helps you make sure your projects are plumb and level. Plumb means the structure or object is straight vertically, meaning it creates a 90-degree angle with the ground so it is perfectly straight up and down. Level refers to something being straight horizontally, or side to side without tilt.
A level tool can help you make sure objects are both level and plumb. This makes it easier to build structures like decks. They come in handy when you're installing or hanging things on your walls, such as kitchen cabinets or artwork.
Checking for Accuracy
Checking for Accuracy
Don't automatically assume your level is accurate. You can test it out by placing it on any flat surface and looking at the location of the bubble. Flip it over and check again to make sure the bubble is in the same spot to know it's accurate.
How to Position the Level
How to Position the Level
For the most accurate reading, the bottom edge of your level needs to go directly against the surface you're checking. If you're checking for plumb, you'll need to hold the level vertically with the bottom edge of the level against the structure. Hold the level steady to allow the bubble to settle. Once it stops moving, you can take your reading.
How to Read the Level
How to Read the Level
Looking at the bubble from eye level, check out the location of the air bubble. Is it perfectly centered between the two lines? If so, that means your structure is level. If the bubble rests more toward one line than the other, your surface isn't level.
Sometimes, the bubble might be slightly longer than the distance between the two lines or smaller than the two lines, so it doesn't touch them on both sides. In those cases, you'll want to look closely at where the bubble sits to make sure it's centered, even if it's bigger or smaller than the space. If a smaller bubble is slightly closer to one line than the other, for example, you know it's not quite level.
Some levels have two sets of lines. The inner lines are what you want to use if you're going for a level surface. However, if you're working on a project that requires a subtle slope for drainage, such as a sidewalk or gutters, you want the bubble to touch one of the outer lines on the vial. Those lines show the 2 percent grade you need for those types of structures.
