How To Flatten Wine Bottles
We may receive a commission on purchases made from links.
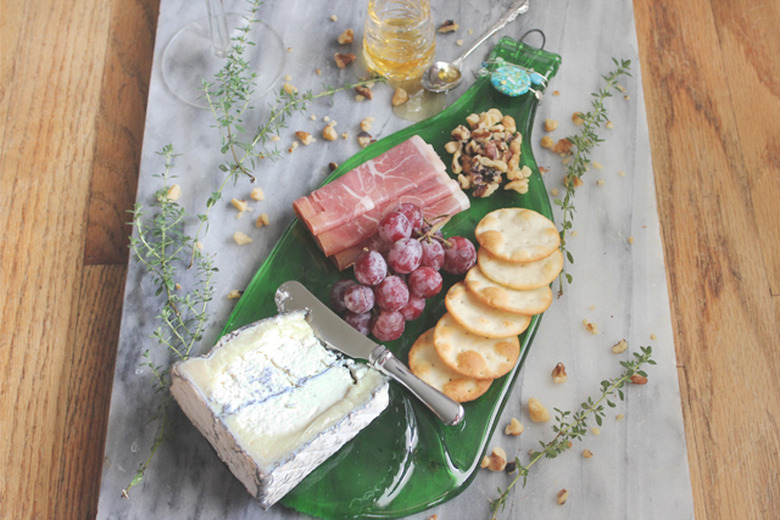
Holding onto beautiful wine bottles you just can't toss? When you flatten wine bottles, you create a beautiful piece that's perfect as a unique serving platter or mini charcuterie board for all of your holiday treats and special celebrations. Flattening wine bottles, also known as bottle-slumping, offers a creative solution to recycle old wine bottles into beautiful decor pieces. They also make a unique holiday gift for friends or family, especially when paired with gourmet chocolates or cheeses.
Things Needed
-
Empty glass wine bottle
-
Electric glass kiln
-
Jewelry wire, 14-gauge and 16-gauge (optional)
-
Beads (optional)
1. Peel the labels.
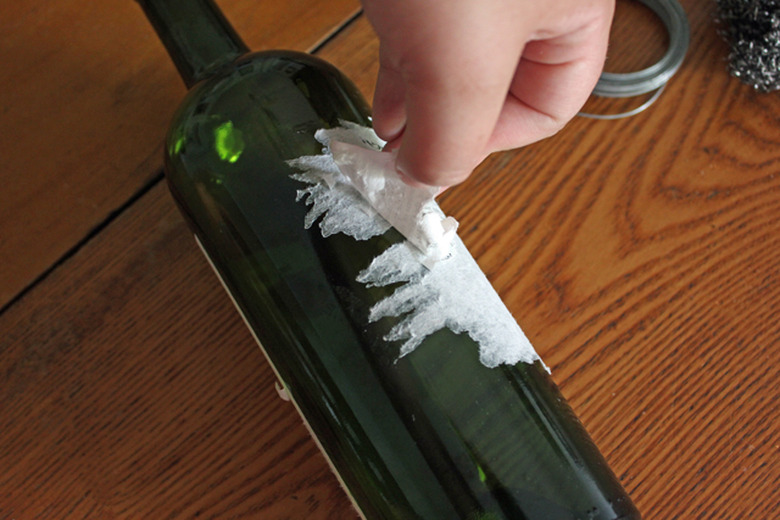
Peel off as much of the label as you can by hand. Try to pull off the majority of the paper, leaving the sticky residue on the bottle.
2. Soak the wine bottle.
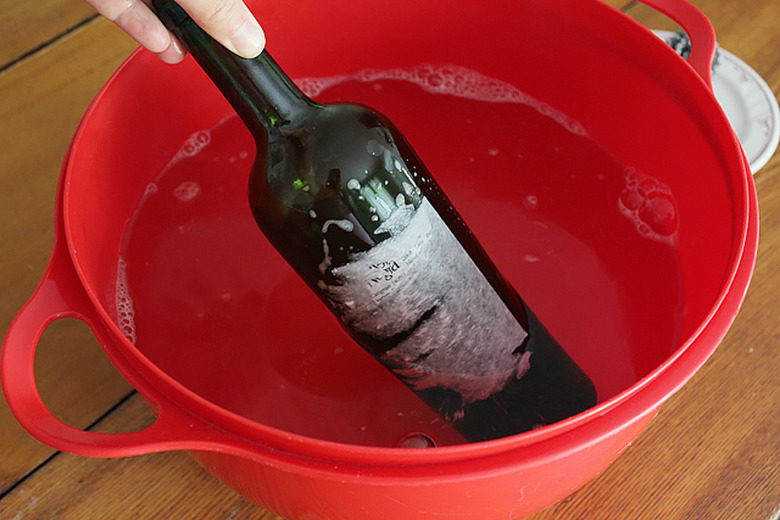
To remove the sticky residue and leftover label, fill a large bowl or a sink with warm water. Add 10 to 12 drops of dish soap to the water and swirl your hand around in the water to evenly disperse the soap. Place the wine bottle in the soapy water and allow it to soak for 15 to 20 minutes.
3. Scrub the glue and paper off.
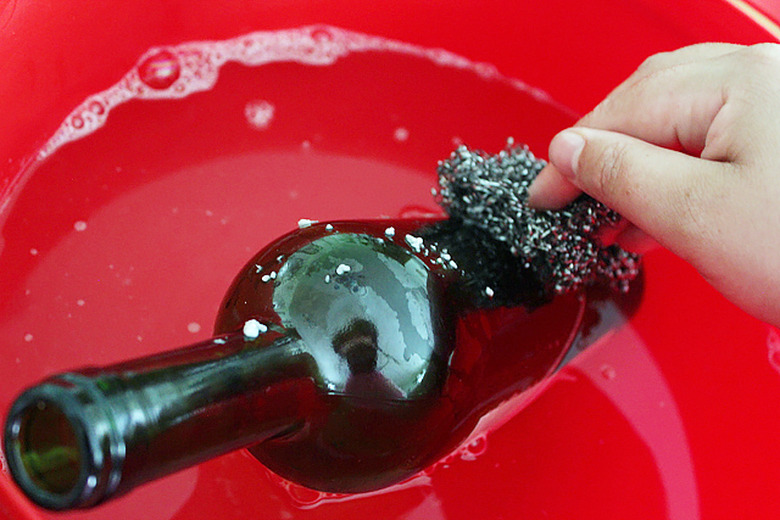
Use a small piece of steel wool to gently scrub the glue and paper off from the bottle. Don't scrub so hard that the steel wool scratches the glass. After all the glue residue and paper are removed, rinse the bottle in cold water and allow it to dry completely.
4. Add a wire.
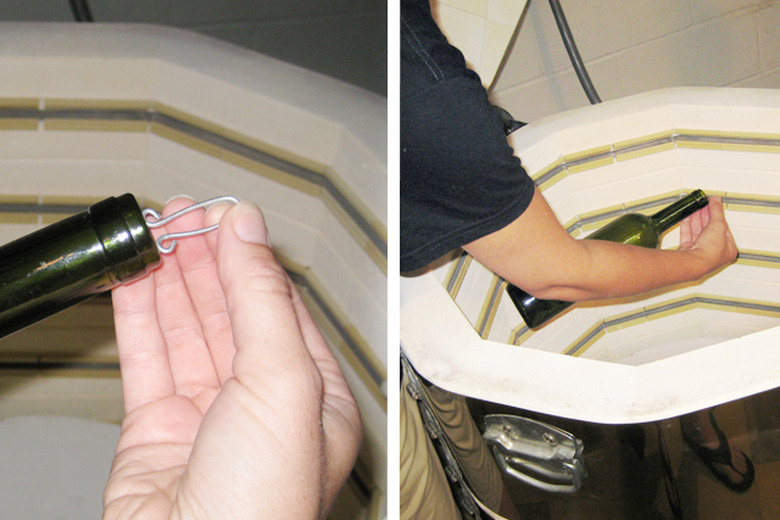
If you plan on using your flattened wine bottle as wall art, cut a small piece of 14-gauge wire, twist it into a decorative shape or simply curve it and slip it into the opening of the bottle so that the top portion is still sticking out. The wire will be fused into the melted glass and will allow you to hang the flattened bottle.
5. Put it in the kiln.
Make sure the kiln is turned off and completely cool and gently place the wine bottle into the kiln. Do not preheat the kiln. Not only is it extremely dangerous to preheat the kiln, but if the bottle is heated too quickly, it will shatter rather than melt. Depending on the kiln you're using, you may need to place fiber paper or kiln wash on the shelf before putting your bottle in the kiln to prevent the glass from sticking to the shelf. Read the instructions on your kiln before melting the glass bottle.
6. Melt the bottle in the kiln.
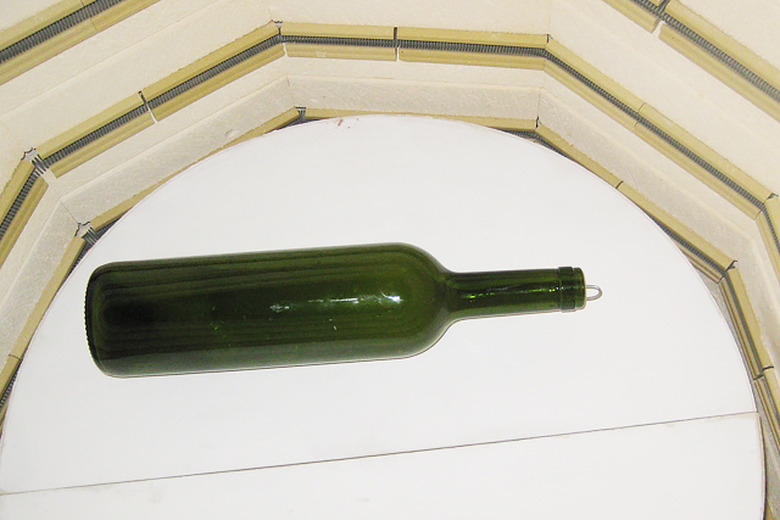
Make sure your wine bottle is placed on the kiln shelf with the wire laying flat. Close the kiln door and turn the kiln on. Set the kiln temperature to 1,450 degrees Fahrenheit and let it slowly come up to that temperature. Once the kiln reaches 1,450 degrees, allow the bottle to sit in the kiln for one hour.
7. Turn off the kiln.
Turn the kiln off after the bottle has been in the 1,450-degree kiln for one hour, but do not open the kiln. Allow the bottle to cool in the kiln for at least 24 hours. The bottle needs to cool slowly to avoid cracking. Opening the kiln door before 24 hours will cool the bottle too quickly.
8. Remove the bottle.
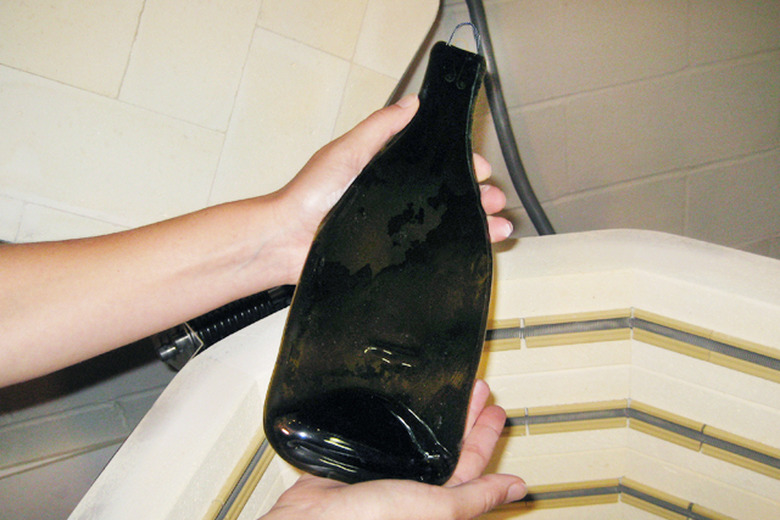
After the kiln has been turned off for at least 24 hours, check the temperature of the kiln on the outside temperature gauge to ensure it has completely cooled. Open the kiln and remove the melted bottle. If your kiln doesn't have a temperature gauge on the outside, wear heat-resistant gloves when removing the bottle from the kiln.
9. Add decorative beads.
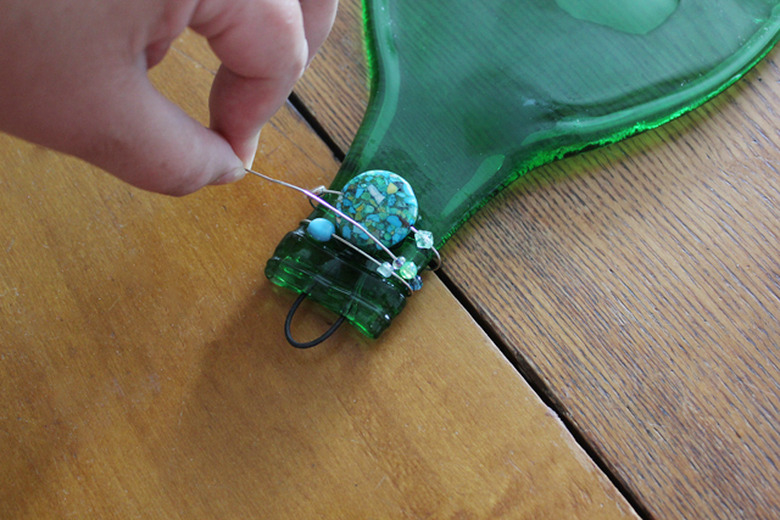
Thread beads onto a piece of 16-gauge jewelry wire and wrap the wire around the neck of the bottle. Once you have your desired arrangement of beads, twist the wires tightly closed on the back of the bottle and use wire cutters to cut off the excess wire.
Your new flattened wine bottle is now ready to be hung as art or used as a one-of-a-kind cheese plate.
