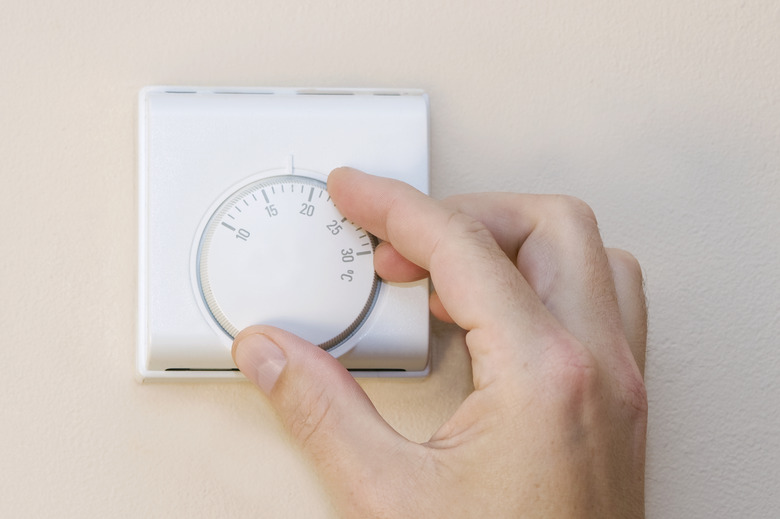
How To Install A Heating-Only Thermostat
We may receive a commission on purchases made from links.
Modern thermostats can perform many functions, especially if you go with a smart model, but all of those extra bells and whistles may be more than you need. If your thermostat controls your heat only, you can install a simple two-wire thermostat. It takes only a few minutes to do and most homeowners have no trouble DIYing the job.
Things Needed
-
Wall anchors (as needed)
-
Batteries (as needed)
Installing a Heating-Only Thermostat
1. Remove the Old Thermostat
When removing your old thermostat, work carefully and pay attention to the wires. The thermostat holds the wires in place. When you disconnect them, you can easily lose them down inside the wall, and fishing them back out isn't fun. Make sure you splay the wires in such a way that they won't fall down into the wall, or you can secure them to the wall temporarily with masking tape after the old thermostat is removed.
- Turn off the electricity to the thermostat by flipping the toggle switch on the furnace disconnect or turning off the breaker to the system's circuit in your home's breaker box.
- Remove the cover from the thermostat and then stop. You should now see two wires attached to the thermostat. Note the letter next to each wire terminal (typically they will be R and W, but this can vary). Take a picture of this to serve as a furnace-wiring diagram if you run into trouble later. If the wires are the same color, label each with the corresponding terminal letter, using masking tape. Note: It is best to keep track of the wires and terminals in case it matters on the new thermostat. There may be additional wires that aren't being used coiled up inside the thermostat; do the same with the new thermostat.
- Loosen the terminal screws and pull the wires from the terminals. Remove all mounting screws securing the thermostat base to the wall, and pull the old thermostat off the wall.
- Examine the wire ends. If you see any corrosion or other damage, trim off the ends. Then strip about 1/2 inch of insulation from each wire.
2. Mount the New Thermostat
Most thermostats have a body and a base plate or mounting plate. Separate the body of the new thermostat from its base plate following the manufacturer's instructions.
- Place the base plate against the wall and use a level to make sure the plate is perfectly level. Also make sure it is right side up.
- Use a pencil to mark the holes for the mounting screws.
- Drill pilot holes for the new mounting screws. If there is no backing behind the wall surface, install wall anchors for the screws.
- Thread the thermostat wires through the hole(s) in the base plate and mount the plate to the wall with the provided screws. Double-check that the plate is level and make any necessary adjustments.
3. Wire the New Thermostat
Connect each of the two wires to the appropriate terminal on the new thermostat base plate, matching the wiring of the old thermostat- (double-check this in the product literature), you can connect either wire to either terminal, but connect only one wire to each terminal in any case. Tighten the terminal screw snugly to secure the wire.
4. Install the Thermostat Body
Installing the thermostat body is a simple process, but you should still read the manufacturer's instructions before you do it. Thermostat bodies are often made of plastic and you don't want to break any crucial clips or holders. Some may push straight on, while others may need to be installed at an angle and then slid into place. If the thermostat has an anticipator setting, follow the manufacturer's instructions to set it.
- Install batteries if needed for the thermostat's display.
- Align the thermostat body properly and snap it in place.
- Restore power to the thermostat.
- Test the thermostat to make sure it kicks the furnace on and off as the temperature changes. If it works, you can program your thermostat, if applicable, or simply set it to the desired temperature.
