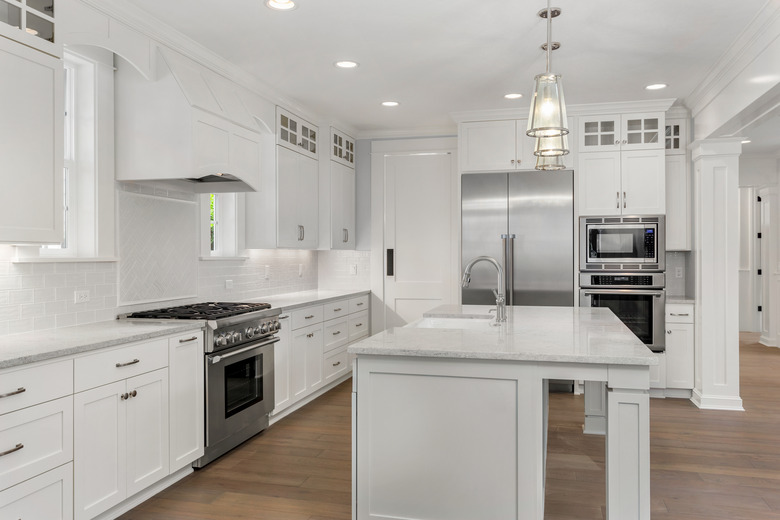
How To Stain Kitchen Cabinets White
We may receive a commission on purchases made from links.
When it's time to update your cabinets, staining them white can be an affordable and beautiful option. Rather than replacing your cabinetry outright, refinishing it is much cheaper, less disruptive and still has a good return on investment: staining or painting cabinets has an ROI of about 81 percent, according to Remodeling Magazine's 2018 Cost vs. Value Report.
Why Choose Staining Cabinets
Why Choose Staining Cabinets
With a value like 81 percent ROI to update your cabinets, the next question is whether to stain or paint. While paint gives more color options, it comes with a lot of downsides. In addition to hiding the natural grain of the wood, paint is more expensive, takes longer to apply and shows mistakes and dirt mercilessly. It doesn't last as long as stain and can crack over time.
While stain can show dust and is a bit less water-resistant than paint, it's cheaper and more forgiving in its application, lasts longer, is washable and hides dirt better. Stains come in a variety of formulations, including water-based, oil-based, gel, dye and pigmented. And water-based stain has yet another advantage over paint: it doesn't produce heavy, dangerous fumes. Finally, a white stain is a classic and timeless look that gives a fresh, airy aesthetic while showing off the wood's beautiful natural grain.
Preparing to Stain Kitchen Cabinets
Preparing to Stain Kitchen Cabinets
Once you've decided to stain your cabinets white, gather your supplies. When choosing your stain, make sure you also pick up a polyurethane finish designed to work with that particular stain — going with the same brand name for both products is a good choice or picking a blend that combines the stain and finish. You will also need denatured alcohol, a fine-grit sanding sponge (at least 220 grit), lint-free towels and a brush or rag for applying the stain. If your cabinets are already painted, you will also need paint or lacquer thinner and coarser-grain sandpaper to remove the old paint.
Next, prepare the surface. Take the doors off the cabinets and remove all the hardware. Cover your work surface with a drop cloth and put on latex or nitrile gloves. If the cabinets have old paint or other finishing on them, use the paint or lacquer thinner and coarser sandpaper to remove all coloring or coating.
When staining white, the wood must be completely clean. The Creativity Exchange explains that you should prepare a 50/50 mix of denatured alcohol and water. Use that with the fine-grit sanding sponge to gently remove all the dirt and oils from the wood and prepare the surface to receive the stain. Dry the surface with the lint-free towel and let it dry completely.
Applying Whitewash Stain
Applying Whitewash Stain
The next step is applying the whitewash stain. Be sure your workspace is well-ventilated by opening any doors or windows and using fans to keep air circulating. Then, thoroughly stir the stain — it will often separate, with the pigment settling at the bottom. Once the stain is thoroughly mixed, begin application.
A sponge brush is usually a good choice for this, but a rag is also fine. Apply an even layer, just enough to coat the wood without dripping or pooling, then wipe it off immediately. It should take a couple of minutes to cover each door, and as long as you wipe off the excess within that timeframe, the application should be successful. Finish an entire coat this way, then let it dry. The label on the stain will specify a drying length.
Then, apply a second coat in the same manner. Depending on the stain and the result you want, evaluate at this stage to see if you need a third coat of the stain. Let it dry again after the final coat, then apply the polyurethane finish (if it wasn't blended with the stain already). You should now have beautiful whitewashed cabinets.
