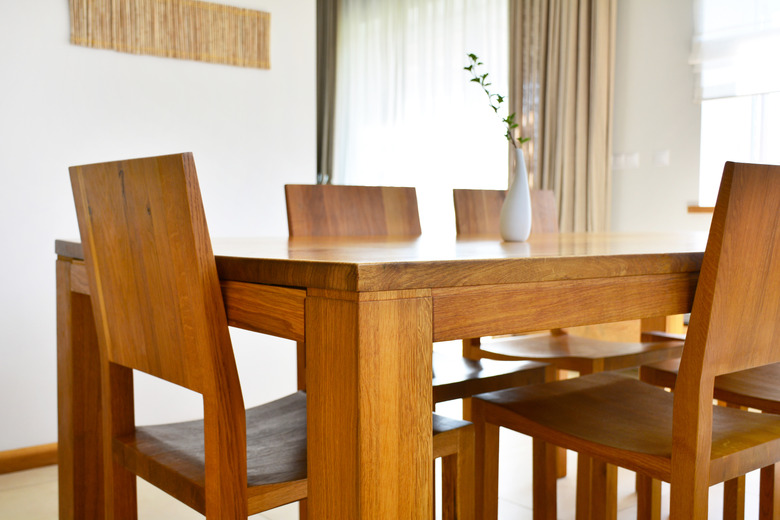
How To Paint Oak Furniture
We may receive a commission on purchases made from links.
Whether you're trying to cover blemishes or just want a fresh look, painting your oak wood furniture is an effective solution. Prepping is the most important part of the painting process to get a smooth, high-quality finish. If the furniture has any loose joints or lifting veneer, make needed repairs as part of the prep process to ensure a seamless painted finish. You get the best paint results by spraying, but a well-executed brushed finish also looks attractive.
How to Paint Oak Furniture
1. Clean the Old Finish
Wash the finish with a solution of 1/2 cup of trisodium phosphate detergent per gallon of water if the finish is still in good condition. If the finish is cracked or peeling, strip it with a methylene chloride stripper. Use a soy- or citrus-based stripper as an alternative; it will work more slowly, but it's safer for you and the environment. Clean the stripper residue with TSP and water, rinse with clear water, and let the wood dry.
2. Remove the Residue
Sand the stripper residue with 120-grit sandpaper. A palm sander speeds up this job when you're working on a piece of furniture with many large, flat surfaces, such as oak cabinets. If you're painting an item with many turnings and carvings, such as a chair, it's safer to sand the tight areas by hand.
3. Repair the Furniture if Needed
Make all structural repairs, such as gluing joints or replacing lifting veneer. Glue with PVA adhesive or carpenter's glue. Clamp anything you glue overnight using bar clamps or C-clamps.
4. Repair the Nicks
Fill nicks and gouges with epoxy wood filler. Since you're painting, you don't have to worry about color matching, and epoxy filler makes a more permanent repair than latex- or solvent-based wood fillers. Mold any repairs that you make with a putty knife while the filler is stiff but hasn't set yet.
5. Sand the Furniture
Sand the piece again, this time by hand, with 150-grit sandpaper. If you didn't strip the finish, this is the sanding you need to do before applying finish. Be sure to sand all the filler flat.
6. Apply the Primer
Apply a single coat of wood primer. This is a necessary step whether you stripped the old finish or not. Paint adheres better to primer than it does to wood or wood finishes. Spray the primer from a can or apply it with a paintbrush.
7. Apply the Paint
Scuff the primer lightly with 220-grit sandpaper and apply a coat of the paint of your choice. Oil-based and latex enamel are the most reliable paints for wood furniture. Spray either with an air spray gun, or brush it. Use a natural-bristle brush for oil-based paints and a synthetic-bristle one for latex paints. Milk paint is an attractive alternative to enamel for bare wood. It comes as a powder that you mix with water, and you apply it with a brush. If you choose this option, omit the primer. The first coat of paint will seal the wood.
8. Apply a Second Paint Coat
Let the paint dry overnight, then scuff it lightly with 220-grit sandpaper and apply another coat. You shouldn't need any more than two coats of paint, but if you do, let the second coat dry, sand, and apply a third coat.
Tip
If you're painting an oak tabletop, and you want a glassy finish that doesn't show grain, fill the grain with an oil-based paste filler. You can use paint thinner to make the thick paste into a creamy consistency, apply it with a plastic putty knife, and sand it with 120-grit sandpaper when it's dry. Then, paint it as usual.
