How To Remove A Wood-Burning Fireplace Insert
Things Needed
-
Metal scoop
-
Bucket
-
Brush
-
Dustpan
-
Power drill
-
Socket wrench
-
Utility knife
A wood-burning fireplace insert must be removed when your fireplace and chimney enclosure need cleaning. It's easier than removing a gas insert because it's not necessary to remove or disconnect gas lines. Most wood-burning fireplace inserts are heavy and are secured to the enclosure with screws or bolts. If you don't want to hire a professional to remove the fireplace insert, you can attempt to remove it yourself.
Step 1
Open the doors of the fireplace insert, if they have been installed. If an ember shield is being used, fold it up and set it aside.
Step 2
Remove the metal grate used for the wood.
Step 3
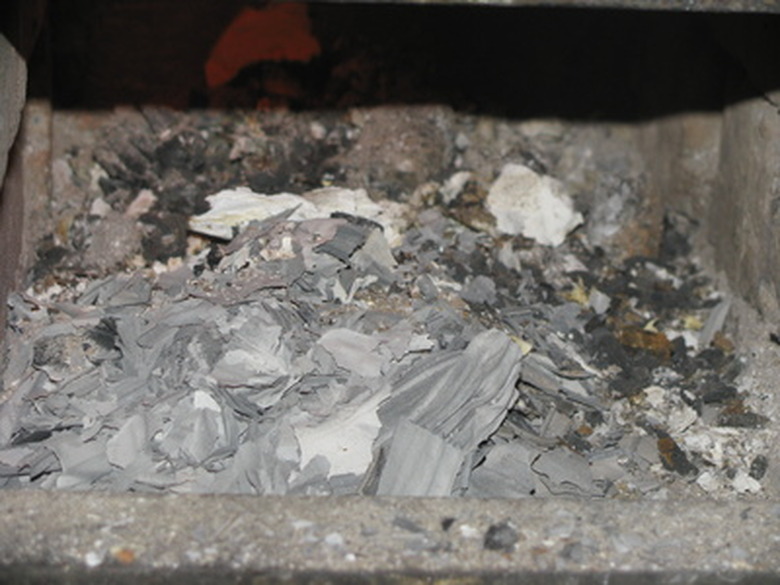
Remove soot from the bottom of the insert and place it in a bucket, using a metal scoop. Dump the contents of the bucket when it gets full.
Step 4
Clean up any remaining debris from the bottom of the fireplace insert with a broom. Sweep the waste into a dustpan and place it in the bucket.
Step 5
Search for the screws or bolts used to secure the fireplace insert to the chimney. Remove the screws with a power drill and the bolts with a socket wrench.
Step 6
Remove any decorative trim or caulk that has been placed around the edge of the fireplace. Cut any caulking used to seal the fireplace insert, using a utility knife.
Step 7
Pull on the bottom of the fireplace insert to slide it out of the enclosure.
Tip
Removing the fireplace insert is a two-person job.
Warning
If tiles are around the edge of the insert, they also must be removed.
