How To Change Out CFL Plug-In Light Bulbs
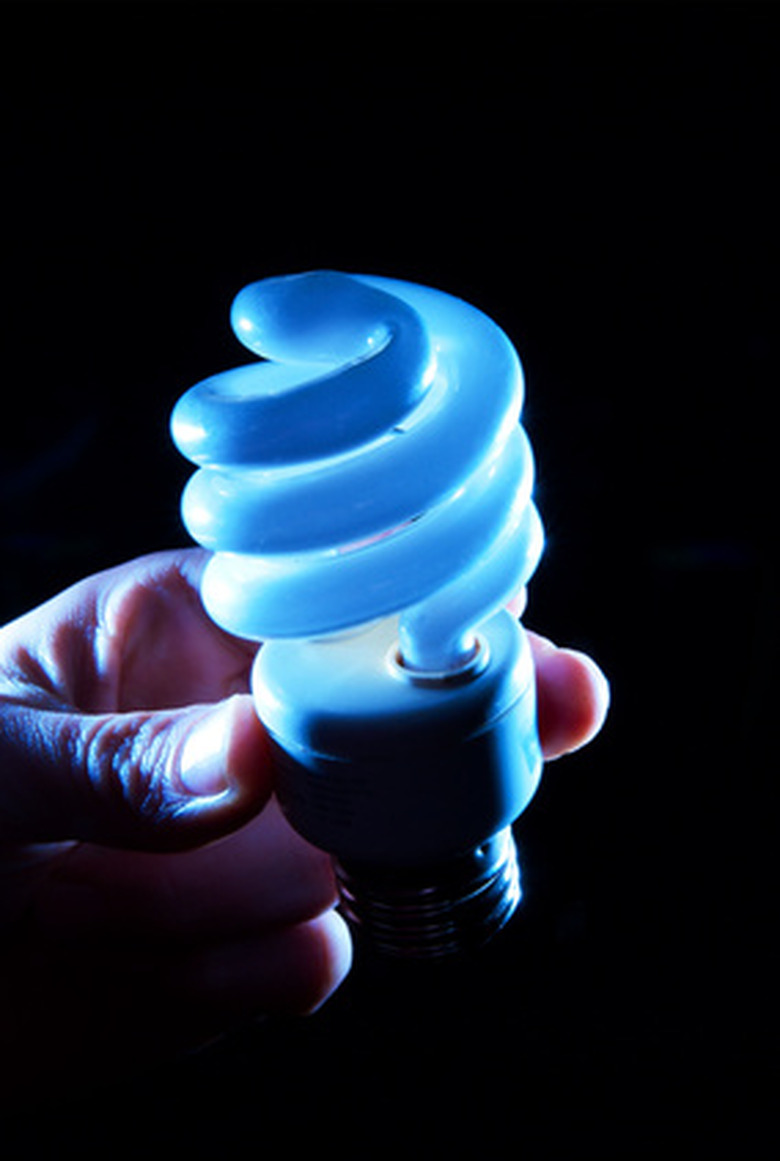
Compact fluorescent bulbs (CFLs) are in greater demand lately because of their significant energy savings over incandescent and halogen bulbs. You can get them for both screw-in and pin fixtures. Since they have an extremely long life as compared to other bulbs, you don't need to change them very often. When they do burn out, changing them out is simple and takes just a few seconds. As CFLs contain mercury, handle them gently so they do not break and release the mercury in the bulb.
Step 1
Allow the CFL to cool before handling. Since CFLs use significantly less wattage to produce the same amount of light, they do not get as hot as incandescent bulbs or halogens (the latter of which can actually be a fire hazard). Nevertheless, they can occasionally burn out, rapidly generating more heat than usual.
Step 2
Grip the bulb gently by the ballast, not the glass part of the bulb. The ballast is the large, plastic section at the base of the bulb that houses the electronics. If you try to pull the bulb out by the glass, you risk shattering it.
Step 3
Pull straight up gently but firmly until the bulb pops out. The pins will sometimes feel a bit stuck as you pull, so keep gentle upward pressure on the ballast while slowly wiggling it back and forth a bit to release the pins. Don't wiggle it so much that you risk snapping the pins; a very small side-to-side movement should be enough to release the CFL.
Step 4
Insert the new bulb. Grasp the ballast firmly, line up the metal pins with the sockets on the lamp fixture, and push the CFL into place, applying gentle pressure until the pins are fully inserted.
