How To Troubleshoot A Porter Cable For A Finishing Nailer
Things Needed
-
Nail gun
-
Oil
-
Needle nose pliers
-
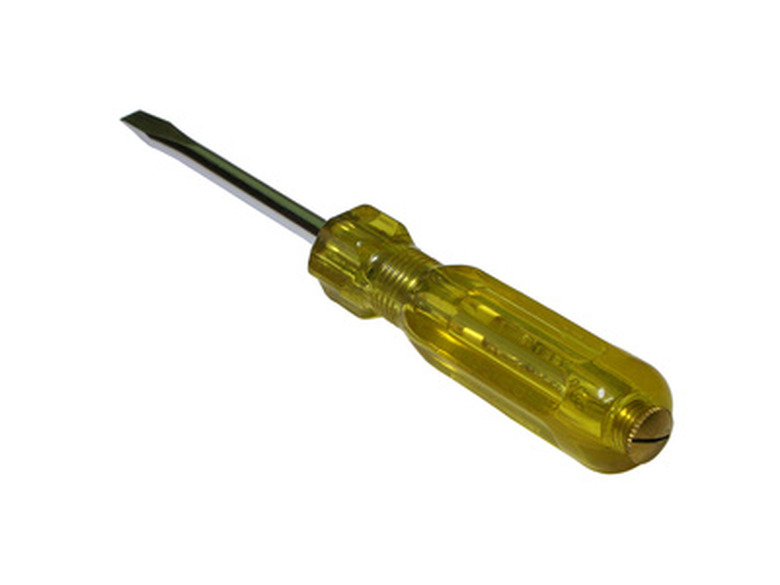
Flat blade screwdriver
-
Nails
Porter Cable is a common brand of medium priced professional woodworking tools. Their familiar black and gray color scheme can be found in many carpentry shops and job sites. When troubleshooting any nail gun, the first consideration should always be safety. Do not point a gun that is connected to its air supply in any direction that you do not intend to shoot. You will need to make sure you have an adequate air supply, the nails are in place, the gun has been oiled and nothing is jamming the plunger.
Step 1
Check the power on the compressor to make certain it is plugged in and turned on. Release the pressure from the tank by pulling out on the release valve. This is typically a red or yellow plastic shrouded valve located near the pressure gauge. Continue releasing pressure until the compressor kicks on and recharges. Check the gauge to see that it has reached an appropriate level, typically 125 to 150 psi. Test the gun. If it still does not respond continue to trouble shoot the gun itself.
Step 2
Remove the nail gun from the air hose. To do this, locate the end of the air hose where it is attached to the nail gun. Pull back on the brass ring of the connector. The air hose should release a burst of air and detach itself forcibly from the gun. If it does not, the air is not reaching the gun. Check any stop valves or moisture collectors in the air line for proper function. Open closed stop valves and clean out moisture collectors.
Step 3
Check the nail clip to be sure it is loaded and not stuck. Release the clip by depressing the lever on the bottom of the gun just in front of the air fitting. The clip should spring open, slide the clip down and check to see that there are nails present. If not, slide nails into the clip, placing them flat with the points toward the front of the gun and slide them up to the top of the clip. Slide the bottom of the clip up until it snaps into place. If nails are present you will need to check for jams in the plunger.
Step 4
Release the bottom of the clip so that the spring releases its tension. Open the top of the gun by releasing the flip latch located on the top of the gun. It will pull forward and release the top plate to rock up and back toward the handle revealing the plunger slide. Look down into the nail clip to see if the slot is clear all the way down into the clip. Nails can crumple up here and jam the plunger, remove any stuck nails with a flat screwdriver or needle nose pliers, reload the clip, connect the air and test the gun.
Step 5
Oil the gun after completing the repair. Tip it so that the air hose fitting at the bottom is facing up and add three to four drops of pneumatic tool oil into the fitting. Reattach the hose and use the gun.
Tip
Guns that do not respond to these troubleshooting tips will need to be professionally serviced. Ask at local hardware stores for the location of the nearest service center.
References
- "Air Tools, How to Choose, Use and Maintain Them": Rick Peters; Sterling Publishing, 2000
