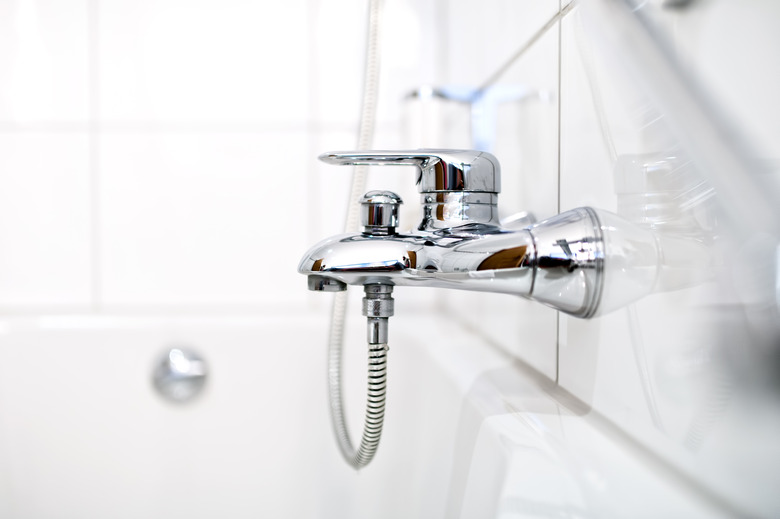
How To Repair A Squealing Bathtub Faucet
We may receive a commission on purchases made from links.
A bathtub faucet creates a squealing noise for a variety of reasons. Fortunately, most of them can be solved with one repair operation. The project involves taking apart the faucet and performing some basic maintenance and cleanup. Set aside two hours to complete the job. There is no particular skill with tools or a high degree of mechanical aptitude necessary to work on a faucet.
After taking apart the faucet, replace any questionable parts. Parts that are worn or damaged to even a small degree should be replaced before they continue to wear until the repair project has to be performed again.
1. Shut Off the Water Supply
1. Shut Off the Water Supply
Shut off the water supply valves to the bathroom if they can be found next to the hot water heater or in a wall panel on the opposite side of the wall from the faucets. If necessary, shut off the main water supply valve to the house, which is next to the water meter where the water pipes enter the house. Turn the faucet handles to the on position and drain the water lines.
2. Remove the Faucet Screw
2. Remove the Faucet Screw
Start with the faucet that is causing the squealing noise and pry off the decorative cap in the middle of the knob with the tip of a screwdriver. Remove the screw under the cap by turning it counterclockwise.
3. Remove the Faucet Cover
3. Remove the Faucet Cover
Pull the knob straight off and remove the faucet cover underneath it by pulling it off. If it is caulked on, cut it off with a putty knife.
4. Remove the Packing Nut
4. Remove the Packing Nut
Remove the packing nut under the faucet cover by turning it counterclockwise with a crescent wrench.
5. Remove the Faucet Stem
5. Remove the Faucet Stem
Take out the stem by rotating it in the same direction used to turn the faucet on.
6. Replace the Stem If Necessary
6. Replace the Stem If Necessary
Inspect the stem for corrosion, rusting or excessive wear to the threads. Replace the stem with a new one if any of these conditions exist. Damaged stem threads are a primary cause of faucet noise. Instead of replacing the stem, you may be able to stop the squealing by coating the threads with plumber's grease or petroleum jelly.
7. Replace the Stem Washer
7. Replace the Stem Washer
Replace the neoprene washer at the base of the stem by turning the brass screw counterclockwise and removing the washer. Use exactly the same type of washer; an improperly sized washer will also cause the faucet to squeal. Apply a light coating of silicone grease to the washer and the brass screw.
8. Clean Inside the Faucet
8. Clean Inside the Faucet
Clean the inside body of the faucet thoroughly and flush it out with water from a plastic bottle. A piece of mineral buildup vibrating against the washer may also create a squealing noise.
9. Lubricate the Stem Threads
9. Lubricate the Stem Threads
Lubricate the threads of the stem with silicone grease to ensure a good seal to stop water and air from rushing through to create the squealing noise.
10. Reassemble the Faucet
10. Reassemble the Faucet
Reassemble the faucet in the reverse order of the disassembly process, tightening parts securely without applying excessive force to prevent noise. Turn on the water and verify the problem is solved. If the squealing persists, it is possible that low water pressure is the problem. This generally requires professional help.
