How To Wire A Single Phase 220 Volt Motor
Things Needed
-
Electrical multi-meter
-
Basic electrician's tools
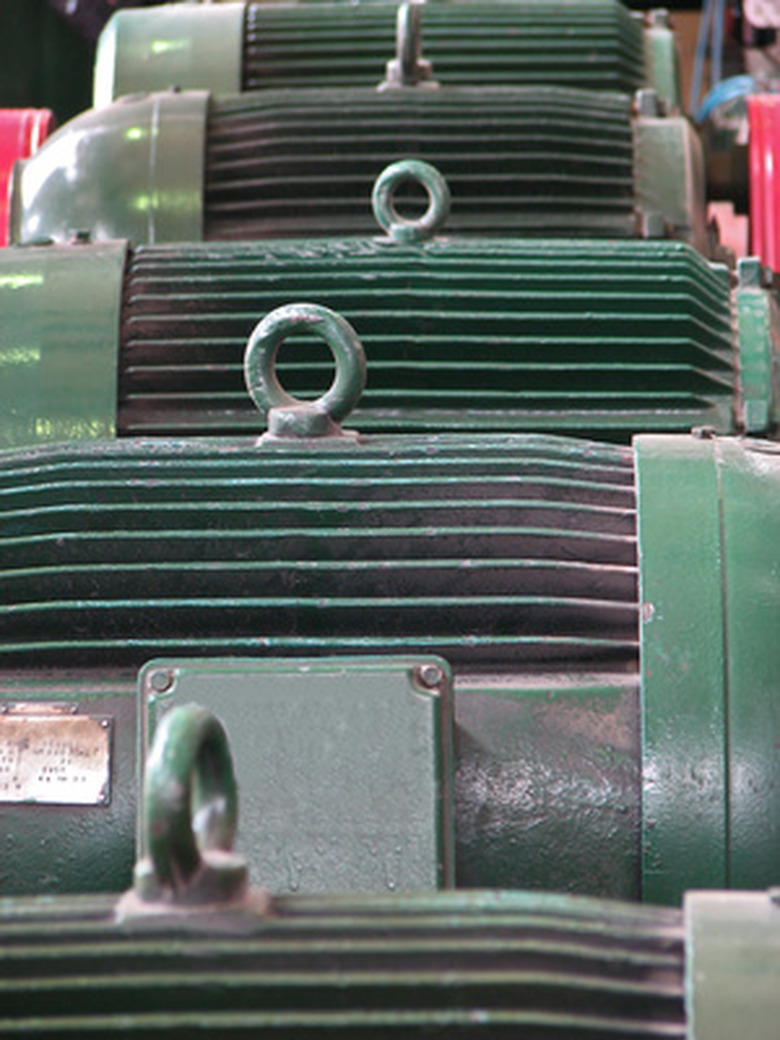
Most single-phase 220-volt alternating current (AC) motors are used for residential applications in well-water pumping or air-conditioning applications. Single-phase 220-volt AC motors are really two-phase 240-volt motors, especially when compared to three-phase 208-volt motors and single-phase 120-volt motors. This is because the motor's single phase actually operates on the difference between the two 120-volt phases that comprise the residential 240-volt input. Wiring a single-phase 220-volt motor is straightforward.
Step 1
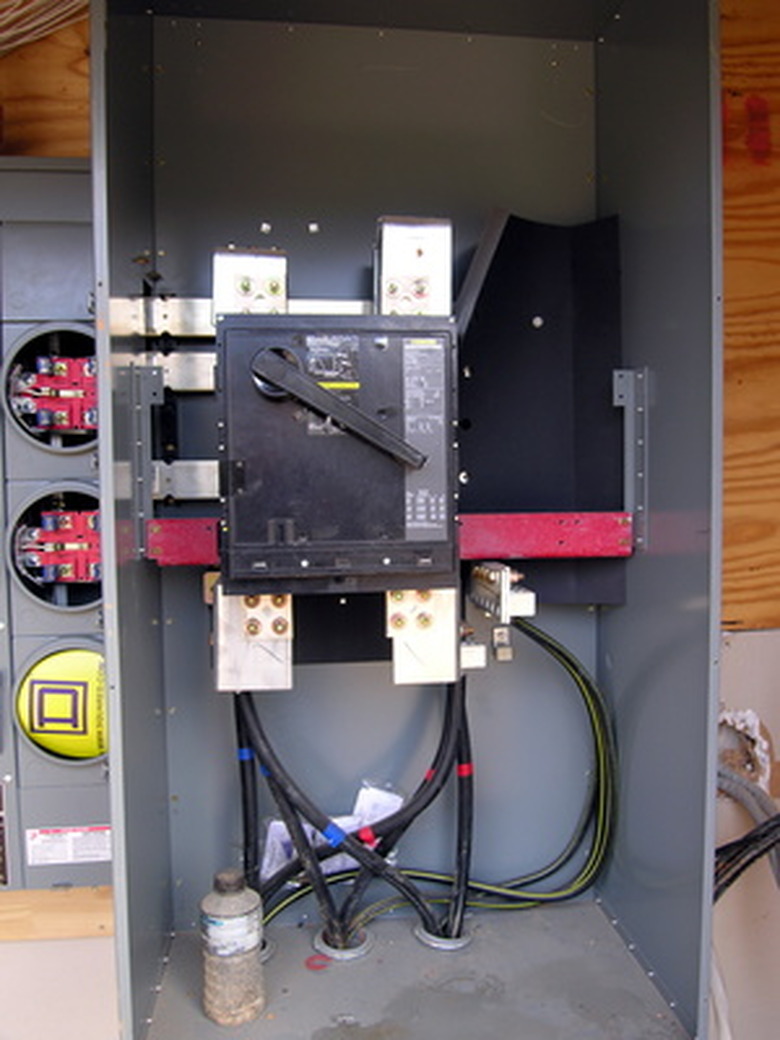
Turn off the power at the breaker that supplies the local blind (blank flat cover) electrical box with the feed that will supply your motor. The cable coming into this local box will have both of the 120-volt (opposite) phases, one with black and one with red insulation, common, with white insulation, and a green ground wire (which might also be a bare copper conductor). Your single-phase motor is going to run on the 240-volt difference between the black and the red wires and will ignore the white wire.
Step 2
Install a double-pole single-throw motor switch into the blind box. If the box is not large enough, mount a double box right next to it and install the switch in it instead. Then just route the Nomex cable into the larger box and connect the black and the red wires (or the two "hot" wires – one from each phase, respectively to the two bottom terminals of the switch. This will put power to the base of each of the two switching poles in the switch.
Step 3
Connect the two top terminals on the switch to the L1 and L2 connections in the motor's electrical enclosure. Each of the two top terminals represents one of the opposite poles of the 220-volt power circuit, as do the two bottom terminals. When the switch is turned on, one phase on the bottom left terminal will be connected to the top left terminal, and the other phase, on the bottom right terminal will be connected to the top right terminal. Thus the one switch, with two poles differing by 240-volts, will make or break both hot lines to the motor circuit, depending on whether the switch is in the on or off positions, respectively.
Step 4
Connect the green ground wire between the top and bottom green ground terminals on the switch to the motor ground and the power ground in the supply box respectively.
Step 5
Interpose the starter control box for separately housed capacitor start motors. In this case, take the L1 and L2 220-volt hot lines and the ground to their respective L1 and L2- labeled terminals in the starter control box. Then connect the black and yellow main motor leads in the control box to the corresponding black and yellow leads at the motor. Also connect the red start lead from its terminal in the control box to the red lead in the motor. Finally, run the green ground lead from the control box to the motor as well, and land it on the motor's ground terminal.
Step 6
Recheck the circuitry according to these instructions and tighten the terminals. Power up the circuit by switching on the breaker at the main breaker box and turning on the motor at the double-throw, single-pole motor switch you installed.
Tip
Install a separate breaker for this project, if there is none there, and make sure it is switched off before starting to wire the system.
Warning
Mistakes with 220-volt wiring, even inadvertent ones, can be instantly fatal. Electrical power at this level is also capable of causing serious injury and extensive property damage. This project should not be attempted by anyone who is not completely familiar with 240-volt multiple-phase domestic electrical wiring practice, all of its terminology, and the use of agency-approved tools and equipment. Any questions regarding the above procedure should immediately be referred to an electrical professional.
Check into local codes for specific requirements for conduits and cables for outdoor wiring, or 240-volt cabling inside the residence.
Always wear protective eye wear for all home projects.


