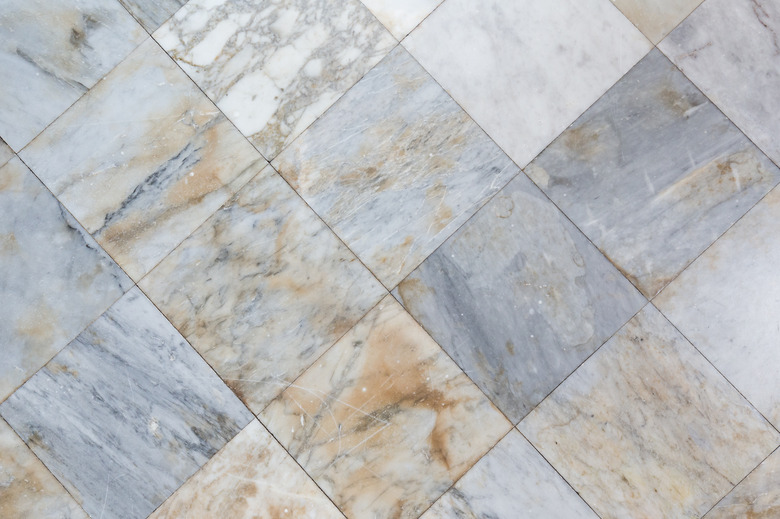
How To Clean & Seal Old Grout In Tile Floor
The worst part of having tile floors is the grout. Particularly on floors with monochrome tiles and white or light-gray grout, having each tile bordered by an easily dirtied grout line can quickly turn your kitchen or bathroom from clean and crisp to grimy and gross. Though we often prioritize tile cleaning and sealing over it, grout cleaning and sealing is just as important – if not more important – when it comes to keeping your tiled spaces looking pretty and presentable. There are a variety of methods you can use to restore your grout to its former glory, but be prepared to put in the work.
Grout Gets Dirty
Grout Gets Dirty
Cement-based grout is porous, regardless of whether it's been sanded. This is because the grout is made from a mix of cement and mineral powders combined with water to form a paste. Unsealed, this grout can get gross and discolored, and in addition to getting dirty, it can develop mold or mildew if left alone for too long in particularly damp areas of your home. Sealing grout mitigates the issue by making grout more resistant to moisture that might cause these problems while also making the grout resistant to cracks and other damage. Sealing grout also makes cleaning tile easier, allowing you to wipe off tiles without water or dirt getting stuck in the spaces between while doing so.
Grout Cleaning and Repair
Grout Cleaning and
Repair
Before you can seal your grout, you'll need to clean the tile around the grout and then clean the grout itself. However, if you notice mold or mildew on your grout, you will need to deal with that first. This can be done with a bleach solution composed of three-fourths of a cup of bleach added to two gallons of water. Saturate mildew and mold with this and then leave it to set for 30 minutes to an hour in order to kill the growths before cleaning them away.
Next, use either a commercial grout cleaner or a homemade solution to clean your grout. In either case, use a solution fitting the state of your grout. An incredibly acidic solution including chlorine bleach may damage your grout unnecessarily, for example. A solution of one part distilled white vinegar to one part warm water will work for simple cleaning, while a solution containing hydrogen peroxide and baking powder works especially well for moderate stains and can be left to set in and deep clean for at least 15 minutes and up to 24 hours before being wiped away. Use a dedicated grout scrubber or an old toothbrush to scrub away at the grout, working in zones and being patient. Given time, your grout will be cleaned with this method. Afterward, if you need to repair your grout, you can do so with a grout float, grout saw and a new grout treatment.
Grout Refresh and Other Sealants
Grout Refresh and
Other Sealants
Once your grout is clean, you'll want to seal it. This can be done with Grout Refresh or a different commercial product, depending on where your grout is located and the materials of your tiles. Penetrating sealants are best for high-moisture areas like bathrooms, while membrane-based sealants are useful with unglazed stone tile and spaces in kitchens but should not be used in bathrooms, as they can create a major mildew risk. Avoid homemade grout sealing treatments, as they can fail and lead to later problems. Apply slowly with a small brush or Q-tips area by area until you've covered all of the grout in your tiled area. Then, give it time to set in before clearing any excess sealant from the tiles around the grout. Reapply the sealant annually if your tile is in an area that gets little moisture, but repeat these steps every few months if your tile and grout are located in a bathroom with a shower or on a backsplash above a sink.
References
- The Happier Homemaker: How to Clean, Refresh, and Seal Your Grout (Easily and Cheaply!)
- Bob Vila: How To: Clean Grout
- Lowe's: Repair Tile Grout
- Lowe's: Clean and Seal Grout
- The Globe and Mail: Seal Your Tiles, Not Your Grout
- Bren Did: The Ultimate Guide to Cleaning Grout: 10 DIY Tile & Grout Cleaners Tested
