How To Install A Plywood Ceiling
Things Needed
-
Stud finder
-
Chalk line
-
Table saw
-
Two-by-four studs
-
Miter saw
-
Drill/driver
-
3-inch screws
-
Hardwood plywood, 1/4-by-48-by-96 inches
-
Fir plywood, grade A/B, 3/8-by-48-by-96 inches
-
Hand sanding block
-
100-grit sandpaper
-
Construction adhesive
-
Drywall lift
-
Staple gun
-
1½-inch staples
-
Pine lath, 1/4-by-1½-by-96 inches
-
1-inch staples
-
Hardwood lath, 1/4-by-1½-by 96 inches
 photos777/iStock/Getty Images
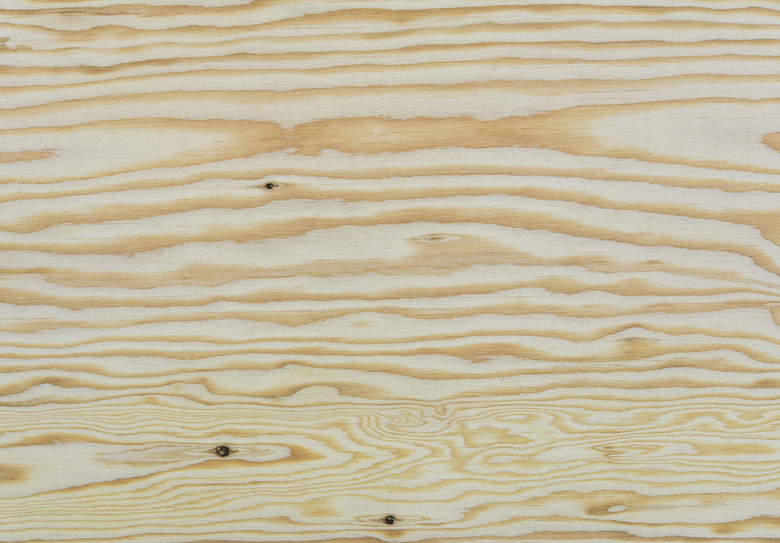
Plywood is viable as a ceiling material, particularly in the basement. Plywood allows easier access to pipes, ducts and wiring than drywall. Plywood serves capably as ceiling material in garages, shops and rec rooms when aesthetic design is not an issue. Some ceilings that appear to be beadboard are actually routed plywood. Take it up a notch and use hardwood plywood in media rooms or dens, or add a special touch to vaulted or dropped ceilings.
Step 1
Run a stud finder along drywall ceilings to locate the joists. Snap a chalk line to indicate the length and position of each one of the joists. You can install plywood over drywall or directly to ceiling joists. If you're working with open joists, skip this step.
Step 2
Measure perpendicular across the joists from the wall, to the center of the joist nearest to 96 inches. The ends of two adjoining pieces of plywood must center on a joist. Use a table saw to cut the plywood to the measurement.
Step 3
Measure and cut a two-by-four stud with a miter saw for support on the opposite end of the plywood where it butts into the wall, if needed. Screw it flush to the inside of the joist using a drill/driver and 3-inch screws.
Step 4
Place one sheet of 1/4-inch hardwood plywood across two sawhorses for drywall installation. Place one sheet of 3/8-inch grade A/B plywood for open joist installation. Plywood typically has two sides, A is the premium side. The back, graded B, may have small defects. The A side should be facing down.
Step 5
Sand the edges lightly with a hand block and 100-grit sandpaper to remove splinters, high spots, debris, chips or irregularities — but don't sand dips in the edges. Check the thickness along the edges. Issues associated with plywood can include uneven seams due to irregularities in manufacturing. If you notice irregularities in the thickness, mark it. Use the irregular edge against a wall.
Step 6
Apply construction adhesive to the joists and/or blocking. Lift the plywood to the ceiling using a drywall lift. Place it perpendicular across the joists. Push it into the corner, tight against the wall. Shoot 1½-inch staples, spaced 12 inches apart, through the plywood into each joist and on the blocking if applicable.
Step 7
Repeat measuring, cutting and installing plywood and blocking where needed. Fit each piece in succession, ensuring that both ends are centered on joists.
Step 8
Staple 1/4-inch-by-1½-inch-by-96-inch pieces of pine lath or batting centered along each seam using 1-inch staples and construction adhesive. Use hardwood lath with hardwood plywood. Cut them to length as needed with the miter saw. Butt adjoining pieces together. Cut pieces to length using a miter saw.
Tip
OSB, or oriented strand board, is an alternative to plywood. Use it to save money.
A drywall lift will help you maneuver plywood sheets into place, but thin plywood is relatively light and can be lifted into place with the help of an assistant if you prefer.
Warning
Wear eye protection at all times when working. Don't accept plywood without first examining it for consistency.