How To Connect Galvanized Pipe To CPVC Pipe
We may receive a commission on purchases made from links.
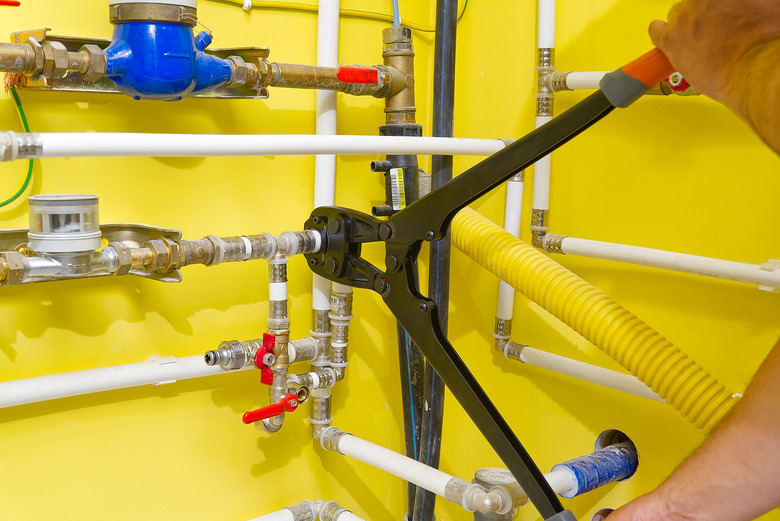
Due to its high tolerance for antibacterial chemicals, CPVC piping is used for hot and cold water supply and is popular among homeowners who need to make quick, simple repairs or add on to an existing system. Transitioning from galvanized pipe to CPVC can be painless and achieved without too many specialty tools.
Things Needed
-
(2) Pipe wrenches
-
Permanent marker
-
Teflon tape or pipe thread sealant
-
Appropriate pipe thread fitting
How to Connect Galvanized Pipe to CPVC Pipe
1. Determine the Pipe Size
Supply piping in most homes has an inside diameter of 3/4 inch or 1/2 inch nominal size. On rare occasions, if you have a larger home, you might encounter 1 inch. Piping is mostly measured by the inside diameter and by subtracting roughly 1/4 inch from the outside diameter of the galvanized pipe. This will give you the nominal size of the piping.
2. Turn Off the Water
Turn off the water using the closest valve to the work area or shut the water off to the whole house if no closer valve is available.
3. Cut the Pipe
Cut the pipe near a threaded fitting using a reciprocating saw with a metal cutting blade. Make sure to leave enough pipe to safely grab with a pipe wrench or pliers. If you're not making a repair, skip to Step 5.
4. Remove the Pipe From the Fitting
Use two pipe wrenches opposing each other to remove the pipe from the fitting. Use one wrench to turn the pipe that needs to be removed in a counterclockwise direction from the fitting. The other wrench will back up the threaded fitting so it will be opposite the wrench on the pipe.
Applying force on the pipe wrenches, unscrew the pipe from the fitting. If the pipe doesn't unthread from the fitting, make sure you're turning it in the right direction and try again. If you still have no luck, it might be time to call in a professional.
5. Apply Pipe Thread Sealant
Pipe thread sealant or Teflon paste is used to seal the threaded connection. Apply the sealant to the male threads of the connection. Another method of sealing the threads is with Teflon tape. The tape can used be in place of the sealant and is applied on the male threads in a clockwise manner.
6. Screw In the Adapter
Screw in the adapter to the galvanized fitting with an adjustable wrench. Once again, use two wrenches for this so you can support the galvanized fitting with a pipe wrench and secure it tightly using an adjustable wrench. Don't overtighten to the point that the fitting breaks. The sealant will make a watertight seal without excessive force.
7. Glue the Connection
A slip adapter has a glued connection on the opposite side from the mechanical connection you just made. Read the instructions on the CPVC cement jar and glue the connection as indicated on the label.
8. Turn the Water On
After completing the steps and waiting for the glue to dry for the recommended time, turn the water back on and check for leaks.
Push-Fit Connections
Push-Fit Connections
SharkBite and other brands of push-fit plumbing fittings have been around for decades and help make repairs much simpler. Although they're pretty expensive compared to slip adapters, their simplicity and versatility are great. This style of fitting can be used on various kinds of pipes, including PEX, copper, and CPVC.
Read the instructions on the fitting packaging and with a permanent marker, mark the depth of socket in the fitting (this measurement is typically located in the instructions and varies based on pipe size). Once you've marked the fitting for depth, push the pipe into the fitting, making sure it's in fully to your mark. Once you've completed the installation of the fitting according to the instructions, turn the water on and check for leaks. Be sure to allow for expansion and contraction of the CPVC piping.
