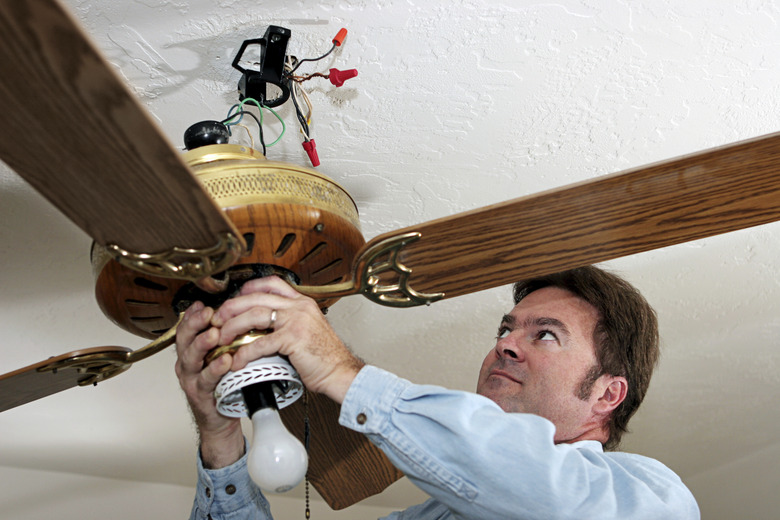
Troubleshooting A Slow Ceiling Fan
Ceiling fans that operate at speeds slower than normal can have one of four problems. Two of these issues are mechanical: loss of bearing lubrication and poor blade balance. The other two are electrical: either a bad capacitor or damaged winding. Ceiling vans have very little torque and almost any problem may cause the fan to run slowly.
Troubleshooting a Slow Fan
Troubleshooting a Slow Fan
With the fan turned off and stopped, spin the fan blade with your hand. A blade that is difficult to turn indicates a bearing or lubrication problem. If the blade spins freely, turn the fan on and listen as the blade accelerates to full speed. Any unusual buzzing would indicate a bad capacitor, shorted winding or operating the fan on the wrong type of speed control. Most fans are not compatible with solid state speed controls so make sure your fan and speed control are compatible. A grinding or squealing noise would mean a bearing or bushing problem. Finally check the fan visually for any wobble that would indicate poor balance.
Checking for the Proper Lubrication
Checking for the Proper Lubrication
Larger ceiling fans use oil contained in a reservoir that lubricates the bearing. A small hole located in the upper part of the motor housing allows for additional oil to be added to the fan when needed. Normally the hole is marked "add oil" by the manufacturer. Put plastic sheeting below the fan to avoid any oil getting on furniture or carpet and using a step ladder locate the "add oil" hole. Start off spraying a little light oil into the hole and let the fan run for 20 minutes. Then stop the fan and add ceiling fan oil until the reservoir overflows slightly. This will normally be SAE 15 or SAE 10 oil. Wipe the fan housing off to avoid any drips. Some fans are made with permanently lubricated sealed bearings and oil cannot be added. Make sure you know whether your fan has an oil reservoir by consulting your manual or the manufacturer.
Balancing for Improved Operation
Balancing for Improved Operation
Poorly balanced blades can cause wobble that results in slower-than-normal operation. To check the balance, you should measure from the tip of each blade to the ceiling with the fan turned off. Each blade tip should be the same distance to the ceiling if the ceiling is level. If there is more than 1/4 of an inch difference, the blades are out of balance. Tape a standard metal washer or coin to the top side of the blade that is closest to the ceiling. Make sure the top of the blade is clean of dust and use about 3 inches of tape to make sure the washer stays in place. Experiment with washers on various blades until all of the blades are level with each other and the ceiling. If your ceiling is sloped or otherwise unlevel, use a building level to measure levelness between the blades.
Identifying a Defective Capacitor
Identifying a Defective Capacitor
Ceiling fans are single phase motors and rely on capacitors to start and run. Some fans have a combination start-stop capacitor and some have a capacitor for each. Other fans use multiple capacitors for speed changes. In your breaker box, flip the breaker that powers your fan to the "off" position. Use a stepladder and remove the lower cap on the fan that usually houses the capacitors. While the disassembly process is slightly different on various fans, the capacitors are easy to identify. They are small black cubes or silver cylinders and will have a micro farad rating printed on the side. The capacitor rating will be a number followed by the letters "uf." Look for any distortion in the cube or cylinder indicating capacitor failure and replace any that are discolored or swollen. The capacitors are either connected to screw terminals or have wire nuts connecting them to other wires. Disconnect the suspect capacitor and use the information on the label to obtain the correct replacement.
Inspecting the Motor for a Damaged Winding
Inspecting the Motor for a Damaged Winding
Partially shorted windings are the final possibility that could cause a slow-running fan. Windings are sometimes damaged when a start capacitor fails causing the fan to stall and heat the coils beyond their limits. To check for winding failures the fan must be removed and completely disassembled. Visually inspect the windings for heat discoloration or any burn marks. If the copper is badly discolored by heat, replace the motor and associated capacitors.
