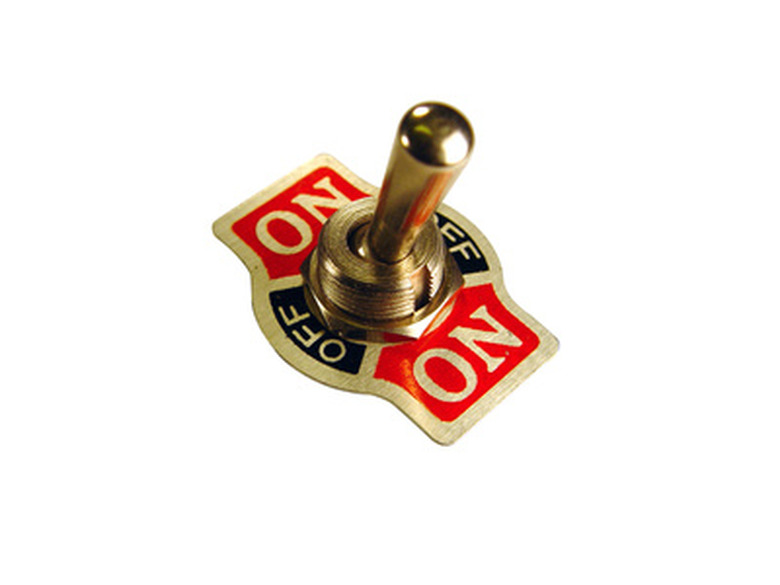
How To Wire Up A Two Prong Toggle Switch
Things Needed
-
Voltage tester
-
Screwdriver
-
Electrical tape
-
Wire-nuts
-
Wire stripper
-
Needle nose pliers
-
Soldering iron
-
Solder
Toggle switches are short handled snap-action switches that turn on and off, and otherwise control all types of electrical and automotive equipment. Some have a short metal handle, while others have a short, flat, plastic handle. Two prong toggle switches are also know as single-pole switches. Some have spade-lug terminals while others use solder connections.
Step 1
Turn off the power to the device you are working on, or if applicable, unplug the device from the wall.
Step 2
Strip the wires 3/8 inch back from the ends. Determine if the switch uses spade connectors, or if the wires are soldered directly to the terminals.
Step 3
Twist the stripped end of the wires tightly with your fingers. If the switch uses spade lugs, insert the wires into the lugs, and use a crimping tool to secure them. If the switch uses solder terminals, push the wires into the terminals and bend them back to hold them in place. Heat up the soldering iron until it is hot enough to melt the solder. Hold the soldering iron on the terminal and the wire at the same time. Allow the connection to heat until it can melt the solder. Apply a small amount of solder to the terminal and quickly remove the iron.
Step 4
Wrap electrical tape around the terminals, until they are completely covered. Insert the switch into the equipment.
Step 5
Attach the switch using the supplied mounting hardware. Some switches will snap into place, while others will have a threaded shaft with nuts and washers.
Tip
Toggle switches are rarely used with today's equipment. Consider using a rocker switch instead.
