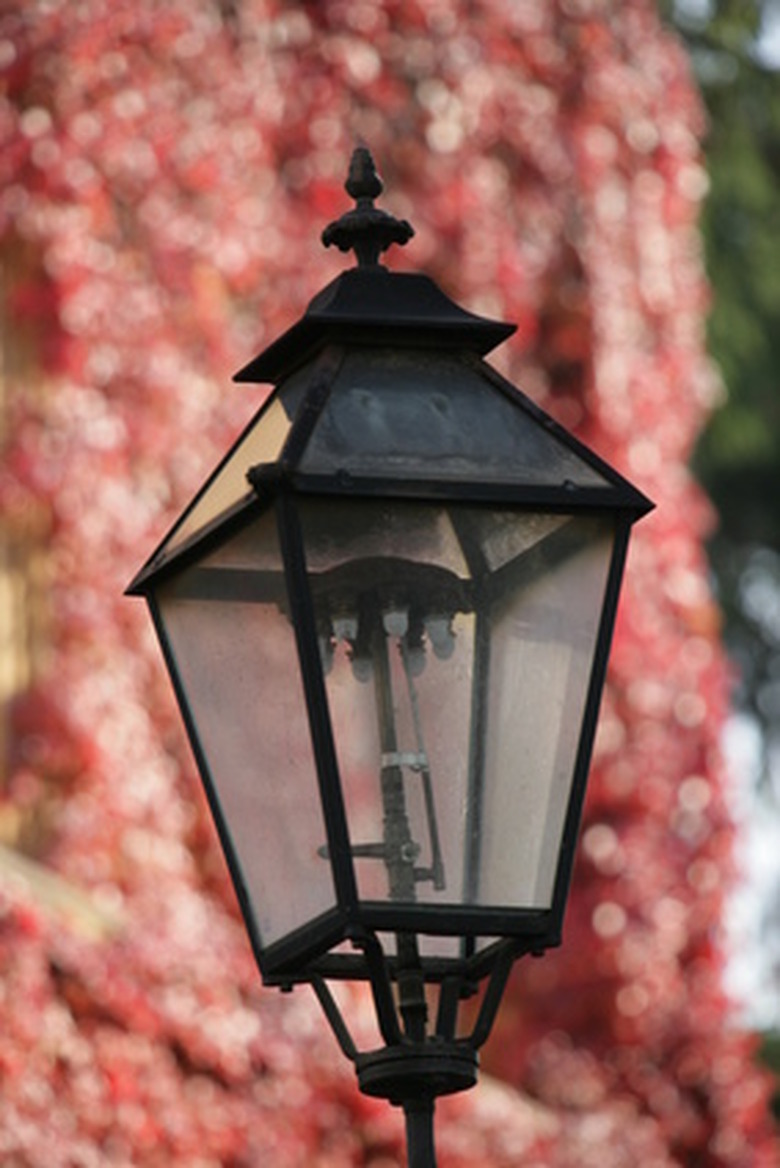
How To Light An Exterior Gas Lamp
Things Needed
-
Replacement mantle
-
Match
Exterior gas lamps offer a unique way to create light and ambiance on your patio or front walkway. Gas lamps use either a natural gas supply line or an LP tank to fuel the lamp. Lighting an exterior gas lamp first requires inspecting the lamp to ensure that the mantle is intact. If you must replace the mantle, avoid touching the fabric mesh that surrounds it. The oils from your fingers can damage the filaments in the mantle. It's a good idea to have the manufacturer's name and old mantle with you when purchasing replacements.
Step 1
Turn off the gas supply to the lamp. Depending upon your lamp, the gas valve might be a device at the base of the lamppost, a screw on the bottom of the lamp light or an on/off lever near the top of the lamp light.
Step 2
Open or remove one of the lamp's glass panels. Most glass panels simply lift up with your finger and you pull them away from the lamp. Some lamps use hinges on the glass panel that you simply open like a door.
Step 3
Inspect the mantle, which is the fabric-looking bag that covers the burner tips. If the mantle has holes or is missing, replace it with a new one. Some mantles have ceramic connectors that pull on and off, while others simply tie onto the burner tip. Replacement mantles are available at home improvement centers and gas lamp suppliers.
Step 4
Turn on the lamp's gas supply. Light a match and hold the flame under the mantle. If you're lighting a new mantle, do not touch the mantle with the flame. The fabric on the outside of the mantle will ignite without direct contact with the flame. If you're lighting an old usable mantle, hold the match close enough to ignite the mantle without touching it with the match.
Step 5
Close the glass panel door or replace the glass panel back into the lamp light.
Tip
Some gas lights use automatic igniters. These require specific instructions from the manufacturer. Most often there is a light switch that powers the igniter.
