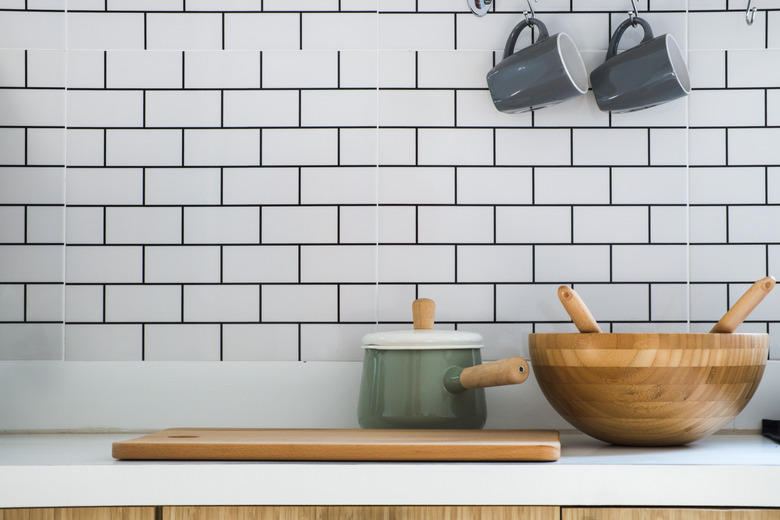
How To Remove A Tile Backsplash Cleanly
We may receive a commission on purchases made from links.
The backsplash behind the kitchen counters often gets neglected for its potential. The inches of space underneath the cabinets can instantly improve a bland kitchen's aesthetic.
The small amount of work it requires to remove the tile backsplash to spiff up a dreary kitchen is worth the big impact it can make in the popular living space.
Tips to Taking Down Tile
Tips to Taking Down Tile
The process of taking out a grouted tile backsplash can create a lot of dust and debris. Drape a drop cloth over the countertops and appliances to cut down on cleanup once the job is done. Remove large chunks of tile that have fallen to the countertop so that the workspace is not cluttered.
Have a large bucket handy to place removed tiles into if you aren't close to a trash can. Use safety goggles and a face mask to keep dust from getting into your eyes, nose and mouth. Work gloves can protect your hands from getting sliced, scraped or punctured by the putty knife or other tool.
Dumpsters recommends working from top to bottom of the tiled area. As the tiles fall, they can take out tiles below or loosen leftover grout and tile as you go. Start at the corners and work your way toward the middle and wall stud. A metal chisel and hammer can make quick work of popping tiles cleanly away from the wall. Place the chisel just under the tile and use the hammer with quick taps to pop the piece loose.
Getting Rid of Grout
Getting Rid of Grout
The grout that binds the tiles together and to the wall needs to be gently removed. A grout scraper can get between the ceramic without cracking them and causing serious damage when you remove the tile backsplash. Work the grout scraper in a downward motion and work side to side to gently loosen the tile from its hold against the wall.
An electric rotary tool or Dremel tile accessory can also be used to cut through stubborn grout. The rotary hand tool will quickly loosen tiles so that they can be gently pulled away from the wall. This type of technique will do the least amount of damage to the drywall behind the tiled backsplash.
Remove the caulk around the top and bottom edges of the tiled backsplash. Use a utility knife to lift an edge at an exposed corner and work along the line of caulk until it is removed. A heat gun can remove stubborn caulking around the tiled backsplash edge.
Repair Drywall After Removing Tile
Repair Drywall After Removing Tile
It's easy to damage the plaster behind the backsplash when removing tile from the wall. For small tears or punctures from a putty knife blade, a quick sanding of the area and a swipe of spackle can remedy the problem.
For holes smaller than a nickel, Mr. Handyman recommends sanding the area with 120-grit sandpaper until it is smooth. Wipe the drywall down to remove dust. Apply a thin layer of spackle. Sand the spackle once it has dried to blend it into the wall for a smooth surface.
